To install push to connect fittings, follow these steps: 1. Cut the tubing square using a tubing cutter.
2. Insert the tubing into the fitting until it seats securely. 3. Pull on the tubing to ensure a proper connection. 4. To disconnect, press the release button and pull the tubing. Push to connect fittings are a popular choice for quick and easy installation of tubing systems.
Whether you are a professional installer or a DIY enthusiast, learning how to install these fittings is essential. In this guide, we will walk you through the step-by-step process of installing push to connect fittings. We will cover everything from cutting the tubing to securely connecting and disconnecting the fittings. By the end of this guide, you will have the knowledge and confidence to install push to connect fittings with ease. So, let’s get started!
Understanding The Different Types Of Push To Connect Fittings
When it comes to installing push to connect fittings, understanding the different types available is essential. Push to connect fittings are a convenient and efficient way to connect various types of pipes and fittings. They provide a quick, easy, and secure connection, eliminating the need for traditional methods like soldering or threading. In this article, we will dive deep into the world of push to connect fittings and explore the pros and cons, the materials used, and the common applications.
Pros and Cons of Push to Connect Fittings
Before we discuss the various types of push to connect fittings, it’s important to weigh the pros and cons of using them. Here are some benefits and drawbacks to consider:
| Pros | Cons |
|---|---|
|
|
Different Materials Used for Push to Connect Fittings
Push to connect fittings are available in a variety of materials, each offering different advantages depending on the specific application. The most common materials used for push to connect fittings include:
- Brass: Brass fittings are known for their durability and resistance to corrosion, making them suitable for both indoor and outdoor applications.
- Plastic: Plastic fittings are lightweight and cost-effective, making them ideal for low-pressure applications.
- Stainless steel: Stainless steel fittings are highly resistant to corrosion and can withstand high-pressure environments, making them ideal for industrial applications.
Common Applications for Push to Connect Fittings
Push to connect fittings find usage in a wide range of applications across various industries. Some of the most common applications include:
- Plumbing systems: Push to connect fittings are commonly used in residential and commercial plumbing systems for connecting water lines, faucets, showers, and toilets.
- Pneumatic systems: They are widely used in pneumatic systems to connect air lines, compressors, and tools.
- Refrigeration systems: Push to connect fittings are also used in refrigeration systems to connect pipes, valves, and condensers.
Now that we understand the different types of push to connect fittings, their pros and cons, materials used, and common applications, you can make an informed choice when installing them. Remember to always choose fittings that are suitable for the specific application to ensure a secure and reliable connection.
Gathering The Necessary Tools
Before you start installing push to connect fittings, it’s important to gather all the necessary tools and supplies. This will ensure a smooth installation process and prevent any delays or hiccups along the way. In this section, we will discuss the tools you need as well as any additional supplies that you should have on hand.
Tools required for installation
When it comes to installing push to connect fittings, having the right tools is crucial. Here are the essential tools you will need:
- Adjustable wrench: This versatile tool will help you tighten or loosen fittings as needed.
- Pipe cutter: A pipe cutter is essential for cutting the pipes to the correct length.
- Deburring tool: After cutting the pipes, you’ll want to remove any burrs or rough edges using a deburring tool.
- PVC cement: If you are working with PVC pipes, PVC cement is necessary for creating secure connections.
- Measuring tape: Accurate measurements are key to a successful installation, so make sure to have a measuring tape on hand.
- Marker or pencil: Marking the pipes and fittings will help ensure proper alignment during installation.
- Teflon tape: For sealing threaded connections, Teflon tape is an essential item.
Additional supplies needed for a smooth installation process
In addition to the tools mentioned above, there are a few additional supplies that can make the installation process go even smoother. These supplies include:
- Extra pipe: It’s always a good idea to have some extra pipe on hand in case you need to make adjustments or replacements.
- Pipe cleaner: Before connecting the fittings, clean the pipes using a pipe cleaner to remove any dirt, debris, or residue.
- Rags or towels: Keep some rags or towels nearby to wipe up any spills or excess glue during the installation process.
- Bucket or tub: Having a bucket or tub nearby can be useful for catching any water or debris that may come out of the pipes during installation.
- Gloves and safety glasses: Safety should always be a priority, so make sure to wear gloves and safety glasses to protect your hands and eyes.
By gathering all the necessary tools and additional supplies beforehand, you’ll be well-prepared to tackle the installation of push to connect fittings. This will help ensure a successful and efficient installation process, saving you time and frustration.
Ensuring Proper Preparation Before Installation
Shutting off the water supply
Before installing push to connect fittings, it is crucial to shut off the water supply to the area where the fittings will be installed. This step ensures that no water is flowing through the pipes while you work, preventing any potential accidents or water leakage. Locate the main water shut-off valve in your home and turn it off. It may be located near the water meter, in the basement, or outside your house.
Draining the water lines
Once the water supply is turned off, it is important to drain the water lines to prevent any leftover water from causing a mess during installation. Open all faucets and let the remaining water flow out until the pipes are empty. Additionally, flush the toilets to drain the water from the tanks and bowls. This step ensures a clean and dry working environment for installing the push to connect fittings.
Cleaning and inspecting the pipes
Prior to installing the push to connect fittings, it is crucial to clean and inspect the pipes. Use a pipe cleaner or a soft brush to remove any dirt, debris, or old tape from the pipe ends. Inspect the pipes for any signs of damage or corrosion. If any pipes are found to be damaged or in poor condition, they should be replaced before proceeding with the installation.
Measuring and marking the areas for installation
Accurate measurements and proper marking are key to ensuring a successful installation of push to connect fittings. Use a measuring tape to measure the areas where the fittings will be installed. Mark the pipe where the fitting will be inserted and make sure the mark is clearly visible. Properly measuring and marking the areas will help you position the fittings correctly, minimizing the risk of leaks or improper connections.
Removing Existing Fittings (If Applicable)
Before installing push to connect fittings, it’s crucial to ensure that any old fittings are safely removed. This step is especially important if you are replacing an existing connection or transitioning from a different type of fitting. By following the proper procedure for removing old fittings, you can prevent damage and ensure a smooth installation process.
How to safely remove old fittings
Here are some simple steps to safely remove old fittings:
- Shut off the water supply: Before working on any plumbing connection, it’s essential to turn off the water supply to avoid any potential leaks or accidents.
- Release pressure: Next, relieve any residual pressure in the system by opening a nearby valve or faucet.
- Prepare the workspace: Clear the area around the fittings and ensure you have enough space to work comfortably.
- Use the appropriate tools: Depending on the type of fitting, you may need different tools such as wrenches, pliers, or pipe cutters. Choose the right tool for the job to avoid causing any unnecessary damage.
- Loosen the fitting: Carefully loosen the old fitting using the appropriate tool. If it’s a threaded fitting, turn it counterclockwise to loosen it. For compression fittings, you may need to release any compression rings or nuts.
- Inspect for any leaks or damage: Once the fitting is removed, take a moment to inspect the pipe and surrounding area for any signs of leaks or damage. If you notice any issues, it’s essential to address them before proceeding with the new installation.
By following these steps, you can safely remove old fittings without causing damage to your plumbing system. Remember to always take your time and proceed with caution to ensure a successful transition to push to connect fittings.
Installing Push To Connect Fittings
Installing push to connect fittings is a straightforward process that can be easily accomplished by DIY enthusiasts and professionals alike. These fittings offer a convenient and reliable method for connecting pipes, making them a popular choice for various plumbing and fluid transfer applications. In this guide, we will walk you through the step-by-step process of installing push to connect fittings, ensuring a secure and leak-free connection.
Measuring and marking the pipe
Before installing push to connect fittings, it is essential to accurately measure and mark the pipe to ensure a proper fit. Use a measuring tape or ruler to determine the length of the pipe needed. Mark the measurement on the pipe with a marker or a pencil, ensuring the mark is visible and easily recognizable.
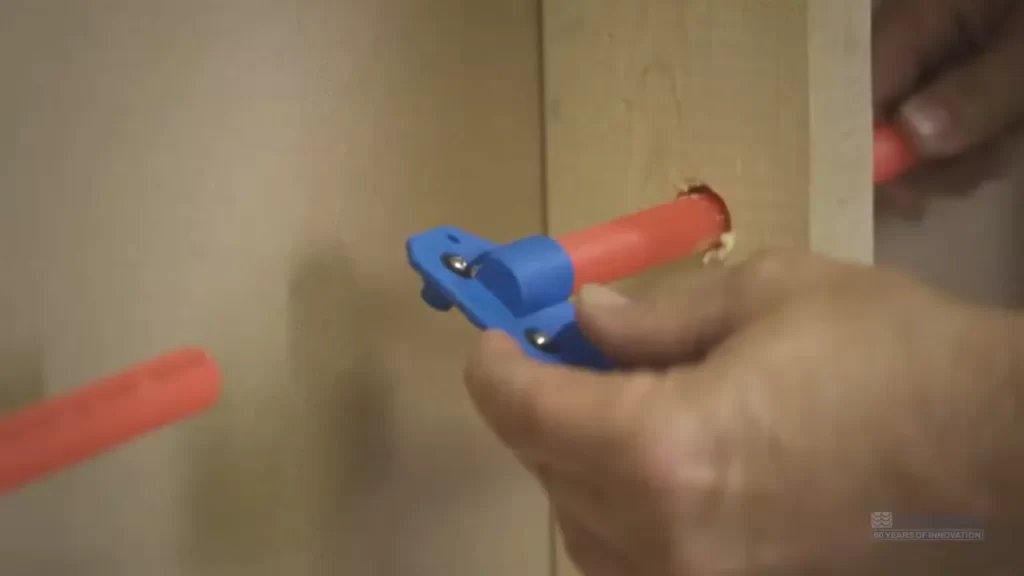
Using a pipe cutter for a clean cut
Once the pipe is marked, use a pipe cutter to make a clean cut. Place the cutter around the marked area and tighten it securely. Rotate the cutter around the pipe, applying steady pressure until the pipe is cut through. A pipe cutter ensures a precise and clean cut, resulting in a better connection with the push to connect fitting.
Deburring the cut end of the pipe
After cutting the pipe, it is essential to remove any burrs or rough edges from the cut end. These imperfections can hinder the proper seating of the push to connect fitting, leading to leaks or drips. Use a deburring tool or a file to smooth out the cut end, ensuring a clean and even surface.
Ensuring the pipe is clean and dry
Prior to installing the push to connect fitting, it is crucial to ensure that the pipe is clean and free from any contaminants, such as dirt, oil, or debris. Wipe the pipe with a clean cloth or use a pipe cleaning brush to remove any residue. Additionally, make sure the pipe is dry, as moisture can affect the sealing capability of the fitting.
Aligning the fitting with the pipe
Once the pipe is clean and dry, align the push to connect fitting with the pipe. Ensure that the fitting is properly oriented to align with the flow direction of the fluid. Pay attention to any directional arrows or labels on the fitting, as they indicate the correct insertion direction.
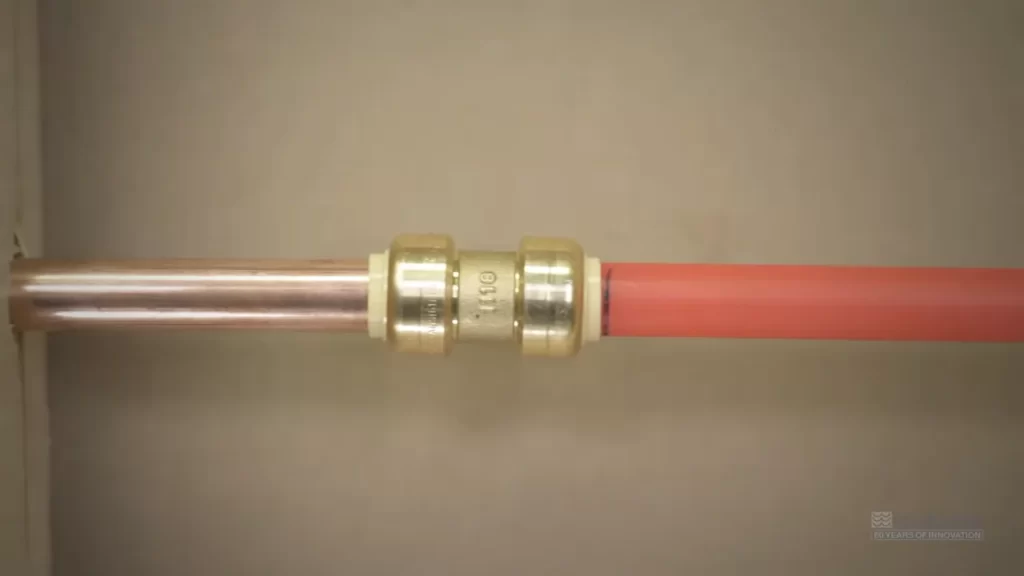
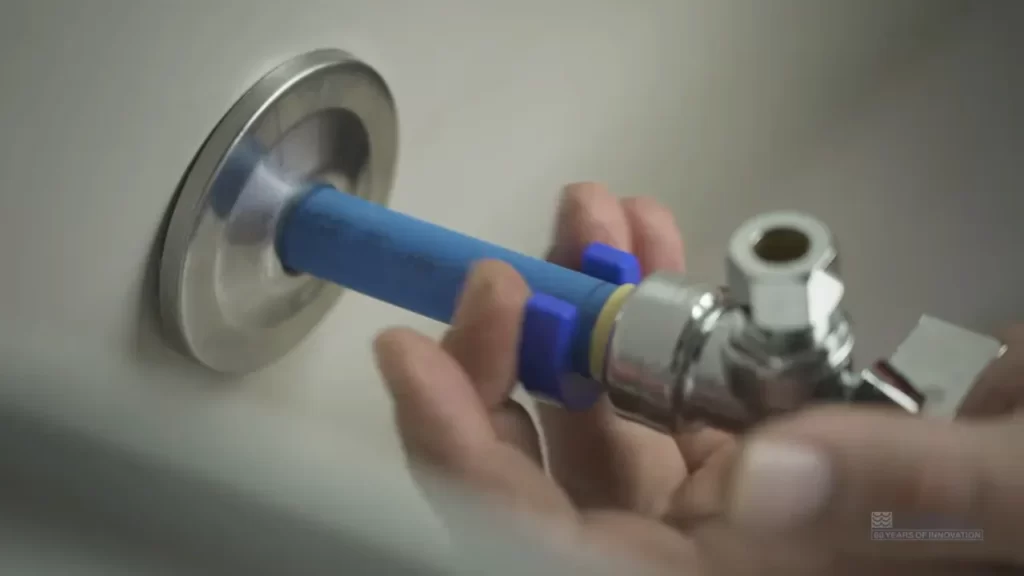
Pushing the fitting onto the pipe until it clicks into place
With the fitting aligned, firmly push it onto the pipe until it clicks into place. Apply steady pressure, making sure the fitting is fully inserted. The click sound indicates that the fitting is securely seated on the pipe, ensuring a reliable connection.
Checking for any leaks or drips
After installing the push to connect fitting, carefully inspect the connection for any signs of leaks or drips. Run your hand or a piece of cloth along the joint, feeling for any moisture. If any leaks or drips are detected, double-check the installation and make sure the fitting is properly seated on the pipe.
Conducting a pressure test, if necessary
If the application requires it, conduct a pressure test to ensure the integrity of the connection. Gradually increase the pressure and monitor the fitting for any leaks or abnormalities. A pressure test provides an additional level of assurance, especially for critical applications or high-pressure systems.
Common Installation Mistakes To Avoid
When it comes to installing push to connect fittings, it is important to ensure that the process is done correctly to prevent any issues down the line. Unfortunately, there are several common installation mistakes that are often made. By being aware of these mistakes and taking the necessary steps to avoid them, you can ensure a successful and leak-free installation. Let’s take a look at some of the most common installation mistakes and how you can avoid them.
Incorrect pipe measurements
One of the most common mistakes when installing push to connect fittings is failing to accurately measure the pipes. Incorrect pipe measurements can lead to fittings that are either too loose or too tight, resulting in leaks or difficulty connecting the pipes. To avoid this mistake, it is crucial to measure your pipes precisely using a reliable measuring tool, such as a tape measure or a caliper. Taking the time to accurately measure your pipes will save you from headaches and ensure a secure connection.
Failing to properly prepare the pipe before installation
Another common mistake is failing to properly prepare the pipe before installing the push to connect fitting. Proper pipe preparation is essential for creating a secure and leak-free connection. To prepare the pipe, start by cutting it cleanly and removing any burrs using a pipe deburring tool. Then, make sure to clean the pipe thoroughly to remove any debris, dirt, or grease that could impair the fitting’s ability to create a tight seal. By taking the time to prepare the pipe correctly, you can prevent leaks and ensure a tight connection.
Improper alignment of fittings
Improper alignment of fittings is another common mistake to avoid. When installing push to connect fittings, it is crucial to ensure that each fitting is properly aligned with the pipe. Misalignment can lead to leaks or difficulty connecting the pipes, so it is important to pay close attention to this step. Before inserting the pipe into the fitting, make sure that the pipe and fitting are aligned correctly. Double-check and ensure that the pipe is fully inserted and that the fitting is securely connected. Proper alignment will guarantee a reliable and leak-free installation.
Troubleshooting Leaks And Drips
When it comes to installing push-to-connect fittings, it’s not uncommon to encounter leaks and drips. But worry not! Identifying the source of the leak and learning how to fix it properly can help you prevent further issues and ensure a reliable and secure connection. Below, we’ll take a look at how to identify the source of a leak and the steps you can take to fix it.
Identifying the Source of the Leak
The first step in troubleshooting a leaky connection is to determine where exactly the leak is coming from. Here are a few key areas to inspect:
- Connection points: Check the fittings to see if there are any visible signs of leakage around them. Look for water, moisture, or condensation.
- Threads: Inspect the threads of the fittings for any signs of damage or improper installation.
- Valve or shutoff: If the leak is occurring at a specific location, such as a valve or shutoff, examine it closely.
By carefully examining these areas, you’ll be able to pinpoint the source of the leak and move forward with fixing it.
Steps to Fix a Leaky Connection
- Disconnect the fittings: Once you’ve identified the source of the leak, it’s time to disconnect the fittings. Turn off the water supply and use a wrench or pliers (if necessary) to gently loosen and remove the fittings.
- Inspect the fittings: With the fittings removed, inspect them for any signs of damage, such as cracks or worn-out seals. If you notice any issues, it’s important to replace the faulty components.
- Clean the fittings: Before reinstalling the fittings, make sure to clean them thoroughly. Use a clean cloth or brush to remove any debris or dirt that could potentially hinder a proper seal.
- Apply thread sealant: If the leak is occurring at the threaded connections, applying a thread sealant can help create a watertight seal. Be sure to use a sealant that is compatible with the materials of your fittings.
- Reassemble the fittings: Once the fittings are clean and the necessary repairs have been made, carefully reassemble them. Ensure that each fitting is tightened securely, but be cautious not to overtighten, as this can cause damage.
- Test for leaks: Once the fittings are reconnected, turn on the water supply and check for any new leaks. If everything looks good, you’ve successfully fixed the leaky connection!
By following these steps, you’ll be able to troubleshoot and fix any leaks or drips in your push-to-connect fittings. Remember to always take the time to inspect and maintain your connections to ensure the longevity and reliability of your plumbing system.
Additional Tips For Successful Installation
Installing push to connect fittings is a great way to ensure a secure and leak-proof connection for your pipes. However, there are a few additional tips that can help you achieve a successful installation. By following these tips, you can ensure that your connections are secure, your pipes and fittings are properly supported, and that regular maintenance and inspections are carried out.
Ensuring all connections are secure
One of the most important aspects of installing push to connect fittings is ensuring that all connections are secure. This will prevent leaks and ensure that your plumbing system functions properly. To ensure secure connections, follow these steps:
- Ensure that the pipe end is clean and free from debris. Use a pipe cleaner or sandpaper to remove any dirt or residue.
- Insert the pipe into the fitting until it reaches the internal stop.
- When the pipe is fully inserted, give it a slight tug to ensure that it is properly connected.
- If needed, use a pipe cutter to ensure that the pipe is cut straight and square.
- Make sure that the release collar is fully engaged before turning on the water supply.
By following these steps, you can ensure that your push to connect fittings are securely connected and will not leak.
Properly supporting the pipe and fittings
In addition to ensuring secure connections, it is also important to properly support the pipe and fittings. This will prevent unnecessary stress on the connections and extend the lifespan of the plumbing system. Here are some tips for properly supporting the pipe and fittings:
- Use pipe hangers or clamps to support the pipe at regular intervals.
- Ensure that the pipe is supported near the push to connect fittings to prevent excessive stress.
- Inspect the supports regularly to ensure they are still in good condition and provide adequate support.
Properly supporting the pipe and fittings will help prevent leaks and ensure the longevity of your plumbing system.
Regular maintenance and inspections
Regular maintenance and inspections are crucial for any plumbing system, including those with push to connect fittings. By conducting regular maintenance and inspections, you can identify and address any issues before they become major problems. Here are some tips for regular maintenance and inspections:
- Inspect the fittings for any signs of leaks, corrosion, or damage.
- Check the connections regularly to ensure they are still secure.
- Replace any damaged or worn out fittings or pipes.
- Monitor the water pressure to ensure it is within the recommended range.
- Carry out regular cleaning of the fittings and pipes to remove any buildup or debris.
By following these tips, you can ensure that your push to connect fittings continue to function properly and prevent any potential issues.
Frequently Asked Questions
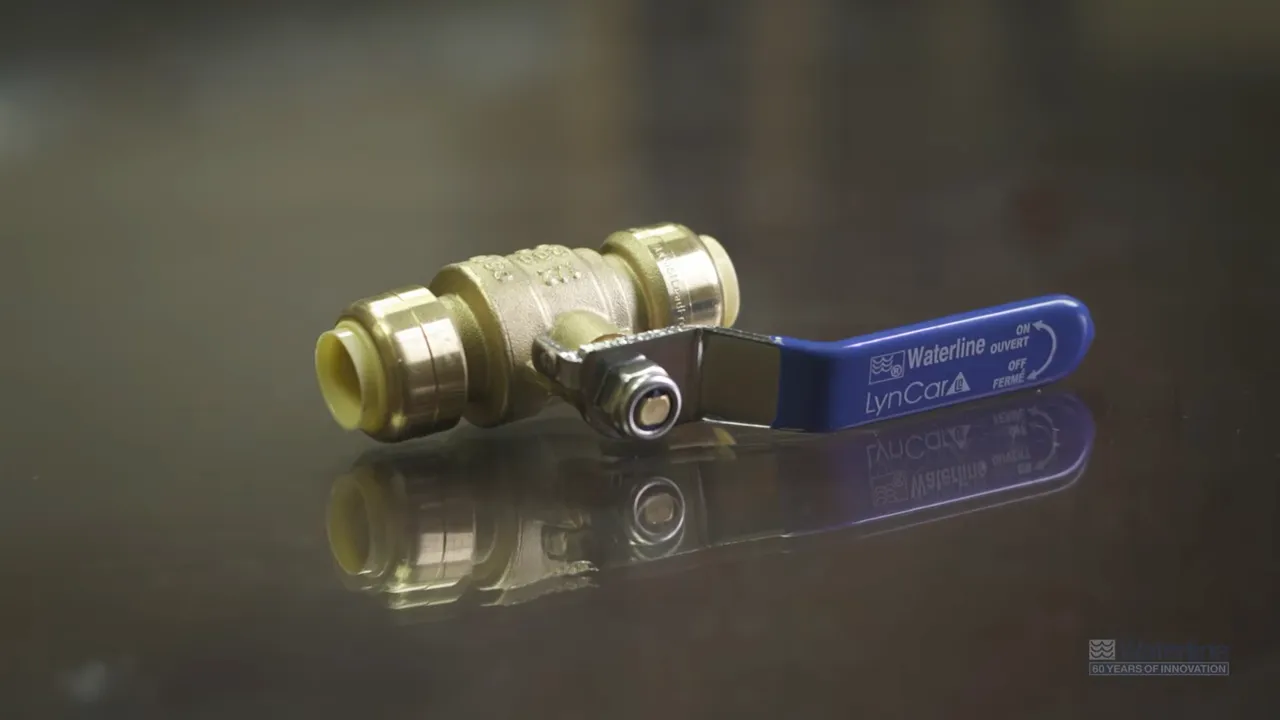
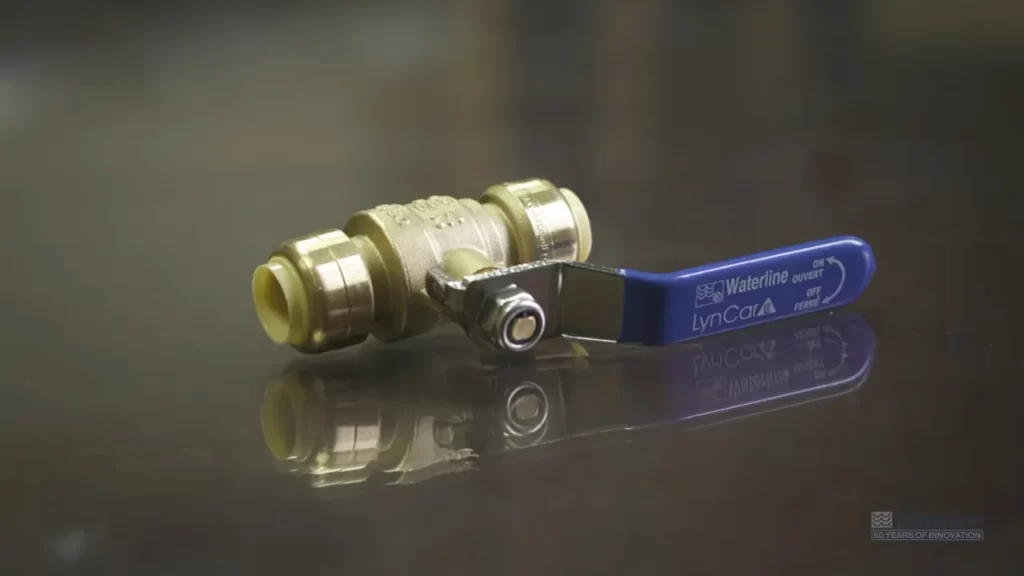
How Do You Install A Push N Connect Valve?
To install a push n connect valve, follow these steps: 1. Turn off the water supply. 2. Cut the pipe cleanly and remove any burrs. 3. Insert the valve into the pipe until it is fully seated. 4. Confirm the valve is secure by pulling on it gently.
5. Turn on the water supply and check for leaks. Please note that these instructions are a general guide, and it’s recommended to consult the manufacturer’s instructions for specific product installation.
Are Push-To-Connect Fittings Reliable?
Yes, push-to-connect fittings are reliable. They are easy to install without the need for tools, and provide a secure and leak-free connection. These fittings are designed to withstand high pressure and are commonly used in plumbing, air compression, and other applications.
Can You Use Push-To-Connect Fittings On Pex Pipe?
Push-to-connect fittings are compatible with PEX pipes. These fittings allow for easy installation without the need for soldering or special tools. Simply insert the PEX pipe into the fitting and the stainless-steel teeth grip onto the pipe for a secure connection.
How Far To Push Pex Into Sharkbite?
Push PEX into SharkBite until it reaches the marked insertion depth, usually about 1 inch. Ensure a secure connection without forcing it too far.
Conclusion
To sum up, installing push to connect fittings is a simple and efficient way to ensure leak-free connections in plumbing systems. By following the step-by-step instructions provided in this blog post, you can confidently tackle this task on your own.
Remember to choose high-quality fittings and always check for proper connection before testing the system. With the right tools and a little practice, you’ll be able to install push to connect fittings with ease and enjoy trouble-free plumbing in no time.