To install a floating TV stand, first you need to measure and mark the desired height on the wall. Then, attach the wall bracket to the marked area using a drill and screws.
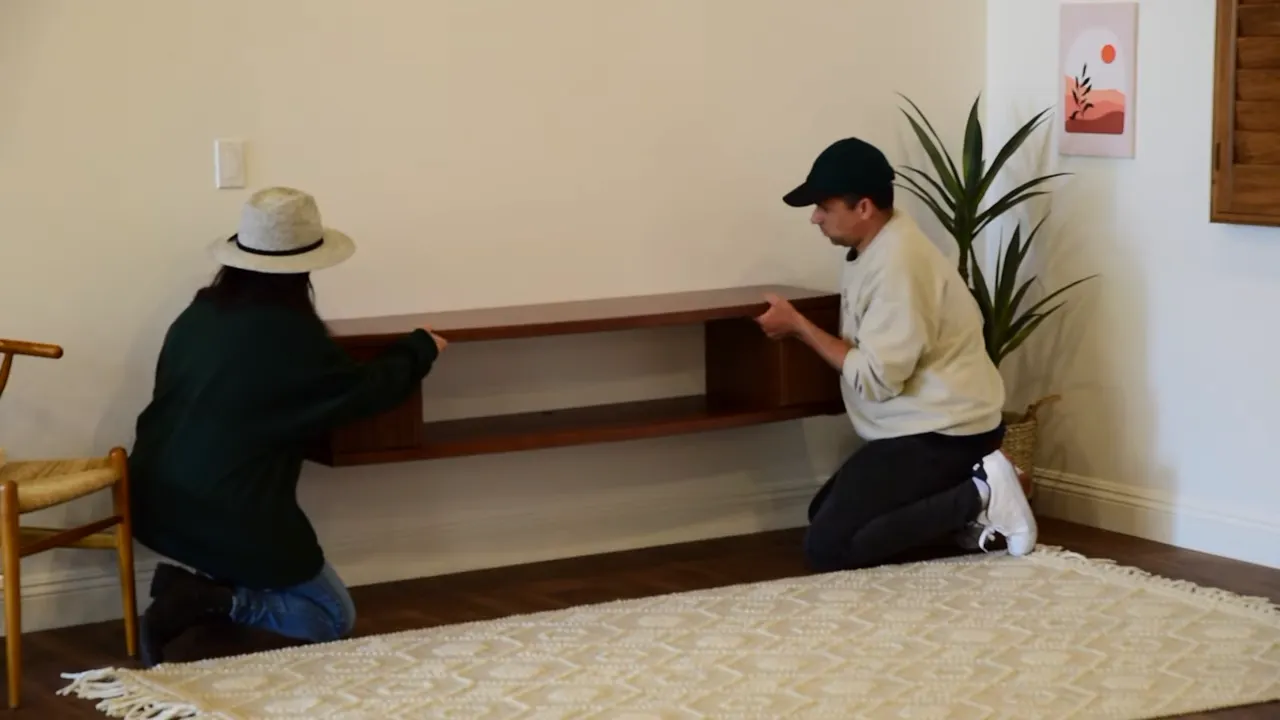
After that, mount the TV stand onto the wall bracket and secure it in place according to the manufacturer’s instructions. A floating TV stand not only adds a sleek and modern touch to your living space, but it also saves valuable floor space.
With its simple and clean design, this type of TV stand is becoming increasingly popular among homeowners. Installing a floating TV stand requires proper measurements, the use of tools, and following the manufacturer’s instructions. We will guide you through the installation process so that you can effortlessly mount your TV stand on the wall and enjoy a clutter-free entertainment area. Let’s get started!
Planning Your Floating Tv Stand Installation
Before you dive into installing your floating TV stand, it’s crucial to plan every step of the process. This will ensure a seamless and stress-free installation that perfectly meets your needs and desires. Here are two key considerations to keep in mind:
Ensure Proper Measurements for Your TV and Wall Space
The first step in planning your floating TV stand installation is ensuring you have accurate measurements for both your TV and the wall space where you intend to mount it. Grab a measuring tape and take note of the following dimensions:
| TV Measurements | Wall Space Measurements |
|---|---|
|
|
With these measurements in hand, you can now move on to the next step.
Choose a Suitable Floating TV Stand Design and Style
Now that you have the measurements, it’s time to choose a floating TV stand design and style that not only complements your TV but also fits into the overall aesthetic of your living space. Take into account the following factors:
- Weight capacity: Ensure that the floating TV stand you select can support the weight of your TV. Refer to the TV’s weight measurement and match it against the weight capacity mentioned by the TV stand manufacturer.
- Material: Consider the material and finish of the TV stand, ensuring it aligns with your personal taste and the style of your existing furniture.
- Storage and shelving: If you have other devices or accessories you’d like to house alongside your TV, look for a floating TV stand with ample storage options such as shelves or drawers.
By considering these factors and choosing a floating TV stand design and style that suits your needs, you’ll ensure that your installation not only looks great but also functions to its full potential. Now, you’re ready to move on to the exciting part: installation!

Preparing For Installation
In order to install a floating TV stand, it is important to properly prepare beforehand. This involves gathering the necessary tools and materials, locating the wall studs for secure mounting, and assessing the condition of your wall.
Gather the necessary tools and materials
Before you begin the installation process, it is crucial to ensure that you have all the required tools and materials at hand. This will help streamline the installation and prevent any unnecessary delays. Here is a list of the essential items you will need:
| Tools | Materials |
|---|---|
|
|
Locate the wall studs for secure mounting
Finding the wall studs is crucial for secure and sturdy mounting of your floating TV stand. This prevents the risk of it falling off the wall or causing damage. Use a stud finder to locate the studs. Once located, mark their positions with a pencil for reference during the installation process.
Assess the condition of your wall
It is important to assess the condition of your wall before installation to ensure it can support the weight of the floating TV stand. Check for any cracks, weak spots, or other structural issues that could affect the installation process. If you notice any concerns, it is advisable to consult a professional before proceeding.
Step-By-Step Installation Guide
Mounting the floating TV stand bracket
To begin the installation process of your floating TV stand, you will need to mount the TV stand bracket on the wall. Start by gathering the necessary tools, including a drill, a level, and a pencil for marking. Make sure you have chosen a suitable location, taking into consideration the height and position for optimal viewing. Use a stud finder to locate the studs in the wall and mark their position with a pencil. This will provide the necessary support for your TV stand.
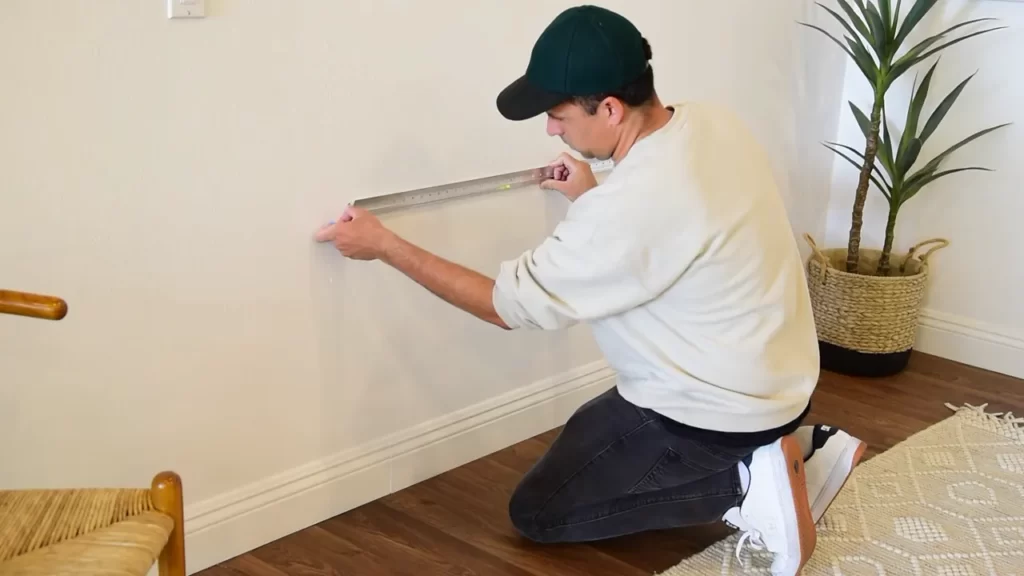
Marking the position of the bracket on the wall
Now that you have located the studs, it’s time to mark the position of the TV stand bracket on the wall. Using a level, ensure that the line is straight and aligned with your desired placement. Double-check the measurements and mark the position of the holes for the bracket screws. Make sure to leave enough space between the marks to accommodate the width of the bracket.
Drilling pilot holes for the bracket screws
The next step is to drill pilot holes for the bracket screws. This will prevent the screws from splitting the wall material. Using an appropriate drill bit, carefully drill holes at the marked positions. Be cautious not to drill too deeply to avoid damaging any underlying wires or pipes. Once the pilot holes are drilled, remove any dust or debris from the holes.
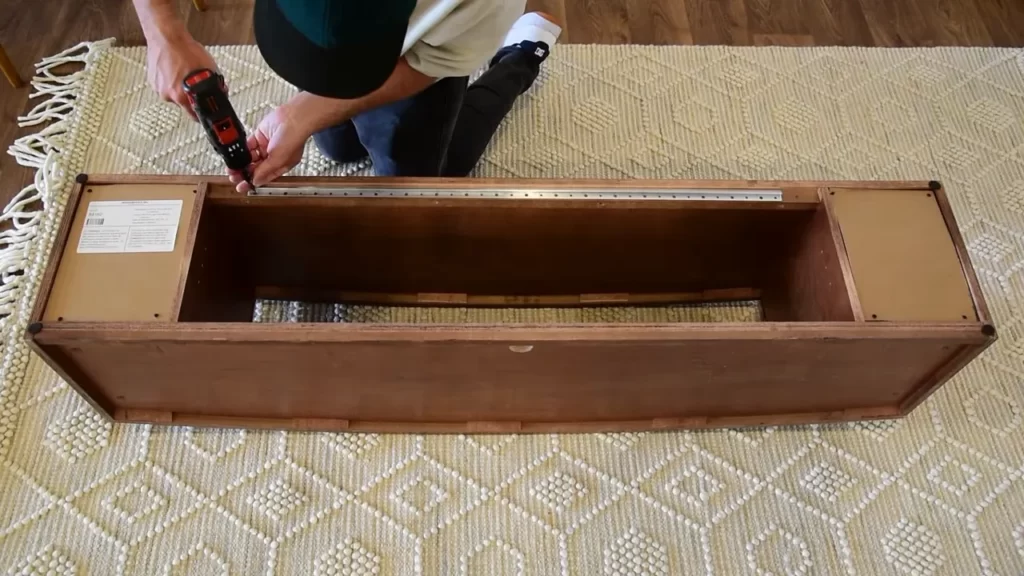
Attaching the bracket to the wall
Now that the pilot holes are ready, it’s time to attach the TV stand bracket to the wall. Align the bracket with the pilot holes and secure it in place using appropriate screws. Make sure to tighten the screws firmly, but be careful not to overtighten and damage the wall. Use a level to ensure that the bracket is horizontal and adjust as needed. Double-check the stability of the bracket by giving it a gentle tug.
Installing the TV stand shelves
With the bracket securely attached to the wall, it’s time to install the TV stand shelves. Carefully unpack the shelves and organize the individual components. Refer to the manufacturer’s instructions for guidance on assembling the shelves. Follow the step-by-step instructions provided, ensuring that each component is properly aligned and tightened. Use the necessary tools to secure the shelves together.
Assembling the shelves
Once the shelves are accurately assembled, it’s time to attach them to the TV stand bracket. Carefully lift the shelves and align them with the bracket. Make sure each shelf is level before attaching it. Insert the provided screws into the designated holes and tighten them using the appropriate tools. Check the stability of each shelf to ensure it is securely attached.
Securing the shelves to the bracket
To further secure the shelves to the bracket, use the additional hardware provided by the manufacturer, such as brackets or clamps. Attach these components according to the instructions, ensuring that the shelves are tightly secured. This will prevent any wobbling or movement of the shelves.
Mounting your TV on the stand
Now that the TV stand is fully assembled and secure, it’s time to mount your TV. Follow the manufacturer’s instructions for attaching the TV to the stand. Make sure to use the appropriate mounting hardware and carefully lift and attach the TV to the mounting bracket. Double-check that the TV is securely in place and adjust as necessary.
Connecting the necessary cables
With your TV mounted on the stand, it’s time to connect the necessary cables. Arrange the cables neatly and plug them into the corresponding ports on the back of the TV. Use cable clips or ties to secure the cables and prevent them from dangling or becoming tangled. Ensure that all connections are secure and tight.
Adjusting the TV position for optimal viewing
The final step in the installation process is to adjust the TV position for optimal viewing. Stand back and evaluate the angle and height of the TV. Make any necessary adjustments by tilting or repositioning the TV stand. Use a level to ensure the TV is perfectly horizontal. Take into consideration factors such as eye level, seating arrangement, and room lighting to achieve the best viewing experience.
In conclusion, by following this step-by-step installation guide, you can easily install a floating TV stand and enjoy your favorite movies and shows in style. Just remember to take your time, follow the instructions provided by the manufacturer, and double-check your work along the way for a secure and visually appealing setup.
Tips For A Successful Installation
Installing a floating TV stand can be a great way to free up floor space and give your living room a modern, minimalist look. However, to ensure a successful installation, there are a few important tips you should keep in mind. This section will guide you through the process, focusing on three key areas: ensuring proper weight distribution on the stand, concealing cables for a cleaner look, and regularly checking the stability of the TV stand.
Ensuring proper weight distribution on the stand
One of the first things you need to consider when installing a floating TV stand is ensuring proper weight distribution. A TV stand is designed to hold a certain weight, and exceeding this limit can lead to stability issues and potential damage to the stand. To determine the weight capacity of your stand, refer to the manufacturer’s specifications or manual.
When mounting your TV onto the stand, it’s essential to center it properly to ensure even weight distribution. Placing the TV too far to one side can create an uneven load, increasing the risk of tipping. Use a level to make sure the TV is horizontally straight, and adjust accordingly to achieve a balanced position.
Concealing cables for a cleaner look
One of the main advantages of a floating TV stand is the ability to hide unsightly cables and wires. With a little bit of planning and organization, you can achieve a cleaner and more streamlined look for your entertainment setup.
Start by determining the best route for your cables to follow. Consider using cable management solutions such as adhesive cable clips or cable sleeves to keep your cables neat and organized along the back of the TV stand.
If you have a power outlet positioned behind the TV stand, it’s a good idea to use a surge protector with built-in cable management features. This will allow you to plug in all your devices while keeping the cables hidden from view.
Regularly checking the stability of the TV stand
Maintaining the stability of your floating TV stand is crucial to avoid accidents and ensure the longevity of your setup. With regular checks, you can identify any potential issues and take the necessary steps to address them.
First, ensure that all bolts and screws are securely tightened. Loose hardware can compromise the stability of the stand and put your TV at risk. It’s recommended to use a screwdriver or wrench to periodically check and tighten any loose connections.
Additionally, if you have any concerns about the stability of your TV stand, consider using wall anchors or brackets to provide extra support. These can help distribute the weight more evenly and enhance the overall stability of the installation.
Frequently Asked Questions
How High Off The Ground Should A Floating Tv Stand Be?
A floating TV stand should be positioned approximately 24 to 36 inches off the ground.
What Can I Put Under My Floating Tv Stand?
You can put various items under your floating TV stand, such as a media player, gaming consoles, soundbar, DVD player, or decorative items like books or plants. Just make sure the items are not too heavy or large to avoid any instability or safety issues.
Can Floating Tv Unit Hold A Tv?
Yes, a floating TV unit can hold a TV. It is designed to securely support and display televisions.
Should Floating Tv Stand Be Bigger Than Tv?
A floating TV stand should be larger than the TV to provide stability and prevent accidents. The extra space ensures proper balance and allows for easy access to cables and connectors. Choose a stand that is at least a few inches wider than your TV for the best fit and functionality.
Conclusion
To wrap it up, installing a floating TV stand can be a straightforward process with the right tools and guidance. By following the step-by-step instructions provided in this blog post, you can confidently tackle this DIY project and create a stylish and space-saving entertainment setup.
Remember to measure accurately, use sturdy wall anchors, and take your time to ensure a secure installation. With a little effort and patience, you’ll be enjoying your sleek and modern TV stand in no time. Happy installing!