
To install plumber’s putty, knead the putty to make it pliable and then apply it to the desired area, pressing it firmly to create a watertight seal. Installing plumber’s putty is a crucial step in plumbing projects that require a watertight seal between pipes and fixtures.
Whether you’re installing a sink drain or repairing a leaky faucet, plumber’s putty can help prevent water leakage and ensure a secure connection. This versatile adhesive is easy to work with and provides a reliable seal in both wet and dry conditions.
In this guide, we will walk you through the process of installing plumber’s putty, so you can confidently tackle your next plumbing project.
Preparing The Surfaces For Application
Before applying plumber’s putty, it is crucial to ensure that the surfaces are properly prepared. This step is essential for creating a watertight seal and maximizing the effectiveness of the putty. In this section, we will discuss two important aspects of preparing the surfaces: cleaning and drying the area and removing old putty or sealant.
Cleaning and drying the area
Prior to applying plumber’s putty, it is imperative to clean and dry the area where the putty will be applied. This ensures that the putty adheres well and prevents any potential leaks or water damage. Here are a few steps to follow:
- Remove any loose debris or residue from the surface using a clean cloth or sponge.
- Use a mild detergent or soap to clean the area thoroughly. Avoid using harsh chemicals that can damage the surface.
- Rinse the area with clean water to remove any soap residue.
- Dry the surface completely using a clean towel or allow it to air dry for some time.
Removing old putty or sealant
If there is old putty or sealant present on the surfaces, it is vital to remove it before applying the new plumber’s putty. Failure to do so can result in an ineffective seal and potential leaks. Follow these steps to remove old putty or sealant:
- Using a putty knife or a scraper tool, gently scrape off the old putty or sealant from the surfaces. Be careful not to damage the underlying material.
- Wipe away any remaining residue using a clean cloth or sponge.
- If stubborn residue persists, you may need to use a solvent recommended for the specific surface material. Ensure that the solvent is compatible and safe to use.
- Once all the old putty or sealant has been removed, clean and dry the area as mentioned earlier.
By thoroughly cleaning and drying the area and removing any old putty or sealant, you are ensuring that the surfaces are ready for the application of plumber’s putty. This will result in a secure and long-lasting seal, providing you with peace of mind knowing that your plumbing fixtures are properly sealed.

Applying And Shaping The Putty
How to soften the putty properly for easier application
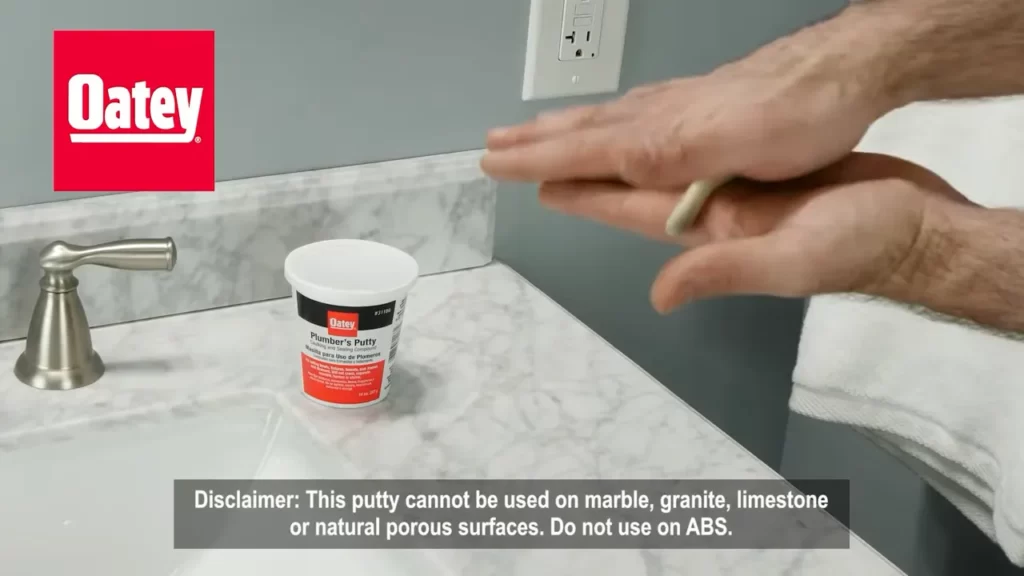
To ensure the smooth and easy application of plumber’s putty, it is important to soften it properly beforehand. Softening the putty makes it more pliable and easier to shape. Here are a few techniques to soften the putty:
- First, remove the putty from its container and knead it gently between your hands. The warmth from your hands will help soften the putty.
- If the putty feels too hard or dry, you can add a small amount of water to moisten it. Be careful not to add too much water, as it can make the putty too sticky and difficult to work with.
- Another way to soften the putty is to place it in a warm water bath for a few minutes. Make sure to use a waterproof container to keep the putty dry while it softens.
- Once the putty has been softened, test its pliability by shaping it between your fingers. If it easily molds and holds its shape, it is ready for application.
Techniques for creating the desired shape or thickness
Once the putty is properly softened, it’s time to shape it to your desired specifications. Follow these techniques to create the shape or thickness you need:
- Start by breaking off a small piece of putty from the softened mass. Remember, you can always add more putty if needed, so it’s better to start with a smaller amount and build up.
- Roll the small piece of putty between your palms to create a cylindrical shape. This will make it easier to apply and manipulate.
- If you need a specific thickness, you can pinch and flatten the putty between your fingers. Take your time to ensure an even thickness throughout.
- If you require a certain shape, such as a ring or a rope-like length, roll the putty gently on a clean, flat surface. Apply even pressure to achieve the desired shape.
- When applying the putty to a surface, press it firmly but gently to ensure a proper seal. Use your fingers or a putty knife to shape and smooth the putty further if necessary.
By following these techniques for softening and shaping plumber’s putty, you can ensure a professional and effective application that will help create a watertight seal in your plumbing projects.
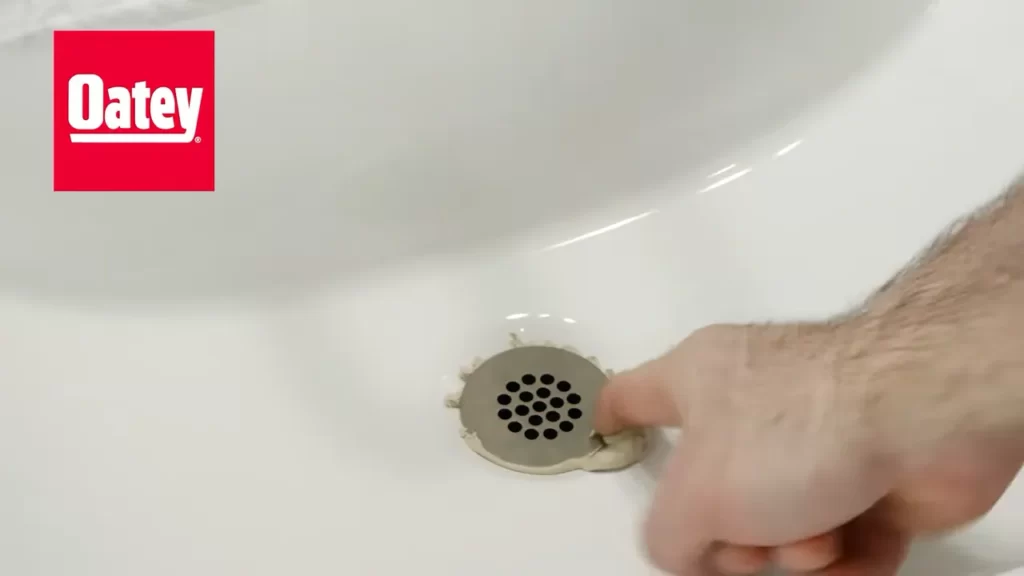
Placing And Securing The Fixture
One important step in installing a fixture with plumbers putty is properly placing and securing it on the surface. This ensures a tight and water-resistant seal that will prevent leaks and damage. In this article, we will discuss the proper positioning of the fixture on the surface and the methods for securing the fixture with the putty.
Proper Positioning of the Fixture on the Surface
Before applying plumbers putty, it is crucial to position the fixture correctly on the surface. Follow these steps to ensure a proper placement:
- Clean the surface: Use a clean cloth or sponge to remove any dirt, grease, or debris from the area where the fixture will be installed. This will help the putty adhere better and form a stronger seal.
- Center the fixture: Determine the desired location for the fixture and mark the center point on the surface. Position the fixture over the marked spot, making sure it is aligned properly.
- Check for level: Use a level to ensure that the fixture is horizontal or vertical, depending on its intended orientation. Adjust the positioning if necessary to achieve a level installation.
- Consider functional aspects: Evaluate the functionality of the fixture and make sure its placement allows for easy access and proper usage. Consider factors such as reach, clearance, and functional requirements specific to the fixture.
Methods for Securing the Fixture with the Putty
Once you have properly positioned the fixture, it’s time to secure it using plumbers putty. Follow these methods for a secure installation:
- Prepare the putty: Knead the plumbers putty in your hands until it becomes soft and malleable. Take a small amount of putty and roll it into a uniform rope-like shape.
- Apply the putty: Place the putty rope around the base of the fixture, ensuring it is evenly distributed. Make sure the putty forms a complete seal between the fixture and the surface.
- Tighten the fixture: Carefully press the fixture down onto the surface, applying even pressure to secure it in place. Use a screwdriver or other appropriate tool to tighten any screws or bolts associated with the fixture.
- Remove excess putty: Trim off any excess putty that squeezes out from the edges of the fixture. This will create a neat and clean appearance.
- Allow the putty to set: Give the putty sufficient time to set and harden. Refer to the putty manufacturer’s instructions for specific drying times.
By following these steps, you can effectively place and secure a fixture using plumbers putty. Remember that a thorough and precise installation will ensure a reliable and long-lasting seal.
Cleaning Up And Finishing Touches
Once you have successfully installed the plumbers putty, it’s important to clean up any excess putty and add the finishing touches to ensure a professional and clean-looking result. In this section, we will cover the steps you need to take to remove excess putty and polish the surface for a seamless finish.
Removing Excess Putty after Installation
After you have applied the plumbers putty and completed the installation, there may be some excess putty that needs to be removed. Follow these steps to ensure a clean and tidy finish:
- Gently scrape off the excess putty: Using a plastic putty knife or a similar tool, carefully scrape off any excess putty around the joint, making sure not to damage the surrounding surfaces.
- Wipe away the residue: Take a clean cloth or paper towel and dampen it slightly. Wipe away any remaining putty residue, ensuring the area is clean and free from any debris.
Polishing and Ensuring a Clean Finish
Once the excess putty has been removed, it’s time to polish the surface and ensure a clean and professional finish. Follow these steps:
- Inspect the joint: Carefully inspect the joint to ensure there are no visible imperfections or unevenness. If necessary, use a fine-grit sandpaper to smooth out any rough edges.
- Apply a polishing compound: Using a soft cloth, apply a small amount of polishing compound to the surface of the joint. Gently buff the area in circular motions, applying light pressure.
- Remove excess polishing compound: Once you are satisfied with the polished finish, wipe away any excess polishing compound using a clean cloth or paper towel.
- Final inspection: Give the joint a final inspection to ensure it looks clean and smooth. Make any necessary touch-ups or adjustments to achieve the desired result.
By following these steps, you can ensure that your plumbers putty installation looks professional and clean, adding the perfect finishing touch to your plumbing project.
Frequently Asked Questions
Does Plumbers Putty Need To Dry Before Getting Wet?
Yes, plumbers putty needs to dry before getting wet.
How Long Should Plumbers Putty Sit Before Use?
Plumbers putty should sit for about 24 hours before use. This gives it enough time to fully set and form a watertight seal. Allow it to sit undisturbed to ensure proper adhesion and prevent leaks.
When Should You Not Use Plumbers Putty?
Plumbers putty should not be used on porous materials like granite, marble, or certain plastics as it can cause staining or damage. It’s also not suitable for permanent applications or in areas with extreme temperatures. Consult a professional for guidance in such cases.
Why Won’T My Plumbers Putty Stick?
Plumbers putty won’t stick if it’s old, dry, or not properly kneaded. Make sure the surface is clean and dry before applying. Warm up the putty by kneading it in your hands for a few minutes. Press it firmly onto the surface and give it time to set.
Conclusion
Installing plumber’s putty is a straightforward task that can be completed by following a few simple steps. By properly preparing the surface, applying the putty evenly, and tightening the fixture securely, you can ensure a watertight seal that will prevent leaks and sealants from deteriorating over time.
Remember to always read and follow the manufacturer’s instructions for the best results. Take the time to complete this DIY project confidently knowing you have the know-how to tackle it successfully.