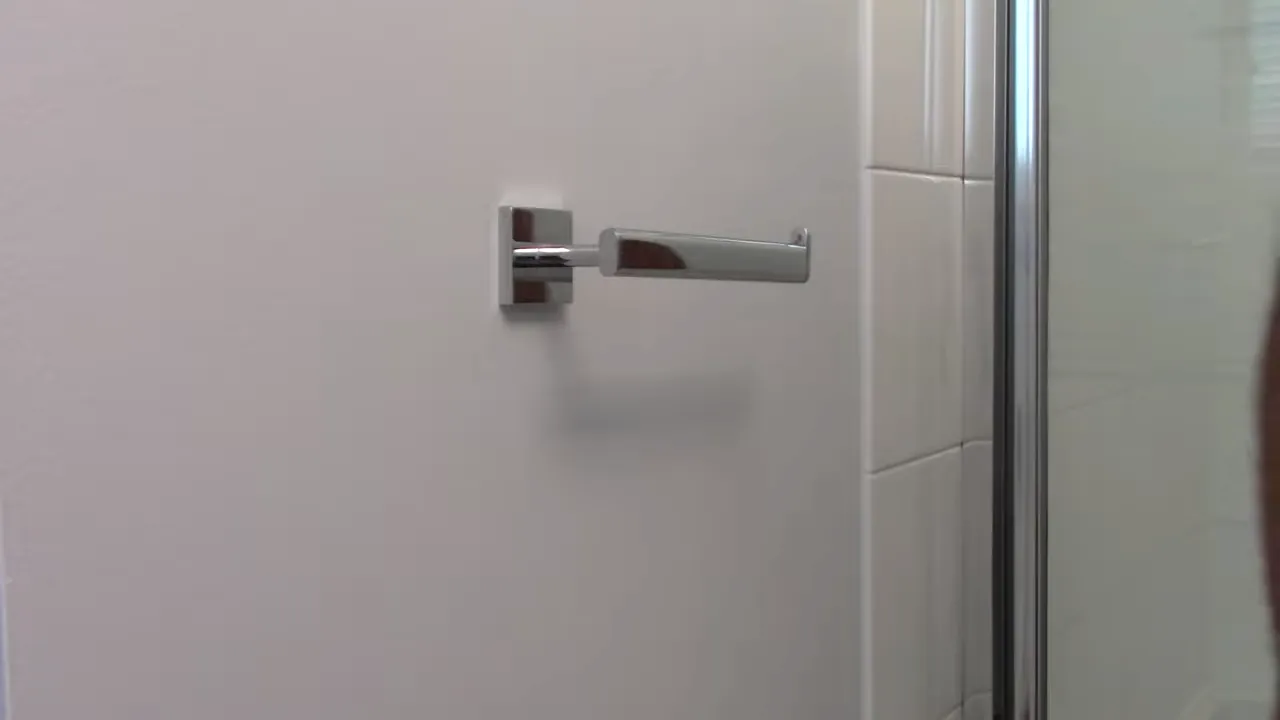
To install a toilet paper holder in drywall, first, locate a stud in the wall using a stud finder. Then, mark the desired position for the holder and drill pilot holes.
Finally, secure the holder using screws and a screwdriver. Introducing a toilet paper holder in your bathroom can provide convenience and organization. Whether you want to replace an existing holder or install a new one, proper placement is crucial. When it comes to drywall installation, finding a stud to anchor the holder is essential for stability.
In this guide, we will walk you through the step-by-step process of installing a toilet paper holder in drywall. By following these instructions, you can easily complete the installation and ensure a secure and functional addition to your bathroom. So let’s get started with the process.
Tools And Materials Needed
Necessary tools for installation
To successfully install a toilet paper holder in drywall, you will need a few tools at your disposal. These tools will make the process easier and more efficient. Here are the necessary tools you’ll need:
- Drill: A power drill will help you make the necessary holes in the drywall quickly and effortlessly. Ensure that you have the appropriate drill bits for the size of the holes needed for your specific toilet paper holder.
- Measuring Tape: Accurate measurements are crucial for installing a toilet paper holder. A measuring tape will help you determine the correct placement and align it appropriately.
- Pencil: A simple and essential tool, a pencil will allow you to mark the spots where you need to drill the holes for your toilet paper holder.
- Screwdriver: Depending on the type of screws your toilet paper holder requires, you may need a screwdriver to secure it firmly onto the drywall.
- Level: You want to make sure your toilet paper holder is straight. Using a level will help you achieve a perfectly aligned and balanced installation.
- Masking Tape: While it may not be a traditional tool, masking tape can come in handy when marking your measurements and preventing any potential damage to the drywall.
Required materials for the installation process
In addition to the necessary tools, you’ll also need specific materials to ensure a secure and sturdy installation. Here’s a list of the required materials:
- Toilet Paper Holder: Select a toilet paper holder that suits your bathroom’s style and meets your functional needs. There are numerous options available, including wall-mounted holders and freestanding ones.
- Anchors: Anchors are essential for ensuring that your toilet paper holder is securely fastened to the drywall. They provide additional support and prevent the holder from coming loose over time.
- Screws: Choose screws that are appropriate for the type of anchors you are using and the weight of your toilet paper holder. It’s crucial to select screws that are long enough to go through the drywall and into the anchors for a secure installation.
- Wall Patching Compound: If you accidentally create larger holes or damage the drywall during the installation process, having wall patching compound on hand will allow you to fill them in seamlessly.
- Sandpaper: Once the wall patching compound has dried, you’ll need sandpaper to smooth out the surface and create a seamless finish.
- Paint or Wallpaper: After sanding and patching, you may need to touch up the wall by applying paint or wallpaper to match the surrounding area. This will help blend the toilet paper holder into the overall aesthetic of your bathroom.
By gathering these necessary tools and materials beforehand, you’ll be fully prepared to take on the task of installing a toilet paper holder in drywall. With the right tools at your disposal and following the correct installation steps, you’ll have a secure and functional toilet paper holder in no time.
Step 1: Locate An Ideal Position For The Holder
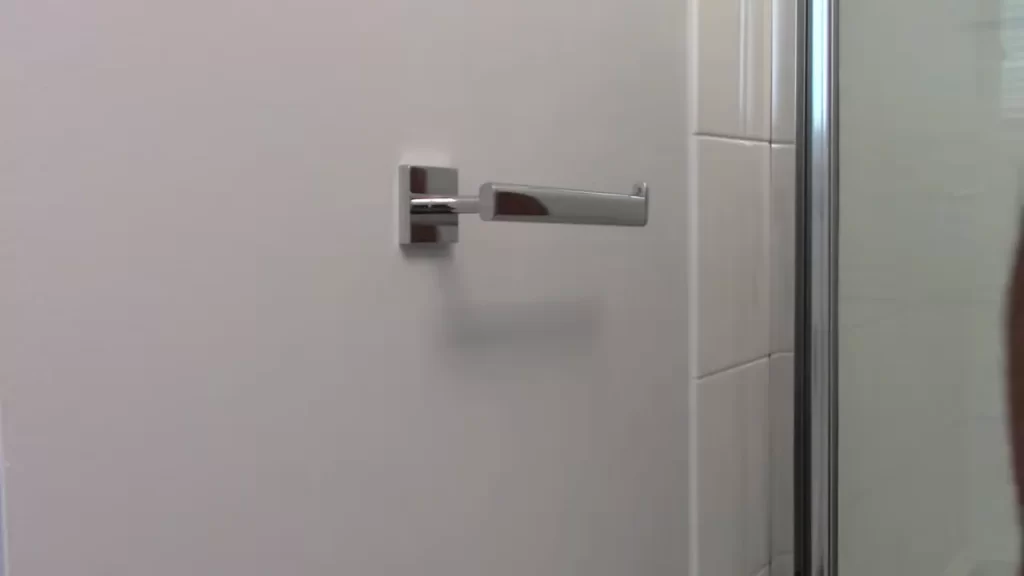
When it comes to installing a toilet paper holder in drywall, finding the right spot is crucial. You want it to be within easy reach but also in a convenient location. In this step, we’ll discuss how to determine the ideal position for your toilet paper holder.
Finding the right spot for the toilet paper holder
Locating the perfect spot for your toilet paper holder is essential for both functionality and aesthetics. Here are a few factors to consider when determining its placement:
Factors to consider when determining the placement
1. Accessibility: The toilet paper holder should be within easy reach from the toilet seat. Consider the distance that feels comfortable for you to grab toilet paper without straining or stretching.
2. Height: The height at which you install the holder is crucial. Typically, it is advisable to place it about 26 inches off the floor. However, you may need to adjust the height based on personal preference and any specific needs of individuals using the bathroom.
3. Orientation: Consider where the toilet paper will unroll from – the top or bottom. This may seem like a small detail, but it can make a big difference in convenience and ease of use.
4. Placement: Decide where on the wall you want to install the holder. It should be close to the toilet, preferably within arm’s reach, but not so close that it obstructs movement or poses a risk of dampness.
5. Studs: Mounting the toilet paper holder to studs provides additional support and stability. Use a stud finder to locate the studs behind the drywall before marking the position for installation.
Considering these factors will help you locate the ideal position for your toilet paper holder. Once you have determined the proper placement, you can move on to the next steps of installation.
Step 2: Prepare The Drywall For Installation
Before mounting your new toilet paper holder, you’ll need to ensure that the drywall is in good condition and create a secure and stable surface for installation. This step is crucial to prevent any damage to the wall and ensure that your toilet paper holder is properly supported.
Checking the condition of the drywall
The first thing you’ll need to do is inspect the drywall to make sure it’s in good condition. Look for any signs of damage or deterioration, such as cracks, holes, or water stains. If you notice any major issues, it’s important to address them before proceeding with the installation.
If you come across small cracks or holes in the drywall, you can easily fix them with some spackling compound or joint compound. Apply the compound to the damaged area using a putty knife, and then smooth it out until it’s level with the surrounding wall. Allow it to dry according to the manufacturer’s instructions, and then sand it down until it’s smooth.
Ensuring a secure and stable surface for mounting
Once you’ve inspected and repaired any necessary areas of the drywall, it’s time to ensure that the surface is secure and stable enough to support the weight of the toilet paper holder. Here are a few tips to help you achieve this:
- Locate the studs: Use a stud finder to locate the vertical wooden studs behind the drywall. These studs provide strong support and are ideal for mounting heavy items like toilet paper holders. Mark the location of the studs with a pencil.
- Choose the right mounting hardware: Select mounting hardware that is suitable for both the weight of the toilet paper holder and the type of drywall you have. This may include screws, anchors, or toggle bolts. Refer to the instructions provided with your toilet paper holder for guidance.
- Positioning: Position the toilet paper holder on the wall, making sure it aligns with the marked locations of the studs. This will ensure maximum support and stability. Use a level to ensure that the holder is straight.
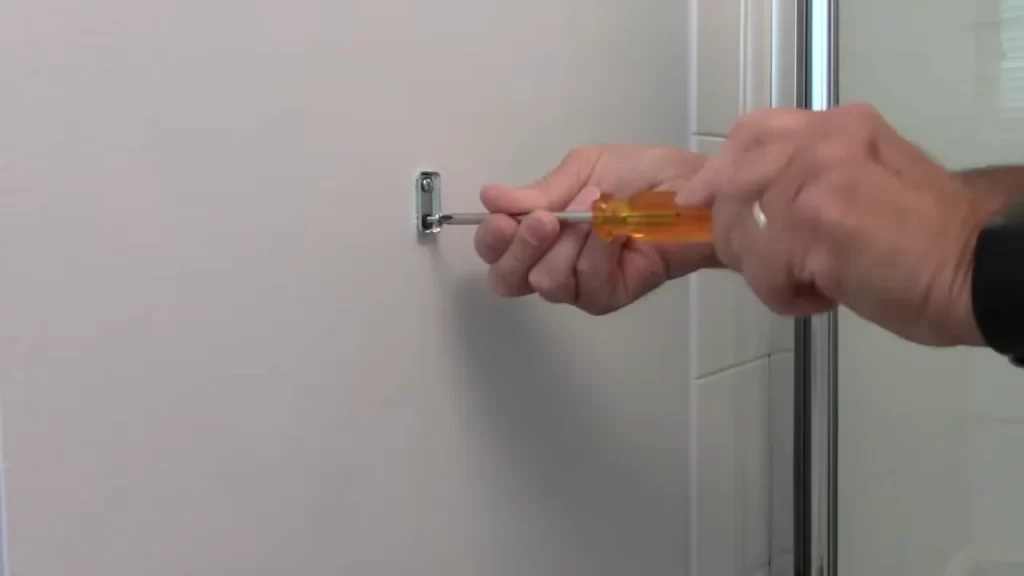
- Secure the hardware: Using the chosen mounting hardware, attach the toilet paper holder to the wall, following the manufacturer’s instructions. Make sure to tighten the screws or bolts securely, but be cautious not to over-tighten and damage the drywall.
- Test for stability: Give the toilet paper holder a gentle tug to ensure that it feels stable and secure. If there is any wobbling or movement, double-check the hardware and make any necessary adjustments.
By following these steps, you can ensure that your toilet paper holder is securely and properly installed into the drywall. Taking the time to prepare the drywall will not only provide a stable mounting surface but also help to prolong the lifespan of your toilet paper holder and prevent any potential damage to your walls.
Step 3: Mark The Mounting Holes On The Drywall
Step 3: Mark the Mounting Holes on the Drywall
Now that you have measured the appropriate height for your toilet paper holder, it’s time to mark the mounting holes on the drywall. This step is crucial to ensure a secure and sturdy installation. Here’s how you can do it:
Measuring and marking the holes for installation
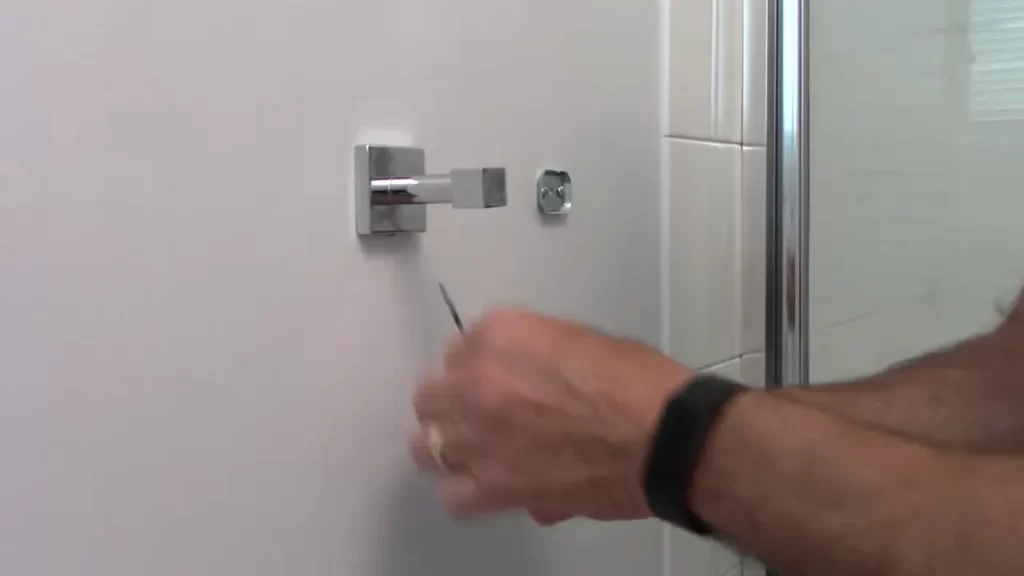
Begin by placing the toilet paper holder brackets on the desired location on the drywall. Use a pencil or a marker to trace the outline of the brackets onto the wall. This will serve as your guide when drilling the mounting holes.
Next, measure the distance between the mounting holes on each bracket. Make sure the measurements are accurate to ensure proper alignment and symmetry.
Using a tape measure, measure the distance from the bottom of the brackets to the floor. This will help you achieve consistent height for all the brackets during installation.
Tips for precise hole placement:
Ensuring each H3 heading adheres to HTML syntax
- Use a level: To ensure that the brackets are properly aligned, you can use a level to check both horizontally and vertically. This will help you avoid any lopsided or crooked installation.
- Double-check measurements: Before proceeding with drilling, double-check all your measurements to ensure accuracy. Remember, precision is key in achieving an aesthetically pleasing and functional toilet paper holder.
- Choose the right drill bit size: Depending on the type of screws or anchors you will be using, choose the appropriate drill bit size. This will prevent any unnecessary damage to the drywall and ensure a secure attachment.
- Consider using wall anchors: If the drywall is too thin or weak, it’s advisable to use wall anchors for added strength and stability. These anchors will distribute the weight of the toilet paper holder evenly, reducing the risk of it coming off the wall.
By following these tips, you can ensure that the mounting holes on the drywall are precise and accurately placed. This will result in a sturdy and reliable installation of your toilet paper holder.
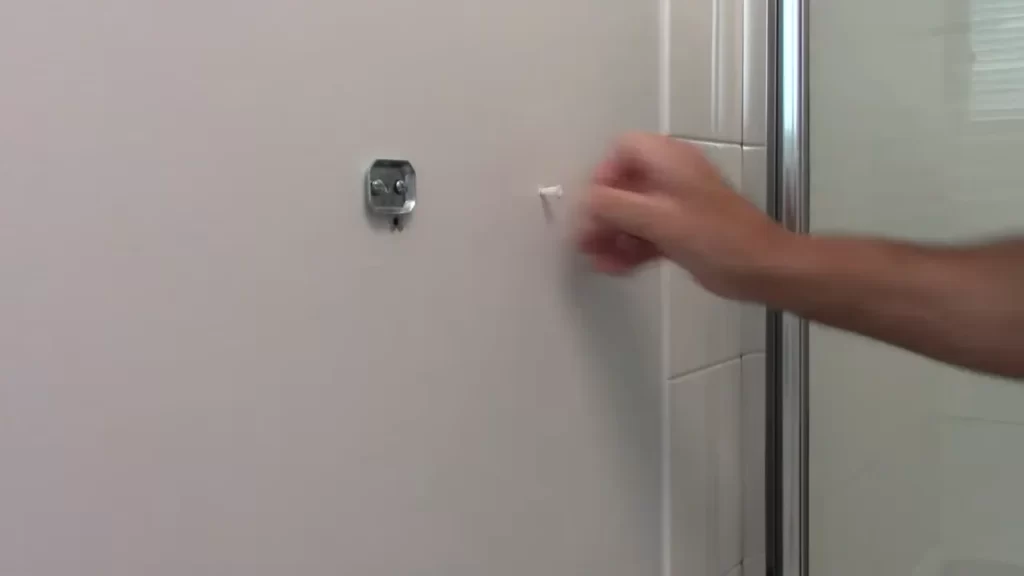
Step 4: Drill Holes For Mounting
After carefully measuring and marking the ideal position for your toilet paper holder, the next step is to drill holes in the drywall for mounting it securely. This step is crucial to ensure that your toilet paper holder stays firmly in place and doesn’t wobble or come loose over time. In this section, we will guide you through the process of drilling holes for mounting, so you can complete the installation smoothly and efficiently.
Choosing the Appropriate Drill Bit Size
To begin, it is essential to select the appropriate drill bit size for your toilet paper holder. The size of the bit you choose will depend on the type of wall material and the mounting hardware provided with the holder. Typically, a 1/4-inch drill bit is suitable for most drywall installations. However, if you have a different size mounting hardware or are working with a different wall material, refer to the manufacturer’s instructions or seek professional advice to ensure the correct drill bit size.
Drilling Holes with Precision and Care
Once you have determined the correct drill bit size, it’s time to start drilling holes in the drywall. Follow these steps to ensure precision and care during the process:
- Attach the appropriate drill bit securely to your drill. Make sure it is tightened properly to avoid any wobbling during drilling.
- Hold the drill perpendicular to the marked spot on the drywall. This ensures that the holes are drilled straight and in line with your markings.
- Apply gentle pressure on the drill while starting to drill the first hole. Be sure to establish a firm grip on the drill to maintain control throughout the process.
- Slowly and steadily drill into the marked spot. Avoid pushing too hard, as it can damage the drywall. Let the drill do the work by applying steady pressure.
- Once the drill bit penetrates the drywall, stop and remove any dust or debris from the hole. This helps prevent blockages and ensures a clean hole for mounting.
Remember to repeat these steps for each hole required by your toilet paper holder. Take your time and drill with precision to create secure and well-aligned holes for mounting. By following these guidelines, you can confidently complete this step of the installation process, bringing you closer to enjoying a convenient and organized bathroom experience.
Step 5: Insert Wall Anchors For Added Support
Selecting the Appropriate Wall Anchors
Before you proceed with inserting wall anchors into the drilled holes, it is crucial to select the appropriate wall anchors for your toilet paper holder. Choosing the right type of wall anchors will ensure that your toilet paper holder is securely attached to the drywall, providing the necessary support for everyday use.
There are different types of wall anchors available in the market, each with their own set of advantages and suitable applications. Here are some common types:
- Plastic Expansion Anchors: These anchors are suitable for light to medium weight applications and are easy to install. They expand as you tighten the screw, providing a secure hold.
- Toggle Bolts: Toggle bolts are ideal for heavier fixtures. They consist of a spring-loaded toggle that opens up behind the wall, providing a strong anchoring point.
- Metal Wing Anchors: These anchors have metal wings that fold back once inserted into the wall, providing excellent holding power. They are perfect for medium to heavy-duty applications.
Consider the weight and size of your toilet paper holder before selecting the appropriate wall anchors. It is always better to choose anchors that have a higher weight capacity than the actual weight of the toilet paper holder for added security.
Properly Inserting Wall Anchors into the Drilled Holes
Now that you have selected the suitable wall anchors, it’s time to insert them into the drilled holes. Here’s a step-by-step guide to ensure proper installation:
- Step 1: Take the wall anchor and align it with the drilled hole.
- Step 2: Insert the anchor into the hole, making sure it sits flush with the drywall surface.
- Step 3: Using a screwdriver or drill, carefully tighten the screw or bolt into the anchor. Avoid over-tightening as it may damage the anchor or the drywall.
- Step 4: Repeat the process for each drilled hole, ensuring that all wall anchors are properly inserted.
By following these steps, you will ensure that your toilet paper holder is firmly secured to the wall and less prone to wobbling or falling off. The wall anchors will provide the necessary support, even during frequent use.
Remember, the quality of the wall anchors and the proper installation are key factors in the longevity and stability of your toilet paper holder. Don’t skimp on these steps, as a secure and robust installation will save you from potential headaches in the future.
Step 6: Attach The Mounting Hardware To The Holder
Now that you have assembled the mounting hardware included with the toilet paper holder, it’s time to attach it securely. This step is crucial to ensure your toilet paper holder stays in place and doesn’t wobble or fall off. Follow the instructions below to connect the holder to the mounting bracket securely.
1. Assembling the Mounting Hardware Included with the Holder
Before attaching the mounting hardware, take a moment to ensure you have all the necessary components. The mounting hardware typically includes screws, anchors, and a mounting bracket. Refer to the instruction manual or packaging to confirm that you have everything.
Once you’ve confirmed you have all the parts, start by attaching the mounting bracket onto the desired location on the drywall. Ensure the bracket is level by using a spirit level. This will prevent the holder from slanting or tilting.
2. Connecting the Holder to the Mounting Bracket Securely
Now it’s time to attach the holder to the mounting bracket. The exact method may differ depending on the type of holder you have, but the general process remains the same. Follow these steps:
- Take the holder and align it with the holes on the mounting bracket.
- Using the screws provided, insert them through the holes of the holder and screw them firmly into the mounting bracket. Ensure each screw is tightened securely but be careful not to over-tighten as it may damage the holder or the drywall.
- Double-check that the holder is stable and not loose. If it feels wobbly, tighten the screws slightly until it is securely attached.
Once you have completed these steps, give the toilet paper holder a gentle tug to ensure it is firmly attached. If everything feels secure, congratulations! You have successfully attached the mounting hardware to the holder. Now you can enjoy the convenience of easily dispensing toilet paper whenever you need it.
Step 7: Install The Toilet Paper Holder On The Wall
Now that you have completed all the necessary preparations, it’s time to attach the toilet paper holder securely to the wall. This step is crucial to ensure a tight and stable installation that will withstand everyday use. Follow these instructions to install the holder correctly.
Attaching the holder to the wall anchors
Once the wall anchors are securely in place, you can proceed to attach the toilet paper holder. Here’s how:
- Take the mounting bracket provided with the holder and align it with the wall anchors.
- Insert the screws or bolts (depending on the design of the holder) through the bracket holes and into the anchors.
- Tighten the screws or bolts until the bracket is firmly secured to the wall.
- Ensure that the bracket is level and aligned properly before proceeding to the next step.
By following these steps, you ensure that the holder is firmly attached to the wall anchors, providing the stability needed to hold the toilet paper roll securely.
Ensuring a tight and stable installation
Now that the mounting bracket is securely attached, it’s time to complete the installation. Follow these final steps to ensure a tight and stable installation:
- Place the toilet paper holder onto the mounted bracket.
- Align the holder with the bracket and insert any screws or fasteners provided.
- Tighten the screws or fasteners until the holder is securely attached to the bracket.
- Give the holder a gentle tug to ensure it is firmly in place.
It’s important to ensure a tight and stable installation to prevent the holder from becoming loose or wobbly over time. By following these steps, you can enjoy a toilet paper holder that is securely mounted onto your drywall.
With these simple instructions, you can now complete the installation of your toilet paper holder in drywall. Remember to always double-check the stability of the installation before using the holder. Now, you can enjoy the convenience of having a securely mounted toilet paper holder for your bathroom.
Step 8: Test And Adjust The Holder
Now that you have successfully installed the toilet paper holder in your drywall, it’s important to test its stability and make any necessary adjustments to ensure proper functionality. This step will ensure that your toilet paper holder stays securely in place, even with frequent use. Follow the steps below to check the stability and make any necessary adjustments:
Checking the stability of the installed holder
First, begin by gently pulling on the holder to test its stability. Apply a bit of pressure to see if it wobbles or moves. A properly installed toilet paper holder should remain firm and secure on the wall. If you notice any movement or instability, it’s important to address it now before it becomes a bigger issue later.
Making any necessary adjustments for proper functionality
If the holder is not stable, you may need to make some adjustments to ensure proper functionality. Here are a few troubleshooting tips:
- Loosen the mounting screws slightly: Sometimes, the holder may become unstable if the screws are either too tight or too loose. Use a screwdriver to carefully loosen the screws just enough to allow for some adjustment. Avoid over-tightening as it may damage the drywall.
- Reposition the holder: If the holder still feels unsteady, you may need to reposition it. Unscrew the holder from the wall and carefully adjust its position to make it more balanced. Make sure the screw holes align properly with the drywall anchors.
- Use additional drywall anchors: If the holder continues to be unstable, consider using additional drywall anchors for extra support. This is especially important if the holder is located in a high-traffic area or if it will be subjected to heavy usage.
- Tighten the mounting screws: Once you have made the necessary adjustments, use a screwdriver to tighten the mounting screws securely. Be careful not to overtighten them, as it can cause damage to the drywall.
By following these steps, you can ensure that your toilet paper holder is stable and functional. Testing and adjusting the holder during the installation process will save you from potential mishaps or damage in the future. So, take the time to check the stability and make any necessary adjustments for a hassle-free toilet paper holder.
Step 9: Finishing Touches
Now that you have successfully installed your toilet paper holder in drywall, it’s time to add the finishing touches. This step involves cleaning up any mess from the installation process and then enjoying your newly installed toilet paper holder. Let’s get started!
Cleaning up any mess from the installation process
During the installation process, it is common to have some debris or dust fall onto the floor or nearby surfaces. Cleaning up this mess not only ensures a tidy bathroom but also prevents any accidents or slips. Here are a few tips to help you with the cleanup:
- Gather your cleaning supplies: Grab a broom, dustpan, and a damp cloth to wipe away any dust or debris.
- Sweep the area: Use the broom to sweep up any loose debris on the floor. Make sure to reach into corners and under cabinets.
- Wipe down surfaces: Dampen the cloth with water and wipe down any surfaces that may have collected dust. This includes countertops, sinks, and any nearby furniture.
- Dispose of debris: Empty the dustpan into a trash bag or bin. If you encounter any sharp objects or screws, make sure to dispose of them safely to avoid injuries.
- Give the floor a final clean: If necessary, mop or vacuum the floor to remove any remaining dust or dirt. This will leave your bathroom looking fresh and clean.
By following these steps, you can ensure that your bathroom is neat and tidy after installing a toilet paper holder.
Enjoying the newly installed toilet paper holder
With the installation process complete and the mess cleaned up, it’s time to enjoy your newly installed toilet paper holder. Take a moment to appreciate your handiwork and revel in the convenience of having toilet paper readily accessible. Here are a few things you can do to fully enjoy your new addition:
- Add a roll of toilet paper: Place a fresh roll of toilet paper onto the holder. Ensure that it is securely in place and ready for use.
- Admire the aesthetics: Take a step back and appreciate the visual appeal of the toilet paper holder. Whether it matches your bathroom decor or adds a touch of elegance, it’s a small detail that can make a big difference.
- Test its functionality: Give the holder a gentle tug to ensure it is securely attached to the wall. Test the ease of sliding the toilet paper roll on and off the holder. Confirm that it is positioned at a convenient height for easy access.
- Share your accomplishment: If you’re proud of your installation skills, show off your handiwork to friends or family members. They might even be inspired to tackle their own DIY projects.
By following these steps, you can fully enjoy the benefits of your newly installed toilet paper holder. Congratulations on a successful installation!
Frequently Asked Questions
How Do You Attach A Toilet Paper Holder To The Wall?
To attach a toilet paper holder to the wall, follow these steps: 1. Locate a suitable spot near the toilet. 2. Use a marker to mark the holes for mounting. 3. Drill the holes and insert wall anchors. 4. Attach the holder using screws and a screwdriver.
5. Ensure it is securely fastened before using.
Do You Need Drywall Anchors For Toilet Paper Holder?
Yes, you need drywall anchors for a toilet paper holder. They provide stability and prevent the holder from falling off the wall. Drywall anchors ensure the toilet paper holder stays securely in place for easy access and convenience.
How Do You Fix A Loose Toilet Paper Holder In Drywall?
To fix a loose toilet paper holder in drywall, start by removing the holder from the wall. Then, fill the holes with spackle or putty. Let it dry completely. Next, drill new pilot holes and reattach the holder using screws or anchors.
Tighten it securely and ensure it is level.
Can You Glue Toilet Roll Holder To Wall?
Yes, you can glue a toilet roll holder to the wall. Just make sure to use a strong adhesive suitable for wall surfaces. Clean the wall, apply the glue to the holder, and press firmly against the wall for a secure attachment.
Conclusion
Installing a toilet paper holder in drywall may seem like a daunting task, but with the right tools and steps, it can be done easily. By following this guide, you can avoid any potential issues and successfully install your toilet paper holder without damaging your drywall.
Remember to measure carefully, use the appropriate tools, and choose a sturdy installation method. With a little bit of patience and attention to detail, you’ll have a functional and stylish toilet paper holder in no time. Happy DIY-ing!
