
To install a spud on a toilet, remove the old spud and clean the area, then place the new spud onto the flush valve and secure it with the nut provided. Are you facing issues with your toilet’s flushing mechanism?
One common problem could be a faulty or worn-out spud. The spud, which is a crucial component of a toilet’s flush valve, can become damaged over time, leading to inefficient flushing. If you’re experiencing this problem and looking for a solution, we have you covered.
We’ll guide you through the straightforward process of installing a new spud on your toilet. With just a few simple steps, you’ll have your toilet flushing efficiently and effectively once again, saving you from the inconvenience of repeated flushes or unsanitary conditions. Let’s get started with the installation process right away.
Understanding The Spud And Its Importance
Understanding the Spud and Its Importance
When it comes to understanding the inner workings of a toilet, the spud is a crucial component that plays a vital role. In this article, we’ll delve into what exactly a spud is and why it is essential for the proper functioning of a toilet.
What is a spud in a toilet?
A spud in a toilet is a small, often overlooked part that connects the toilet tank to the bowl. It is typically made of durable materials such as brass or plastic. The primary purpose of the spud is to control the flow of water from the tank to the bowl when the toilet is flushed.
The spud comprises a housing with a central opening that serves as the outlet for water to pass through. This outlet aligns with a corresponding flush valve opening in the bottom of the tank. When the toilet is flushed, the water rushes through the spud and into the bowl, causing the waste to be effectively removed.
It is crucial to ensure that the spud is in good condition and tightly secured to the tank. An improperly installed or deteriorated spud can lead to leaks, decreasing the efficiency of the toilet and potentially causing water damage to the surrounding area. Regular maintenance and inspection of the spud are necessary to avoid these issues.
Why is the spud an essential component of a toilet?
The spud is an essential component of a toilet because it helps maintain the proper water level in the bowl and facilitates efficient flushing. Without a functional spud, the toilet may not flush properly, causing constant clogging and unsanitary conditions.
Additionally, the spud contributes to the overall water-saving features of modern toilets. By controlling the flow of water, the spud ensures that only the necessary amount is used for each flush, promoting eco-friendly practices and reducing water wastage.
Moreover, a well-maintained spud also minimizes the likelihood of leaks, which can lead to increased water bills and potential water damage. Regularly inspecting the spud for any signs of wear and tear and promptly addressing any issues can prevent costly repairs or replacements.
In conclusion, the spud may be a small component in a toilet, but its importance cannot be underestimated. Understanding its function and taking proper care of it can contribute to a more efficient and sustainable toilet system, ensuring optimal performance and longevity.

Preparing For The Spud Installation
Before installing a spud on your toilet, it’s crucial to properly prepare for the installation to ensure a smooth and hassle-free process. This involves gathering the necessary tools and materials, as well as shutting off the water supply to the toilet. Let’s explore these steps in more detail.
Tools and materials needed for the installation
Before you begin the spud installation, it’s important to have the following tools and materials on hand:
- Adjustable wrench: This tool will help you loosen and tighten various components during the installation process.
- Screwdriver: Depending on the type of screws or bolts used in your toilet, you’ll need either a flathead or Phillips screwdriver.
- Plumber’s tape: Also known as Teflon tape, this is used to provide a tight seal and prevent leaks.
- New spud: Ensure you have the correct size and type of spud that matches your toilet model.
Shutting off the water supply to the toilet
Before you can proceed with the spud installation, you need to shut off the water supply to the toilet. Here’s how you can do it:
- Locate the water shut-off valve, which is usually located on the wall behind or near the toilet.
- Turn the valve clockwise (to the right) until it is fully closed. This will stop the flow of water to the toilet.
- Flush the toilet to remove any remaining water from the tank and bowl.
By shutting off the water supply, you can minimize the risk of water leakage during the spud installation process. It’s important to take this step to prevent any potential damage or mess.
Now that you have gathered the necessary tools and materials, as well as shut off the water supply, you’re ready to proceed with the spud installation. In the next section, we will guide you through the step-by-step process, ensuring your toilet is back in working order in no time.
Step-By-Step Spud Installation Process
Installing a spud on a toilet may seem like a daunting task, but with a step-by-step process, it can be done easily and efficiently. In this guide, we will walk you through each step of the spud installation process, from removing the toilet tank lid to reassembling the tank. So let’s get started!
Removing the toilet tank lid
The first step in installing a spud on a toilet is to remove the toilet tank lid. This can usually be done by lifting the lid straight up or by unscrewing any bolts that are holding it in place. Be careful not to drop or damage the lid during this process.
Draining the water from the tank
Once the lid is removed, it’s important to drain the water from the toilet tank. This can be done by turning off the water supply valve, usually located near the bottom of the tank. Flush the toilet to remove as much water as possible and use a sponge or towel to soak up any remaining water.
Removing the old spud
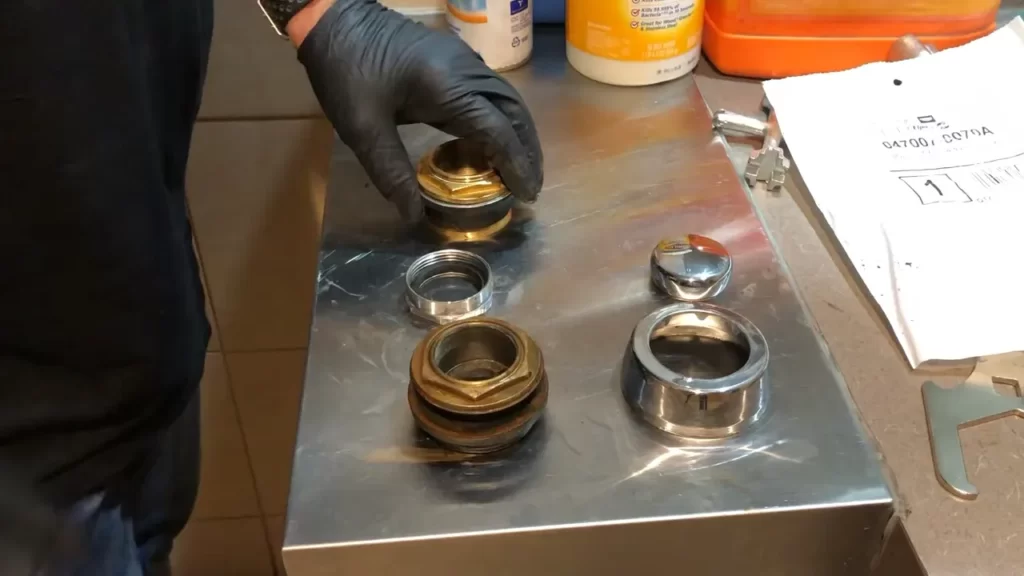
With the tank drained, it’s time to remove the old spud. The spud is a small, round piece located near the bottom of the tank that connects to the flush valve. Use a wrench to loosen and remove the nut holding the spud in place, then carefully pull out the old spud.
Cleaning the spud opening in the toilet
Before installing the new spud, it’s important to clean the opening in the toilet where the spud will be inserted. Use a brush or sponge to remove any debris or buildup, ensuring a clean and secure fit for the new spud.
Applying plumber’s tape to the new spud
Now it’s time to prepare the new spud for installation. Wrap plumber’s tape around the threads of the spud to create a tight seal. This will help prevent any leaks once the spud is installed.
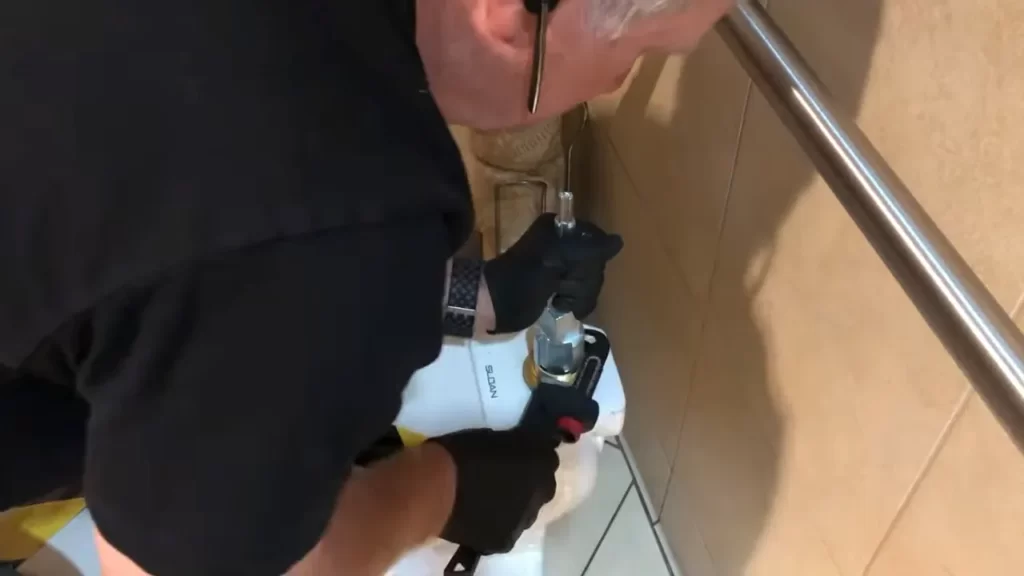
Inserting and securing the new spud
With the plumber’s tape in place, carefully insert the new spud into the opening in the toilet. Make sure it is aligned correctly and then tighten the nut to secure the spud in place. Be careful not to overtighten, as this could cause damage to the spud or toilet tank.
Reassembling the toilet tank
Finally, it’s time to reassemble the toilet tank. Place the toilet tank lid back on top, ensuring it is aligned correctly and secure. Turn on the water supply valve and allow the tank to fill. Once the tank is full, flush the toilet to ensure everything is working properly.
Congratulations! You have successfully installed a new spud on your toilet. With these step-by-step instructions, you can easily complete this task and ensure your toilet is functioning optimally. Say goodbye to leaky spuds and hello to a well-functioning toilet!
Testing And Adjustments
Once you have successfully installed the spud on your toilet, it’s essential to perform thorough testing and make any necessary adjustments. This step is crucial to ensure that your toilet is functioning properly and that there are no leaks. In this section, we will discuss the steps involved in testing and making adjustments to the spud, so you can have a perfectly working toilet in no time.
Turning the water supply back on
Before you begin testing the spud, it is important to turn the water supply back on. Locate the shut-off valve, usually located at the base of the toilet near the wall, and turn it clockwise to restore the water flow. This will allow the water to fill the tank, enabling you to proceed with the testing process.
Checking for any leaks
Once the water supply is turned on, it is crucial to check for any leaks. Leaks can lead to water wastage and potential damage to your bathroom. Start by visually inspecting the areas around the spud, including the connection between the tank and the bowl. Look for any signs of water dripping or pooling. If you notice any leaks, it is important to address them immediately.
To further test for leaks, you can add a few drops of food coloring into the toilet tank. Allow the toilet to sit for a few minutes and check the toilet bowl. If you notice any discoloration, it is an indication of a leak. In such a case, you may need to reapply the sealant or make adjustments to the spud.
Making adjustments to the spud if necessary
After checking for leaks, you may find that some adjustments are required to ensure optimal performance of the spud. If you notice that the water level in the toilet bowl is too high or too low, you can make adjustments to the spud. To do this, locate the adjustment mechanism on the spud and follow the manufacturer’s instructions for making the necessary changes.
It is important to remember that each toilet model may have different adjustment mechanisms, so it is essential to refer to the manufacturer’s instructions. Making incorrect adjustments can cause further issues with your toilet, so proceed with caution. If you are unsure about the proper adjustments, it is always best to seek professional help.
By following these testing and adjustment steps, you can ensure that your newly installed spud is functioning optimally. Remember to turn on the water supply, check for leaks, and make any necessary adjustments for a perfectly working toilet.
Troubleshooting Common Issues
Installing a spud on a toilet is a straightforward process that can improve the functionality and efficiency of your toilet. However, it’s not uncommon to encounter a few common issues during or after the installation. In this section, we will discuss how to troubleshoot these issues so that you can successfully install a spud on your toilet without any hassle.
What to do if the spud doesn’t fit properly
If you find that the spud doesn’t fit properly in the toilet tank, there are a few steps you can take to address this issue:
- Check the size: Ensure that you have selected the correct size of spud for your toilet. Measure the diameter of the spud opening in the toilet tank and compare it to the size of the spud you have purchased. If there is a mismatch, you may need to exchange the spud for the correct size.
- Inspect the threads: Carefully examine the threads on both the spud and the toilet tank. Look for any visible damage or debris that may be preventing a secure fit. Clean the threads if necessary and try again.
- Apply plumber’s tape: Plumber’s tape can help create a tighter seal between the spud and the toilet tank. Wrap a few layers of plumber’s tape around the threads of the spud before installing it. This may help improve the fit and prevent any leaks.
Dealing with leaks after installation
Leakage is another common issue that may occur after installing a spud on a toilet. If you notice any leaks, follow these steps to resolve the issue:
- Tighten the connections: Check if all the connections between the spud and the toilet tank are secure. Use a wrench or pliers to tighten any loose connections. Be careful not to overtighten to avoid damaging the fittings.
- Inspect the gasket: The gasket between the spud and the toilet tank can deteriorate over time, leading to leaks. Carefully examine the gasket for any signs of wear or damage. If needed, replace the gasket with a new one.
- Check the water level: Sometimes, an incorrect water level in the toilet tank can cause leaks. Adjust the water level to the recommended level specified in the toilet’s user manual. This may help prevent any leaks from occurring.
- Apply silicone sealant: If the leaks persist, you can try applying a thin layer of silicone sealant around the spud connection. This can help create a watertight seal and prevent any leaks.
By following these troubleshooting steps, you can successfully address common issues that may arise during or after installing a spud on your toilet. Remember, if you encounter any major issues or feel unsure about the process, it’s always a good idea to consult a professional plumber for assistance.
Maintenance Tips For A Spud
Maintaining the spud on your toilet is crucial for its proper functioning and longevity. Regular cleaning and checking for any signs of wear or damage are necessary to ensure that your toilet continues to work efficiently. Additionally, knowing when to replace the spud is essential to prevent any potential issues. In this section, we will explore these maintenance tips in detail.
Regular cleaning and checking for any signs of wear or damage
Regular cleaning is an essential part of spud maintenance. Over time, mineral deposits and debris can accumulate on the spud, obstructing the flow of water and affecting the flushing performance. To clean the spud, mix a solution of equal parts vinegar and water. Allow the spud to soak in the solution for a few minutes and then scrub it gently using a soft brush.
While cleaning, it’s important to inspect the spud for any signs of wear or damage. Look for cracks, chips, or any other physical defects that may affect its functionality. If you notice any such issues, it’s best to replace the spud to avoid potential leaks or further damage.
When to replace the spud
Knowing when to replace the spud can save you from future headaches. Generally, a spud may need replacement if it is cracked, chipped, or shows signs of corrosion. Additionally, if you notice that your toilet is constantly running or the flushing performance has significantly decreased, it may be time to consider replacing the spud.
Replacing the spud is a relatively simple process. Start by turning off the water supply to the toilet. Remove the old spud by unscrewing or unclipping it from the flush valve. Make sure to clean any residue or debris before installing the new spud. Then, simply attach the new spud to the flush valve and hand-tighten it securely.
A well-maintained spud is vital for the proper functioning of your toilet. By regularly cleaning the spud and checking for signs of wear or damage, you can avoid potential issues and keep your toilet working efficiently. Remember to replace the spud when necessary to ensure optimal performance. With these maintenance tips in mind, you can maintain a fully functional and hassle-free toilet.
Frequently Asked Questions
How Do You Install A Spud Washer On A Toilet?
To install a spud washer on a toilet, follow these steps: 1. Shut off the water supply valve. 2. Flush the toilet to drain the water. 3. Unscrew the tank bolts and remove the tank lid. 4. Remove the old spud washer.
5. Place the new spud washer on the flush valve seat, making sure it fits securely. 6. Reinstall the tank, tighten the bolts, and turn on the water supply valve.
How Do You Install Urinal Spud?
To install a urinal spud, start by turning off the water supply. Remove the old spud from the urinal and clean the area thoroughly. Apply plumber’s tape to the threads of the new spud and screw it into place. Turn the water supply back on and test for any leaks.
What Is A Toilet Spud?
A toilet spud is a small part that connects the flush valve to the toilet bowl. It controls the flow of water into the bowl when the toilet is flushed.
What Is A Top Spud On A Toilet?
A top spud on a toilet is the water inlet located at the top of the tank. It controls the flow of water into the bowl when you flush.
Conclusion
To ensure a properly functioning toilet, it is crucial to install a spud correctly. By following the step-by-step instructions in this blog post, you can easily complete this task even as a beginner. Remember to turn off the water supply, remove the old spud, clean the surface, apply plumbers’ tape, and carefully tighten the new spud.
With this knowledge in hand, you can confidently tackle any toilet repair or installation project with ease. Happy plumbing!