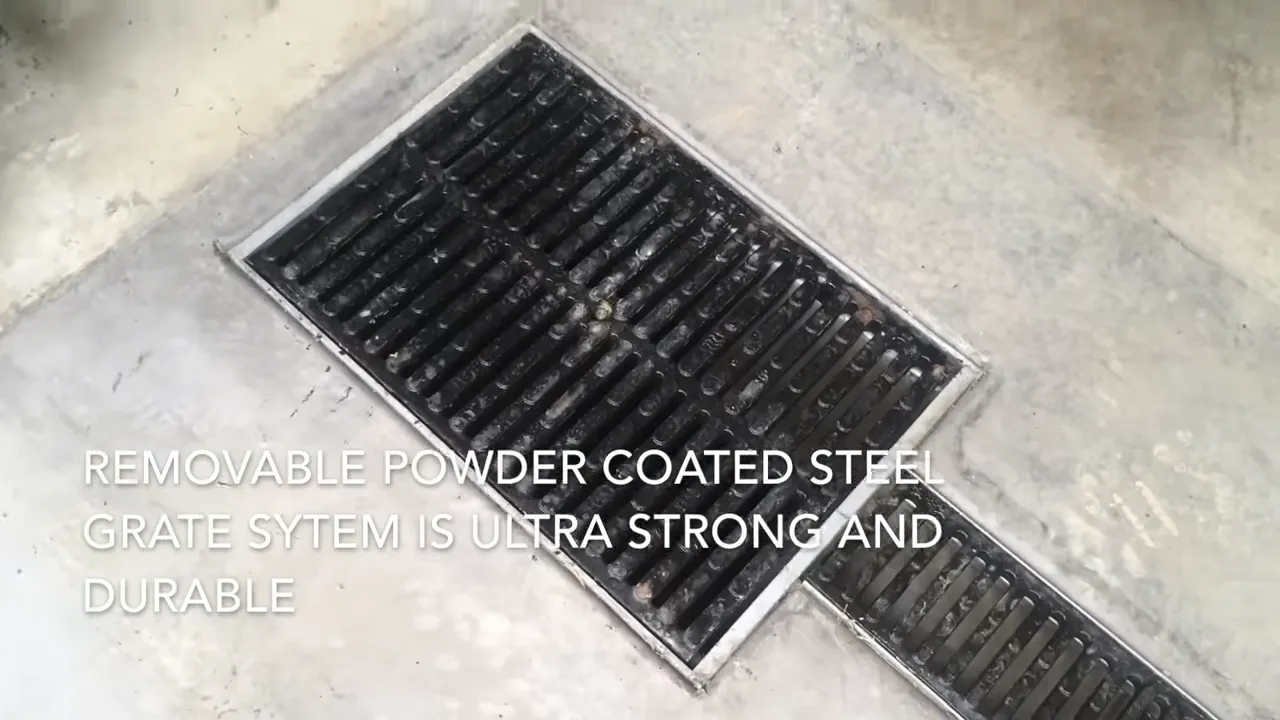
To install a floor drain in a concrete slab, follow these steps: create an opening in the slab, insert the drain body, connect the drain pipe, and ensure proper slope for drainage. A floor drain is an essential component of any building’s plumbing system, as it helps to prevent water damage and flooding by efficiently draining water from the floor surface.
Installing a floor drain in a concrete slab requires some careful planning and execution, but with the right tools and knowledge, it can be done successfully. In this guide, we will walk you through the steps involved in installing a floor drain in a concrete slab, ensuring that you have a solid understanding of the process.
Choosing The Right Location For Your Floor Drain
Factors to Consider When Selecting the Location for Your Floor Drain
When it comes to installing a new floor drain in a concrete slab, choosing the right location is crucial. The location of your floor drain will determine its effectiveness in preventing water damage and maintaining a dry, clean environment. To help you make an informed decision, here are some important factors to consider:
- Assessing the slope and positioning of the drain
One of the first things to evaluate when selecting the location for your floor drain is the slope and positioning of the drain. It’s important to ensure that the drain is positioned in a way that allows water to flow easily towards it. The slope of the floor should be taken into account, as it will determine the direction of water flow. If the slope is not ideal, you may need to make adjustments to the concrete slab or consider installing additional drains. By ensuring proper positioning and slope, you can optimize the effectiveness of your floor drain in managing water drainage.
- Importance of proximity to plumbing connections
In addition to evaluating the slope, it’s crucial to consider the proximity of the floor drain to plumbing connections. The drain should be strategically located near the existing plumbing system to ensure efficient wastewater disposal. This will prevent the need for extensive and costly modifications to the plumbing network. Proximity to plumbing connections will also make it easier to maintain and service the floor drain in the future if needed.
By considering these factors when determining the location for your floor drain, you can ensure optimal water drainage and minimize the risk of water damage or pooling.
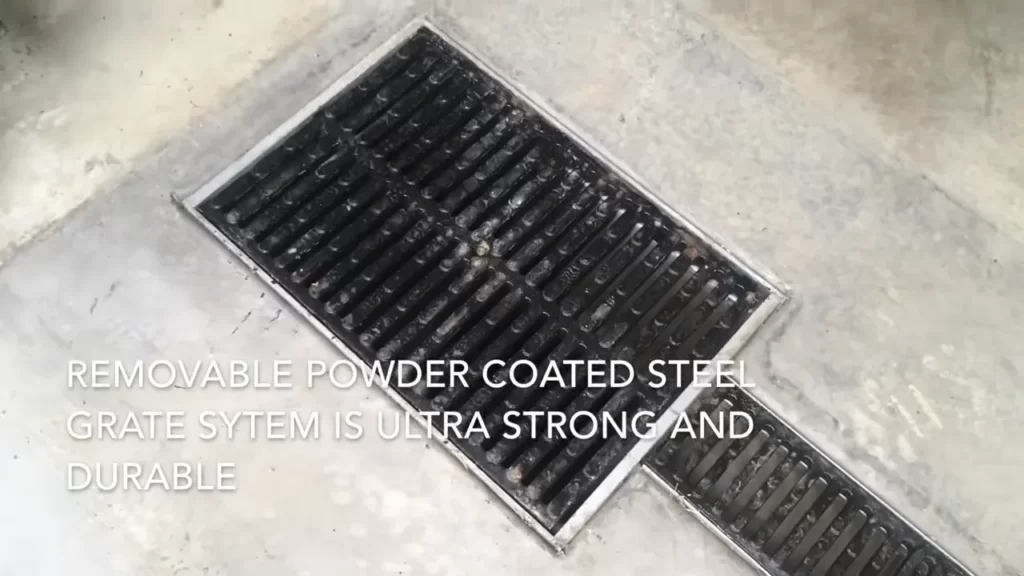
Preparing The Concrete Slab For Drain Installation
Preparing the Concrete Slab for Drain Installation
When it comes to installing a floor drain in a concrete slab, proper preparation is essential to ensure a successful installation. This crucial step involves clearing the area of debris and obstructions, marking and outlining the exact position of the drain, as well as gathering the necessary tools and equipment. In this section, we will delve into the details of each of these tasks, providing you with the guidance you need for a smooth and efficient preparation process.
H3: Clearing the Area of Debris and Obstructions
Before you can begin installing a floor drain in a concrete slab, it is important to clear the area of any debris and obstructions. This ensures a clean and stable foundation for the drain, minimizing the risk of complications down the road. To clear the area, follow these steps:
1. Remove any loose rocks, dirt, or debris from the site using a shovel or broom.
2. Check for any obstructions such as roots, pipes, or wires that may interfere with the installation. If you encounter any, proceed with caution and take appropriate measures to avoid damage or injury.
3. Inspect the surface of the concrete slab for cracks or unevenness. Any irregularities should be repaired or leveled before proceeding with the drain installation.
H3: Marking and Outlining the Exact Position of the Drain
Once the area is cleared of debris and obstructions, the next step is to mark and outline the exact position of the drain. This ensures precision during the installation process and prevents costly mistakes. Here’s how you can mark and outline the drain:
1. Determine the ideal location for the drain based on the intended use and function of the space. Consider factors such as proximity to water sources and the natural flow of liquid.
2. Using a tape measure and a marker pen, mark the exact position of the drain on the concrete slab. Ensure that your markings are accurate and align with the dimensions of the drain.
H3: Tools and Equipment Needed for the Preparation Process
To effectively prepare the concrete slab for drain installation, you will need a specific set of tools and equipment. Having these on hand will streamline the process and ensure that you have everything you need at your disposal. Make sure to gather the following before starting the preparation process:
1. Shovel or broom to clear debris.
2. Tape measure and marker pen for marking and outlining the drain position.
3. Leveling tool to check for any unevenness in the concrete slab.
4. Concrete repair material and tools to address cracks or irregularities if necessary.
Remember to wear appropriate safety gear, such as gloves and protective eyewear, during the preparation process for your own protection.
In conclusion, preparing the concrete slab for drain installation involves clearing the area of debris and obstructions, marking and outlining the exact position of the drain, and gathering the necessary tools and equipment. By following these steps, you can ensure a well-prepared foundation for your floor drain, setting the stage for a successful installation.
Installing The Floor Drain In The Concrete Slab
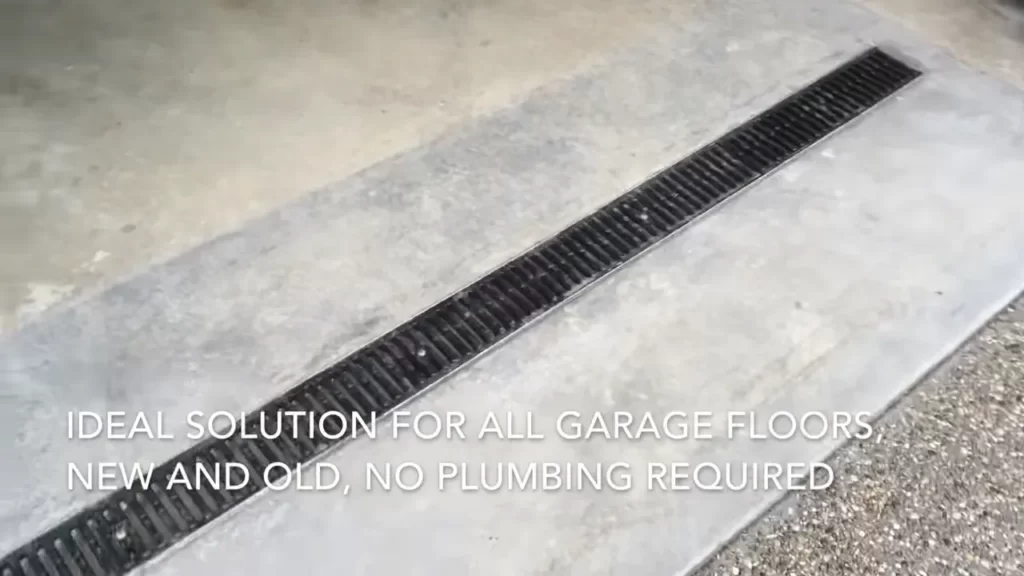
Installing the floor drain in a concrete slab is an essential step to ensure proper drainage and prevent water damage. In this section, we will cover the key steps involved in this process. From digging the trench for the drain pipe to connecting it to the plumbing system, we’ve got you covered. Let’s dive in!
Digging the trench for the drain pipe
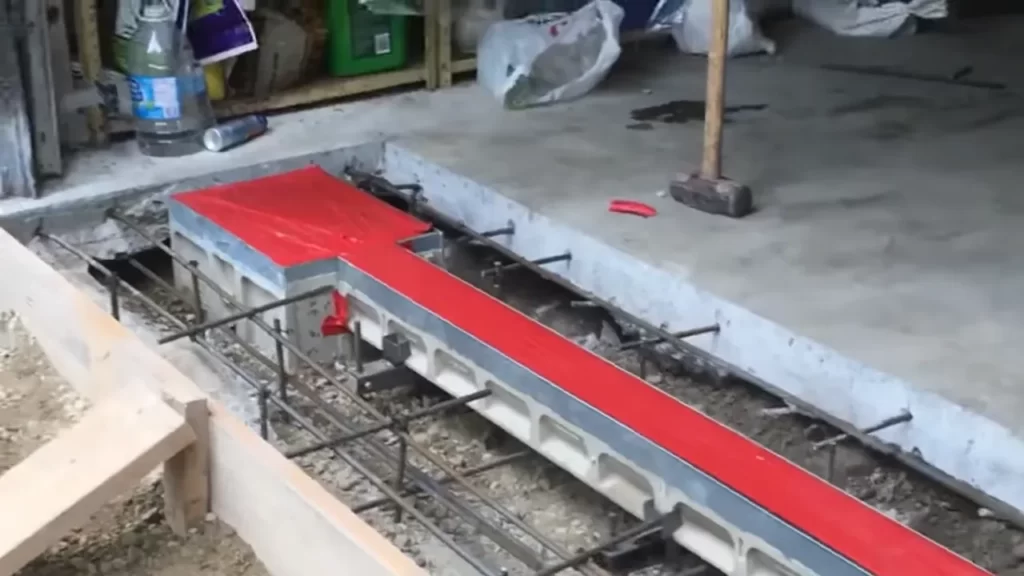
The first step in installing a floor drain in a concrete slab is to dig the trench where the drain pipe will be placed. This trench should be wide enough to accommodate the drain pipe and deep enough to allow for proper drainage. To begin, follow these steps:
1. Measure the required depth and width for the trench based on the specific drainage requirements.
2. Use a jackhammer or a concrete saw to cut through the concrete slab along the marked lines.
3. Carefully remove the debris and excavated soil to create the trench.
4. Ensure that the bottom of the trench is level and smooth to provide a stable base for the drain pipe.
Placing and securing the drain in the trench
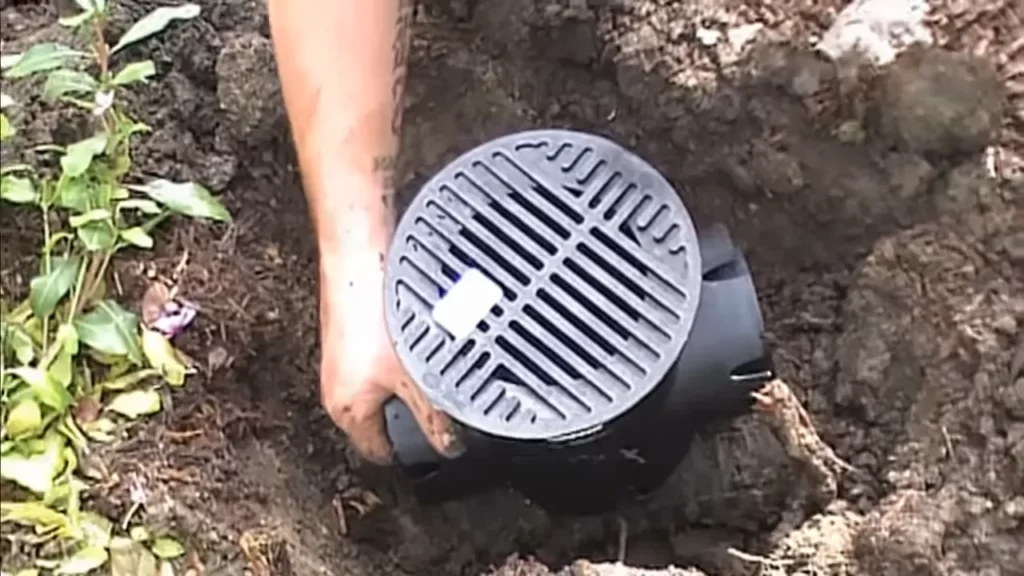
Once the trench is prepared, it’s time to place and secure the floor drain. Follow these steps to ensure proper installation:
1. Place the drain in the center of the trench, ensuring it is aligned with the drain pipe.
2. Use a level to check if the drain is positioned properly. Adjust if necessary.
3. Secure the drain by using appropriate fasteners or adhesive, following the manufacturer’s instructions.
4. Double-check the alignment and stability of the drain before proceeding to the next step.
Connecting the drain pipe to the plumbing system
Now that the drain is in place, it’s time to connect it to the plumbing system. This step will ensure that the water is effectively drained away from the concrete slab. Follow these steps for a successful connection:
1. Measure and cut the drain pipe to the required length, ensuring a snug fit between the drain and the plumbing system.
2. Clean the ends of the drain pipe and the plumbing connections to remove any debris or residue.
3. Apply PVC primer to the cleaned ends of the drain pipe and the plumbing connections.
4. Apply PVC cement to the primed surfaces and firmly push the drain pipe into the plumbing connections.
5. Allow sufficient time for the cement to dry and set before testing the newly installed floor drain.
In conclusion, installing a floor drain in a concrete slab is a crucial step to prevent water damage. By following these steps, you can ensure proper drainage and maintain the integrity of the concrete slab. Remember to take the necessary precautions and consult a professional if needed. Happy installing!
Installing The Drain Cover And Finishing Touches
Once the floor drain has been properly set and connected to the plumbing, it is time to move on to the final steps of the installation process. This involves attaching the drain cover securely, sealing the edges of the drain to prevent leaks, and testing the drain’s functionality.
Attaching the drain cover securely
To ensure the drain cover is securely attached, begin by aligning it with the drain opening. Place the cover on top of the drain and check that it fits properly without any gaps or misalignment. Then, using the appropriate screws or fasteners, attach the cover to the drain. Make sure to tighten the screws or fasteners evenly to create a secure and flush connection between the drain and the cover.
Sealing the edges of the drain to prevent leaks
To prevent any water leaks around the edges of the drain, it is essential to seal the area properly. Begin by cleaning and drying the area around the drain. Then, apply a high-quality waterproof sealant or adhesive around the edges of the drain, ensuring full coverage. This will create a watertight seal and prevent any water from seeping through the gaps between the drain and the concrete slab.
Testing the drain’s functionality and making necessary adjustments
Once the drain cover is securely attached and the edges are sealed, it is important to test the drain’s functionality. Pour a small amount of water into the drain and observe the flow. Ensure that the water efficiently drains away without any pooling or backups. If there are any issues, such as slow drainage or leaks, adjustments may be needed. Check for any blockages or improper connections and make the necessary adjustments to ensure the drain is working properly.
By following these steps, you can install a floor drain in a concrete slab successfully. Remember to attach the drain cover securely, seal the edges of the drain to prevent leaks, and test the drain’s functionality before considering the installation complete.
Troubleshooting Common Issues
While installing a floor drain in a concrete slab can provide efficient drainage, it is essential to be aware of potential issues that may arise over time. By addressing these common problems promptly, you can ensure optimal performance and prevent costly damage. In this section, we will discuss some troubleshooting tips for addressing drainage problems and blockages, fixing leaks, and ensuring proper sealing. Additionally, we will provide maintenance tips to maximize the longevity of your floor drain.
Addressing Drainage Problems and Blockages
One of the most common issues with floor drains in concrete slabs is drainage problems and blockages. If you notice that water is pooling around the drain or if your drain is draining slowly, it may indicate a blockage. To address this issue effectively, follow these steps:
- Start by removing the drain cover using a screwdriver or the appropriate tool.
- Inspect the drain for any debris, such as hair, dirt, or soap scum, that may be causing the blockage.
- Use a plumbing snake or a wire hanger to gently dislodge the clog. Be cautious not to damage the drain pipes in the process.
- Flush hot water down the drain to remove any residual debris.
- Finally, reinstall the drain cover securely.
Fixing Leaks and Ensuring Proper Sealing
Another common issue faced when installing floor drains in a concrete slab is leaks. Leaks can cause water damage to the surrounding area and compromise the stability of the concrete. To fix leaks and ensure proper sealing, follow these steps:
- Inspect the drain and its connections for any visible signs of leakage, such as water stains or dampness.
- If you identify a leak, use a damp cloth or sponge to dry the area thoroughly.
- Apply a waterproof sealant, such as silicone caulk, to the leaking area. Ensure that the sealant creates a watertight barrier.
- Allow the sealant to dry completely before testing the drain for any further leaks.
- Regularly monitor the drains for any signs of new leaks and reseal as necessary.
Maintenance Tips for Long-Lasting Performance
To maximize the performance and longevity of your floor drain in a concrete slab, regular maintenance is crucial. Follow these maintenance tips to keep your drain functioning optimally:
- Regularly clean the drain cover and remove any debris or buildup that may obstruct the flow of water.
- Flush hot water down the drain periodically to prevent the accumulation of grease and soap scum.
- Consider using a drain strainer to prevent large objects from falling into the drain and causing blockages.
- Inspect the drain pipe connections periodically and tighten any loose fittings.
- If your floor drain is in an area prone to freezing temperatures, ensure proper insulation to prevent pipe damage.
- Regularly test the drain by pouring a small amount of water down and ensuring it drains efficiently.
By taking these proactive measures and addressing any issues promptly, you can ensure that your floor drain in a concrete slab remains in optimal condition, providing efficient drainage and minimizing potential problems.
Safety Precautions And Considerations
When installing a floor drain in a concrete slab, it is crucial to prioritize safety precautions and considerations. Taking the necessary steps to ensure safety not only protects yourself and others involved in the installation but also guarantees a successful and long-lasting result. In this section, we will delve into the essential safety measures you should be aware of before beginning the installation process.
Utilizing protective gear during the installation process
One of the fundamental safety precautions to bear in mind is the use of proper protective gear. This includes:
- Safety goggles or glasses
- Work gloves
- Steel-toe boots
- Dust mask or respirator
By wearing safety goggles or glasses, you shield your eyes from potential hazards such as flying debris or concrete particles during drilling. Work gloves help protect your hands from rough surfaces and potential cuts or abrasions. Steel-toe boots provide additional protection for your feet against heavy objects that may accidentally fall. Lastly, a dust mask or respirator is essential when working with concrete dust or any other airborne particles, safeguarding your respiratory system.
Adhering to local building codes and regulations
Ensuring compliance with local building codes and regulations is crucial for both safety and legal reasons. Different regions may have specific requirements for floor drain installations, including dimension guidelines, materials to be used, and slope gradients. Violating these regulations may result in penalties and even project failure.
When installing a floor drain in a concrete slab, it is imperative to research and familiarize yourself with the building codes and regulations specific to your locality. This might involve contacting the local building department or consulting the appropriate regulatory agency. Adhering to these guidelines guarantees a safer installation process and avoids potential complications down the line.
Consulting a professional for complex installations
For complex installations or if you are unsure about any aspect of the process, it is highly recommended to consult a professional. This is especially important if this is your first-time installing a floor drain in a concrete slab or if you encounter any challenges or uncertainties along the way.
A professional, such as a plumber or a contractor experienced in floor drain installations, will have the knowledge, expertise, and necessary tools to ensure a successful and safe installation. Their guidance can also help you navigate any local building codes or regulations that may be applicable to your project. Taking this step gives you peace of mind and minimizes the risk of errors or accidents during the installation.
Frequently Asked Questions
Can You Add A Drain To An Existing Concrete Floor?
Yes, it is possible to add a drain to an existing concrete floor. This can be done by cutting a channel in the concrete and installing a drain system. A professional contractor experienced in concrete modifications can help with this process.
What Is The Difference Between A Hub Drain And A Floor Drain?
A hub drain is used to connect pipes in a plumbing system, while a floor drain is installed in the floor to collect water and prevent flooding. Hub drains are used for pipe connections, while floor drains are used for drainage purposes in areas with excess water.
How Is Drainage Provided Under A Concrete Slab?
Drainage under a concrete slab is achieved by installing a network of perforated pipes or French drains. These pipes redirect water to a designated area, preventing water buildup and potential damage to the slab. Proper drainage ensures stability and longevity of the concrete structure.
Where Should Floor Drain Be Located?
The floor drain should be located in areas prone to water accumulation, such as bathrooms, laundry rooms, and basements. It helps prevent water damage by providing a drainage outlet for excess water or spills.
Conclusion
Installing a floor drain in a concrete slab can be a challenging task, but with the right knowledge and tools, it is definitely doable. By following the step-by-step instructions outlined in this guide, you can ensure that your floor drain installation is a success.
Remember to take the necessary precautions, such as wearing protective gear and working in a well-ventilated area. With a little patience and effort, you can have a functional floor drain that will prevent water damage and keep your space clean and dry.
So, get started on your floor drain installation today and enjoy the benefits it brings to your concrete slab.
