To install a bathroom sink drain pipe, you will need to assemble the necessary parts and connect them using a wrench, plumber’s tape, and PVC cement. When it comes to installing a bathroom sink drain pipe, proper installation is essential for the sink to function correctly.
In this guide, we will walk you through the step-by-step process of installing a bathroom sink drain pipe, ensuring a leak-free and efficient system. By following these instructions, you will be able to complete the installation with ease and have a fully functional bathroom sink in no time.
So let’s get started and learn how to install a bathroom sink drain pipe.
Gather The Necessary Tools And Materials
Before you begin the process of installing a bathroom sink drain pipe, it’s important to gather all the necessary tools and materials. Having everything you need on hand will make the installation process much smoother and more efficient.
List of Tools:
Here are the tools you’ll need:
- Wrench: A wrench will be essential for tightening and loosening various parts of the drain pipe.
- Pipe cutter: A pipe cutter will come in handy for trimming PVC pipes to the desired length.
- Screwdriver: You’ll need a screwdriver to remove and install screws as needed.
- Plunger: In case of any clogs or blockages, a plunger will be useful for clearing them out.
- Bucket: It’s always a good idea to have a bucket nearby to catch any water or debris that may spill during the installation process.
List of Materials:
Here are the materials you’ll need:
- Bathroom sink drain assembly: This includes the drain plug, stopper, flange, and other necessary components.
- P-trap: The P-trap is a curved pipe that prevents sewer gases from entering your bathroom.
- PVC pipes and connectors: You’ll need PVC pipes and connectors to connect the various components of the drain pipe.
- Plumber’s putty: Plumber’s putty is a putty-like substance that creates a watertight seal between the sink and the drain assembly.
- Teflon tape: Teflon tape is used to wrap around the threaded connections to ensure a tight and leak-free seal.
Gather all these tools and materials before you start the installation process to ensure a smooth and hassle-free experience. With everything at your disposal, you’ll be well-prepared to tackle the task at hand.
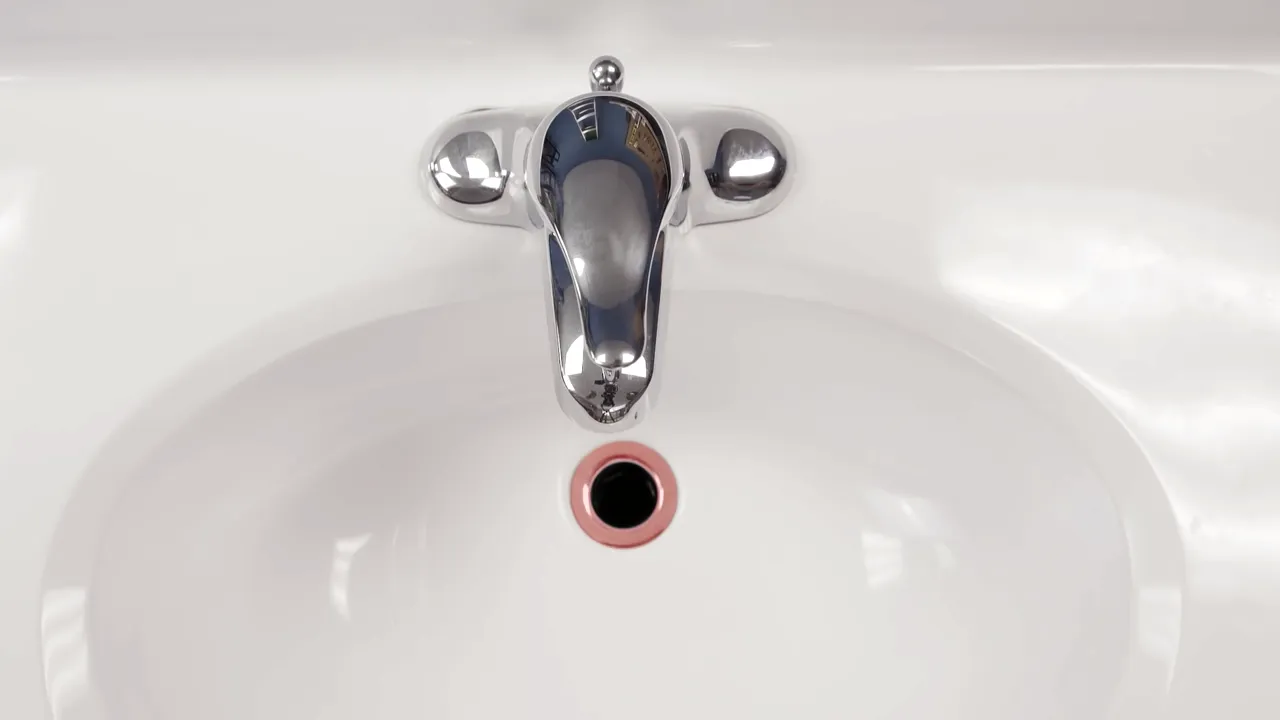
Preparation
Turn off the water supply
Before starting the installation of your bathroom sink drain pipe, it is crucial to turn off the water supply to avoid any potential leaks or accidents. Locate the shut-off valves underneath the sink, usually located on the wall or the pipes leading to the sink. Turn the valves clockwise until they are fully closed.
Clear the area under the sink
Next, clear the area under the sink to create enough space for you to work comfortably. Remove any items stored under the sink, such as cleaning supplies or towels. This step will ensure that nothing obstructs your access to the drain pipe and that you have a clear working area.
Place a bucket to catch any water or debris
When working on a bathroom sink drain pipe installation, it’s essential to be prepared in case any water or debris spills. Place a bucket directly below the drain pipe to catch any water that may come out during the process. This will prevent any mess and make cleaning up easier afterward.
Remove The Old Drain Pipe
Removing the old drain pipe is an important step in installing a new bathroom sink. By following these simple steps, you will be able to remove the old drain pipe safely and efficiently.
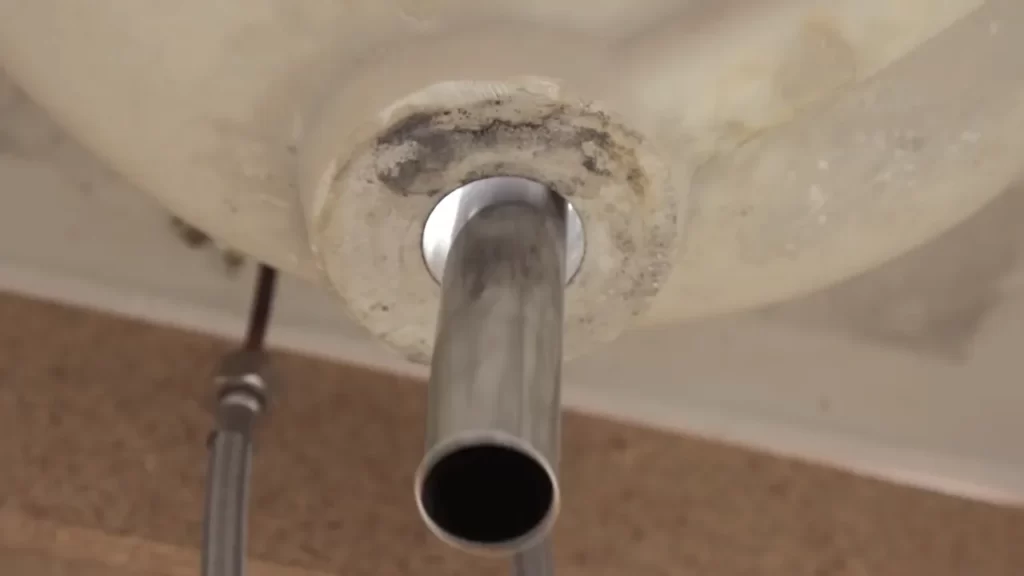
Disconnect the existing drain pipe from the sink
The first step in removing the old drain pipe is to disconnect it from the sink. Start by locating the slip nut that connects the pipe to the sink drain. Using a pair of pliers or a wrench, loosen the slip nut by turning it counterclockwise. Once the slip nut is loose, you should be able to easily remove the drain pipe from the sink drain.
Remove the P-trap and any connected pipes
Next, you will need to remove the P-trap and any connected pipes. The P-trap is the curved pipe that is located underneath the sink. To remove the P-trap, simply unscrew the slip nuts on either end of the pipe and carefully slide it out. If there are any other pipes connected to the drain pipe, such as an extension pipe or a tailpiece, you will need to remove those as well by loosening the slip nuts.
Clean the area to prepare for installation
Once the old drain pipe and any connected pipes have been removed, it’s important to clean the area to prepare for the installation of the new drain pipe. Use a rag or paper towel to wipe away any dirt, grime, or debris from the sink drain and surrounding area. This will ensure a clean surface for the new drain pipe and prevent any clogging or leakage issues in the future.
In conclusion, removing the old drain pipe is the first step in installing a new bathroom sink. By disconnecting the existing drain pipe from the sink, removing the P-trap and any connected pipes, and cleaning the area to prepare for installation, you will be well on your way to a successful installation process. With these easy-to-follow steps, you can confidently remove the old drain pipe and make way for a new and efficient bathroom sink drain system.
Assemble The New Drain Pipe
When it comes to installing a new bathroom sink, one of the crucial steps is to assemble the drain pipe. This step ensures that the sink drains properly and prevents any leaks or water damage. In this section, we will walk you through the process of assembling the new drain pipe, from applying plumber’s putty to securing the connections with Teflon tape. Let’s get started!
Apply plumbers putty to the sink drain hole
The first step in assembling the new drain pipe is to apply plumbers putty to the sink drain hole. This putty creates a watertight seal between the sink and the drain assembly, preventing any water from leaking out. To apply the putty, simply take a small amount and roll it into a thin rope. Then, press the putty around the edges of the drain hole, ensuring complete coverage.
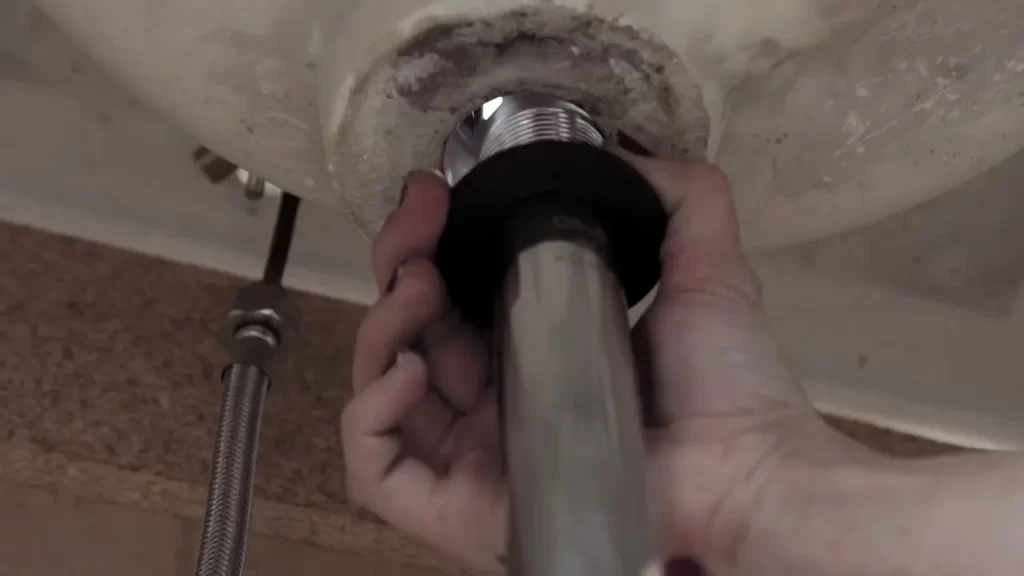
Insert the sink drain assembly and tighten it
Once the plumbers putty is in place, it’s time to insert the sink drain assembly. Start by aligning the drain assembly with the drain hole in the sink. Insert the assembly into the hole, making sure it sits flush with the sink surface. Once the assembly is in place, use a wrench or pliers to tighten the locknut underneath the sink. This will secure the assembly and create a snug fit with the sink.
Connect the P-trap and pipe sections with connectors
With the drain assembly in place, it’s time to connect the P-trap and pipe sections. The P-trap is a curved pipe that prevents sewer odors from entering your bathroom. Start by connecting one end of the P-trap to the drain assembly using a connector. Then, connect the other end of the P-trap to the wall pipe or the main drain pipe. Depending on your specific setup, you may need additional pipe sections and connectors to ensure a proper fit.
Use Teflon tape to secure the connections
Finally, to ensure that the connections are leak-proof, use Teflon tape. Teflon tape is a thin, white tape that is wrapped around the threaded ends of pipes and connectors. It acts as a lubricant, making it easier to tighten the connections and creating a watertight seal. Start by wrapping the Teflon tape around the threaded ends of the pipes and connectors in a clockwise direction. Wrap the tape two to three times around the threads, ensuring complete coverage. Then, tighten the connections using a wrench or pliers.
By following these steps and assembling the new drain pipe correctly, you can ensure that your bathroom sink drains effectively and without any leaks. Remember to apply plumbers putty, insert and tighten the sink drain assembly, connect the P-trap and pipe sections, and secure all connections with Teflon tape. With a properly assembled drain pipe, you can enjoy a well-functioning bathroom sink for years to come.
Test The Drain Pipe
Open the water supply and check for leaks
Before you can fully test the drain pipe of your newly installed bathroom sink, it is important to open the water supply and check for any potential leaks. This step will ensure that your installation is able to handle the flow of water without any issues. To do this, turn on the water supply valve and let the water flow into the sink. Keep a close eye on the connections and joints of the drain pipe to see if any water is leaking. If you notice any leaks, tighten the connections to fix them. It’s crucial to resolve leaks before moving forward to ensure proper functioning of your drain pipe.
Run water down the drain to ensure proper drainage
After checking for leaks, the next step is to run water down the drain to ensure proper drainage. This will help you determine if there are any obstructions or blockages in the drain pipe, which could hinder the smooth flow of water. To do this, simply turn on the faucet and let the water flow into the sink. Observe how the water drains and check if there are any signs of slow drainage or backups. If you notice any issues, it may be necessary to inspect the drain pipe further and remove any debris or blockages that may be causing the problem. Proper drainage is essential to prevent clogs and maintain the efficiency of your bathroom sink.
Use a plunger to test the sink’s performance
To ensure that your newly installed bathroom sink is performing at its best, it is recommended to use a plunger to test its functionality. This step will help you determine if there are any issues with the drain pipe, such as improper sealing or insufficient air pressure. Start by filling the sink with water and then place the plunger over the drain. Use a firm and consistent up-and-down motion to create pressure and test the sink’s performance. If you notice any air bubbles coming up through the drain or water leaking around the plunger, it may indicate a problem with the drain pipe. In such cases, it is advisable to recheck the connections and make any necessary adjustments to ensure optimal performance of your bathroom sink.
Additional Tips And Considerations
When installing a bathroom sink drain pipe, there are several additional tips and considerations that can help ensure a successful installation. From measuring and cutting pipes to following manufacturer instructions, paying attention to these details can save you time and frustration. In some cases, it might be best to hire a professional if you encounter difficulties or lack experience. Let’s delve deeper into these tips:
Measure and cut pipes to fit your specific sink setup
One important step in installing a bathroom sink drain pipe is measuring and cutting the pipes to fit your specific sink setup. This ensures a proper fit and prevents any leaks or misalignments. To do this, follow these steps:
- Begin by measuring the distance from the drain opening in the sink to the wall.
- Cut the tailpiece, which is the pipe that connects the sink drain to the p-trap, to the appropriate length using a pipe cutter.
- Measure the distance from the p-trap to the wall and cut the horizontal extension pipe accordingly.
- Attach the cut pipes to the drain opening and p-trap, ensuring they fit snugly without any gaps.
By taking the time to measure and cut the pipes accurately, you can avoid any unnecessary adjustments or leaks later on.
Follow manufacturer instructions for the drain assembly
When installing a bathroom sink drain pipe, it’s essential to follow the manufacturer’s instructions for the drain assembly. These instructions provide specific guidance on how to properly assemble the various components of the drain, ensuring a watertight seal. Some manufacturers might have specific requirements or recommendations, such as using plumber’s tape or specific tools for tightening connections.
By adhering to the manufacturer’s instructions, you can ensure that the drain assembly is correctly installed, reducing the risk of leaks and other issues in the future.
Consider hiring a professional if you encounter difficulties or lack experience
If you find yourself encountering difficulties or lacking experience during the installation process of a bathroom sink drain pipe, it’s crucial to consider hiring a professional. While many DIY enthusiasts enjoy tackling home improvement projects themselves, sometimes the complexity of a task or lack of experience can lead to costly mistakes or even hazardous situations.
A professional plumber has the necessary expertise and tools to handle the installation of a bathroom sink drain pipe efficiently and effectively. They can ensure that all connections are secure, minimize the risk of leaks, and provide peace of mind that the task is completed correctly.
| Pros of Hiring a Professional | Cons of Hiring a Professional |
|---|---|
|
|
Taking into account the pros and cons, weigh your options and decide whether hiring a professional is the best course of action for your specific situation.
By keeping these additional tips and considerations in mind, you can enhance your installation process when setting up a bathroom sink drain pipe. Remember to measure and cut pipes accurately, follow manufacturer instructions carefully, and consider seeking professional help if needed. With these steps taken, your bathroom sink will be ready for use in no time.
Frequently Asked Questions
What Is The Proper Way To Install A Sink Drain?
To install a sink drain properly, follow these steps: 1. Begin by assembling the drain components. 2. Apply plumber’s putty around the drain opening. 3. Insert the drain assembly into the opening and tighten it securely. 4. Connect the P-trap to the drain tailpiece and the wall pipe.
5. Test for leaks by running water and ensure proper drainage. Remember to follow the manufacturer’s instructions for your specific sink and drain components.
Do I Need Plumbers Putty On Sink Drain With Rubber Gasket?
No, you do not need plumbers putty on sink drain with a rubber gasket. The rubber gasket creates a tight seal, eliminating the need for additional sealing with plumbers putty.
Do You Need Plumbers Putty For Sink Drain?
Yes, you need plumbers putty for sink drain installation. It helps create a watertight seal between the sink and drain. Proper application ensures no leaks occur and helps prevent water damage.
How Do You Replace A Sink Drain Pipe?
To replace a sink drain pipe, first, turn off the water supply. Remove the P-trap and loosen the slip nut connections. Disconnect the old pipe and remove it from the sink. Install the new pipe and tighten the slip nut connections.
Finally, turn on the water supply and check for leaks.
Conclusion
Installing a bathroom sink drain pipe may seem daunting, but with the right guidance, it can be a straightforward task. By following the steps outlined in this blog post, you can confidently complete the installation yourself, saving time and money.
Remember to gather all necessary tools before beginning, and take your time to ensure a proper and secure connection. With these tips, you’ll have a functional and efficient bathroom sink drain pipe in no time. Don’t hesitate to tackle this DIY project and create a professional-quality result.