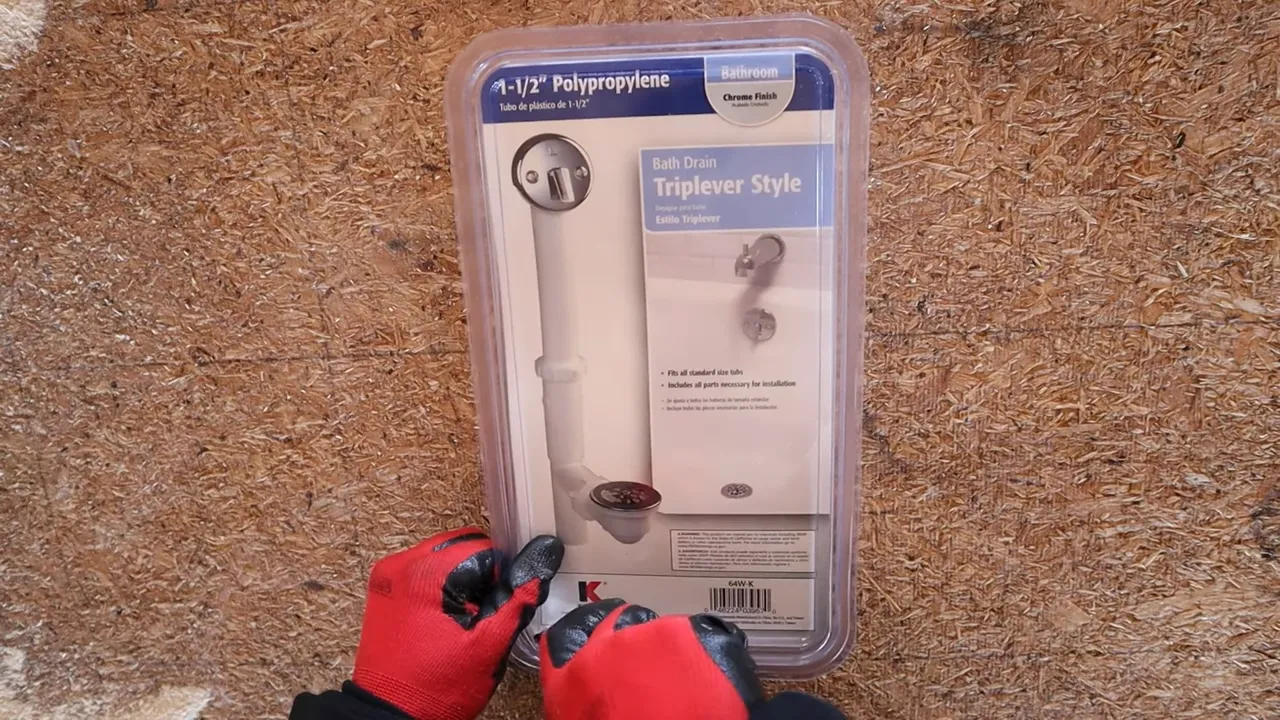
To install a tub drain, start by removing the old drain and any debris. Then, apply plumber’s putty to the new drain and insert it into the drain hole.
Tighten the drain using a drain wrench, and connect the overflow plate and linkage if needed. Finally, test the new drain for leaks. Installing a tub drain involves removing the old drain, applying plumber’s putty to the new drain, inserting it into the drain hole, and tightening it with a drain wrench.
Don’t forget to connect the overflow plate and linkage if necessary, and test the drain for leaks once installed.
Tools And Materials Needed
Before starting the installation process of a tub drain, it is important to gather all the necessary tools and materials. Having these at hand will make the process smoother and more efficient. Below are the essential tools and materials you will need:
Wrench
A wrench is an indispensable tool when it comes to installing a tub drain. It allows you to tighten and loosen various components, ensuring a secure fit. Make sure to have an adjustable wrench that can fit different sizes.
Tub drain removal tool
To remove an old tub drain, a specialized tub drain removal tool is required. This tool makes the removal process much easier and avoids causing any damage to the surrounding plumbing or tub.
Plunger
A plunger can come in handy if you encounter any clogs during the installation process. It can help dislodge any debris or blockages that might hinder the proper functioning of the tub drain.
Screwdriver
A screwdriver is required for various tasks, such as removing screws, tightening screws in the tub drain assembly, or securing other components. Make sure to have both a flathead and a Phillips head screwdriver, as different types of screws may be involved.
Plumber’s putty
Plumber’s putty is a waterproof sealing material that helps create a tight seal between the tub drain and the bathtub itself. It prevents any leaks or water damage, ensuring a durable and watertight installation.
Silicone sealant
Similar to plumber’s putty, silicone sealant is another crucial material for creating a watertight seal. It is applied around the edges of the tub drain assembly to prevent any water from seeping through and causing damage.
Tub drain assembly kit
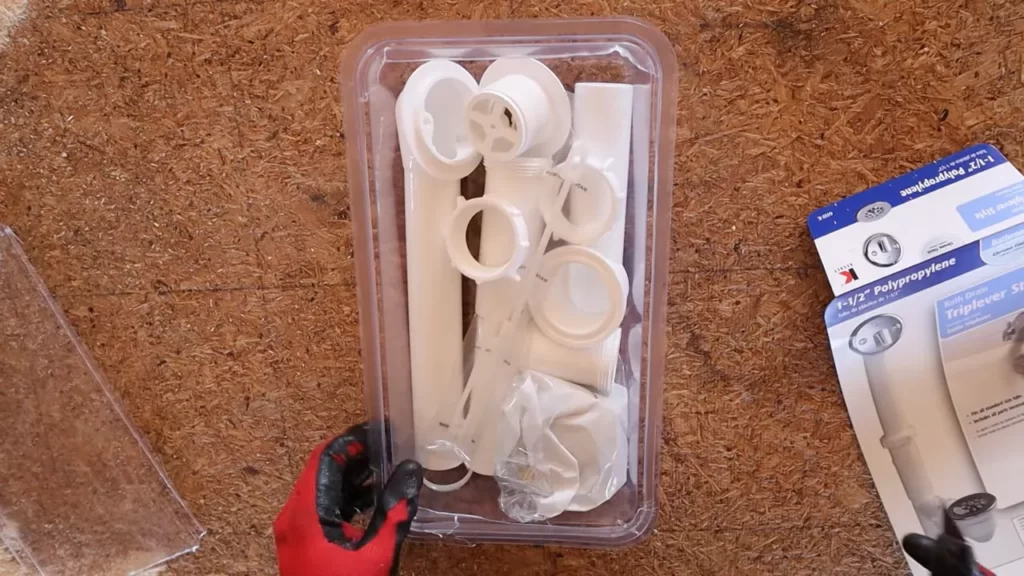
A tub drain assembly kit contains all the necessary components for installing a new tub drain. It typically includes the drain flange, drain body, overflow plate, and other related parts. Make sure to choose a kit that is compatible with your bathtub model and meets your specific needs.
Having these tools and materials ready before you start the installation process will save you time and trouble later on. Now that you have everything you need, let’s move on to the step-by-step guide on how to install a tub drain.
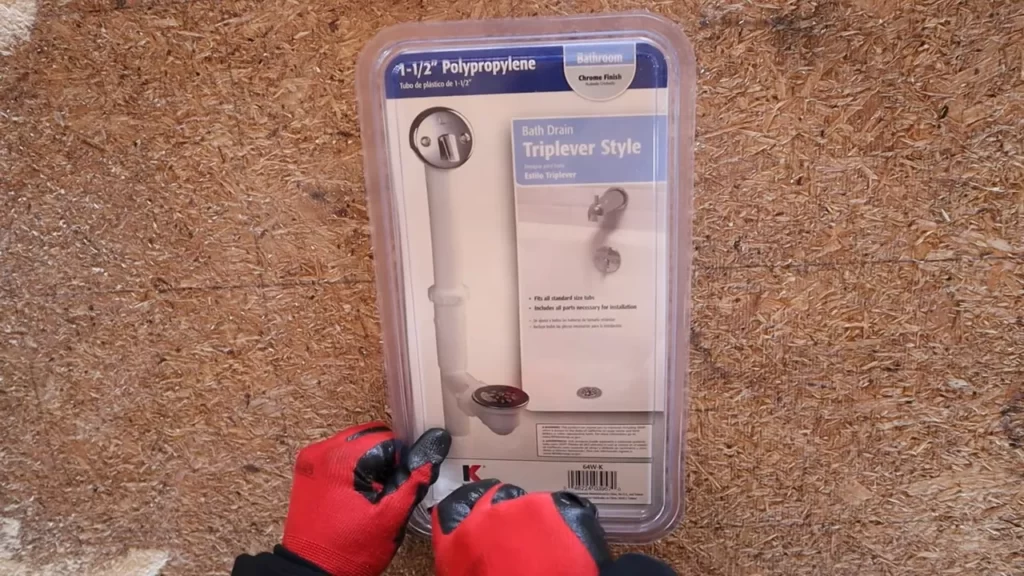
Preparation
If you’re planning to install a new tub drain or replace an old one, following the proper preparation steps is crucial. By taking the time to prepare correctly, you’ll ensure a smooth and successful tub drain installation. In this section, we’ll cover the crucial steps you need to take before diving into the installation process.
Turn off the water supply
Before you begin any plumbing project, it’s vital to turn off the water supply. Locate the shut-off valve for your bathtub’s plumbing system, usually found near the source of the water. Turn the valve clockwise until it’s completely closed. This step is essential to prevent any water leaks or potential damage while working on your tub drain.
Empty the tub
Next, make sure your tub is completely empty. Remove any items or accessories that may obstruct your work area. Check for any lingering water in the tub and ensure it is fully drained. Taking these precautions will allow you to work efficiently and without any interruptions, saving you time and effort.
Remove any existing drain stopper or cover
Now it’s time to remove any existing drain stopper or cover from your bathtub. This step may vary depending on the type of drain stopper you have. Some drain stoppers can be unscrewed, while others require lifting or pulling to remove. Carefully follow the manufacturer’s instructions or use a wrench or pliers if necessary. Ensure you remove all parts of the old drain stopper to make way for the new installation.
By adhering to these preparation steps, you’ll set yourself up for a successful tub drain installation. Taking the time to turn off the water supply, empty the tub, and remove any existing drain stopper or cover will make the installation process much smoother and efficient.
Once you’ve completed the preparation, you’re now ready to move on to the next step – installing the new tub drain. Stay tuned for our next blog post where we will guide you through the installation process in detail.
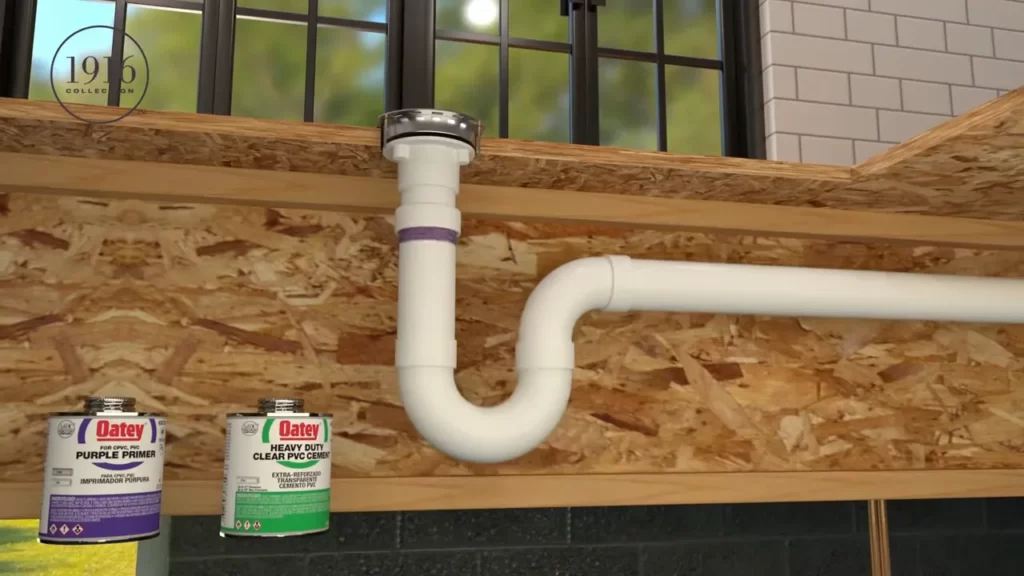
Removing The Old Drain
Locate the drain flange
The first step to removing your old tub drain is to locate the drain flange. This is the visible part of the drain that sits in the bottom of your tub and is usually covered by a strainer or stopper. Look for a circular or square plate that is slightly recessed into the tub.
Use a wrench or tub drain removal tool to loosen and remove the drain
Once you’ve located the drain flange, you’ll need to use a wrench or a tub drain removal tool to loosen and remove the drain. The specific tool you’ll need will depend on the type of drain you have, so make sure you have the right tool for the job.
To remove the drain, insert the tool into the drain flange and turn it counterclockwise. Apply steady pressure until the drain starts to loosen. Once it’s loose, you can continue turning it by hand until it’s completely removed from the tub.
Check the condition of the drainpipes and clean any debris
With the old drain removed, take some time to inspect the condition of the drainpipes. Look for any signs of damage or corrosion, as these may need to be repaired or replaced before installing the new drain.
If you notice any debris or buildup in the drainpipes, it’s important to clean them out before proceeding. Use a wire brush or a plumber’s snake to remove any clogs or blockages. This will ensure proper drainage and prevent future issues.
Once you’ve finished cleaning the drainpipes, you’re ready to move on to the next step in installing your new tub drain.
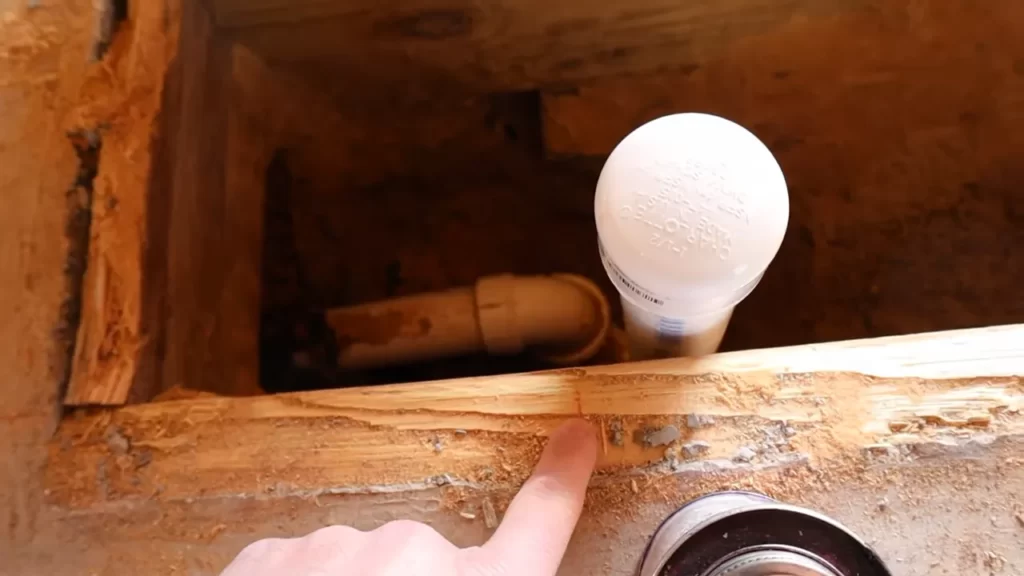
Installing The New Drain
Now that you have successfully removed the old drain, it’s time to install the new one. This process requires a few simple steps to ensure a proper and leak-free installation. Follow these instructions to complete the installation:
Apply plumber’s putty to the underside of the drain flange
The first step in installing the new drain is to apply plumber’s putty to the underside of the drain flange. Plumber’s putty is a flexible sealant that helps create a watertight seal between the drain and the bathtub. Take a small amount of plumber’s putty and roll it into a snake-like shape. Then, place the putty around the underside of the drain flange, making sure to cover the entire area that will come into contact with the bathtub.
Insert the drain flange into the drain hole and secure it tightly
Once the plumber’s putty is applied, insert the drain flange into the drain hole in the bathtub. Make sure the flange sits flush with the surface of the bathtub. Then, using a drain wrench or a pair of pliers, tighten the drain flange clockwise until it is securely in place. Be careful not to overtighten, as this can damage the flange or the bathtub.
Connect the drainpipes to the drain tailpiece
After securing the drain flange, it’s time to connect the drainpipes to the drain tailpiece. Start by attaching the drainpipe to the bottom of the drain flange. This is typically done by screwing or tightening a connector piece onto the drain flange. Ensure a snug fit to prevent any leaks.
Next, connect the drainpipe to the drain tailpiece. This can be done by using a compression nut or a rubber coupling. Slide the compression nut or rubber coupling onto the drain tailpiece and tighten it securely. Double-check all connections to make sure they are tight and properly aligned.
Test for leaks by filling the tub with water and checking for any drips or seepage
Now that the new drain is installed and the drainpipes are connected, it’s time to test for any leaks. Fill the tub with water and let it sit for a few minutes. Carefully inspect the area around the drain and check for any signs of drips or seepage. If you notice any leaks, carefully tighten the connections or adjust the seal as needed until the leaks stop.
Congratulations! You have successfully installed the new tub drain. Now you can enjoy a relaxing bath knowing that your drain is working properly and leak-free.
Sealing And Finishing
Once you have successfully installed the drain flange and connected the drain pipe, it’s time to seal and finish the tub drain installation. This crucial step not only ensures a watertight seal but also adds a polished look to your newly installed tub drain. Follow these easy steps to seal and finish your tub drain installation.
Apply silicone sealant around the edges of the drain flange
The first step in sealing your tub drain is to apply silicone sealant around the edges of the drain flange. Silicone sealant is a flexible and waterproof material that helps prevent water leakage and keeps your drain securely in place. To apply the silicone sealant, follow these steps:
- Clean the surface of the drain flange to remove any dirt or debris.
- Apply a thin bead of silicone sealant around the outer edges of the drain flange.
- Ensure that the entire circumference of the drain flange is covered with the sealant.
Applying the silicone sealant in a continuous and even manner will help create a strong and durable seal.
Smooth out the sealant and remove any excess
Once you have applied the silicone sealant, it’s important to smooth out the sealant and remove any excess. This step ensures a neat and professional finish. To smooth out the sealant and remove excess, follow these steps:
- Using a silicone smoothing tool or your finger, gently run along the edges of the drain flange to smooth out the sealant.
- Remove any excess sealant with a clean cloth or paper towel.
- Make sure the sealant is flush with the surface of the drain flange.
Removing excess sealant will prevent it from protruding or causing an uneven appearance.
Reinstall any drain stopper or cover as desired
After you have sealed and smoothed the drain flange, you can now reinstall any drain stopper or cover as desired. This step allows you to customize your tub drain and choose the option that suits your needs. Here’s how to reinstall the drain stopper or cover:
- Insert the drain stopper or cover into the drain opening.
- Ensure that it fits securely and aligns properly with the drain flange.
- If necessary, follow the manufacturer’s instructions for securing the drain stopper or cover in place.
Reinstalling the drain stopper or cover adds the final touch to your tub drain installation, giving it a complete and finished look.
With the sealing and finishing steps complete, you can now enjoy your newly installed tub drain with the confidence that it will provide reliable performance and a leak-free experience for years to come.
Troubleshooting Tips
Once you have successfully installed a tub drain, it is important to ensure that it is functioning properly. If you encounter any issues such as leaks or clogs, don’t worry – we have got you covered with these troubleshooting tips.
If the drain is still leaking, check the connections and tighten them further if needed
If you notice that your tub drain is still leaking after installation, the first thing you should do is check the connections. Over time, the connections can become loose, causing water to leak. To fix this issue, follow these steps:
- Start by locating the connection points of the drain.
- Inspect the connections for any signs of water leakage.
- If you find any loose connections, use a wrench or pliers to tighten them. Make sure you do not overtighten as it can also cause damage.
- After tightening the connections, run water through the drain to check if the leak has been resolved. If the issue persists, move on to the next troubleshooting tip.
Use a plunger to remove any clogs in the drainpipes
If you are experiencing slow drainage or complete blockage, it is likely that there is a clog in your tub drainpipes. You can try using a plunger to remove the clog:
- Fill the tub with enough water to cover the drain.
- Place the plunger over the drain, ensuring a tight seal.
- Start plunging up and down vigorously to create suction and dislodge the clog. Repeat this motion several times.
- After plunging, remove the plunger and check if the water drains smoothly. If the problem persists, move on to the next troubleshooting tip.
Consider calling a professional plumber if you encounter any complex issues
In some cases, you may encounter complex issues that cannot be easily resolved on your own. It is important to recognize your limitations and call a professional plumber for assistance. They have the expertise and tools to diagnose and fix any underlying issues with your tub drain.
When contacting a professional plumber, make sure to provide them with detailed information about the problem you are facing. This will help them assess the situation accurately and provide the most suitable solution.
Remember, proper maintenance and regular inspections can prevent many tub drain issues from occurring. By following these troubleshooting tips, you can keep your tub drain functioning flawlessly and enjoy a relaxing bath experience.
Maintenance And Care
Maintaining and caring for your tub drain is essential to keep it in good working condition and prevent any issues down the line. Regularly cleaning the drain, checking for leaks or damage, and keeping an eye on the overall condition are important steps in ensuring the longevity of your tub drain. Follow the tips below to properly maintain and care for your tub drain.
Regularly clean the drain to prevent buildup and clogs
Cleaning your tub drain on a regular basis is crucial in preventing the buildup of hair, soap scum, and other debris that can lead to clogs. To clean your drain, follow these simple steps:
- Remove the drain cover or stopper.
- Using a pair of gloves, reach into the drain and pull out any visible debris, such as hair or soap residue.
- Use a drain snake or a bent wire hanger to remove any stubborn clogs.
- Flush the drain with hot water to help remove any remaining residue.
- Finally, replace the drain cover or stopper.
By regularly cleaning your drain, you can prevent clogs from forming and ensure the water flows smoothly.
Check for any signs of leaks or damage and address them promptly
It’s important to regularly inspect your tub drain for any signs of leaks or damage. If left unaddressed, leaks can cause water damage and lead to costly repairs. Take the following steps to check for leaks or damage:
- Inspect the pipes underneath the tub for any visible leaks or signs of corrosion.
- Check the area around the drain for any discoloration or water stains.
- Test the drain by filling the tub with water and checking for any water leakage.
If you notice any leaks or damage, it’s crucial to address them promptly. Depending on the severity of the issue, you may need to tighten loose connections, replace worn-out seals, or seek professional help if necessary. Taking immediate action can prevent further damage and ensure the proper functioning of your tub drain.
Keep an eye on the overall condition of the drain and replace any worn-out parts as necessary
Over time, certain parts of your tub drain, such as the strainer or gasket, may wear out and need replacement. It’s important to regularly inspect the overall condition of your drain and replace any worn-out parts as necessary. Follow these steps:
- Inspect the condition of the drain cover or stopper for any cracks or wear.
- Check the rubber gasket for any signs of deterioration.
- If any parts are worn out, purchase suitable replacements from a hardware store or contact a professional if needed.
- Follow the manufacturer’s instructions to properly install the new parts.
By replacing worn-out parts, you can ensure the proper functioning and longevity of your tub drain.
Regular maintenance and care are key to keeping your tub drain in prime condition. By regularly cleaning the drain, checking for leaks or damage, and replacing worn-out parts as necessary, you can prevent potential issues and enjoy a hassle-free bathing experience. Remember to always address any problems promptly to avoid costly repairs in the future.
Frequently Asked Questions
How Do You Install A New Drain In A Bathtub?
To install a new drain in a bathtub, first, remove the old drain by unscrewing it counterclockwise. Then, clean the area thoroughly and apply plumber’s putty to the new drain flange. Insert the drain into the bathtub hole and tighten it securely with a wrench.
Finally, test for leaks and ensure proper drainage.
Do You Use Plumbers Putty On Tub Drain?
Yes, plumbers putty is commonly used on tub drains to create a watertight seal between the drain and the tub. It helps prevent leaks and ensures proper functioning of the tub.
Can You Use Teflon Tape On Tub Drain?
Yes, you can use Teflon tape on a tub drain. Teflon tape is commonly used to create watertight seals on threaded connections, such as those found on tub drains. Applying Teflon tape helps prevent leaks and ensures a secure fit.
Do You Need A Trap On A Bathtub Drain?
Yes, a trap is necessary for a bathtub drain. The trap prevents sewer gases from entering your home through the drain.
Conclusion
Installing a tub drain may seem like a daunting task, but with the right steps and tools, it can be done easily. By following our step-by-step guide, you can successfully install a tub drain and enjoy a properly functioning bathtub.
Remember to gather all the necessary materials and take your time throughout the process. With patience and careful attention to detail, you’ll have a smoothly functioning tub drain in no time. Happy plumbing!
