To install a bathtub drain and trap, follow these steps: First, position the drain flange and gasket on the drain hole, then secure it tightly with screws. Next, connect the trap assembly to the drain pipe by sliding the slip nut and washer over the pipe and tightening them with pliers.
Finally, check for any leaks by running water through the drain. Installing a bathtub drain and trap can be a straightforward process if you have the right tools and follow the necessary steps. By ensuring a secure connection and checking for leaks, you can ensure proper functionality of your bathtub drain.
This guide will walk you through the process of installing a drain and trap for your bathtub, allowing you to enjoy worry-free bathing.
Getting Started With Bathtub Drain And Trap Installation
If you’re planning to install a new bathtub or replace an old one, understanding how to properly install a bathtub drain and trap is essential. A properly installed bathtub drain and trap not only helps to prevent water leakage but also ensures that your bathtub functions efficiently. In this guide, we will walk you through the process of installing a bathtub drain and trap, providing you with all the necessary information to get started.
Understanding the Importance of a Properly Installed Bathtub Drain and Trap
A properly installed bathtub drain and trap play a crucial role in keeping your bathroom clean and preventing potential plumbing issues. The drain is responsible for carrying wastewater away from the tub, while the trap helps to prevent sewer gases from entering your home. Without a functional drain and trap, you might experience unpleasant odors, water leakage, and even potential damage to your property.
Essential Tools and Materials for Installation
Before you begin the bathtub drain and trap installation, it’s essential to gather all the necessary tools and materials. This will help ensure a smooth and efficient installation process. Here’s a list of the tools and materials you’ll need:
| Tools | Materials |
|---|---|
|
|
Having these tools and materials ready beforehand will save you time and frustration during the installation process.
Now that you have a clear understanding of the importance of a properly installed bathtub drain and trap, as well as the essential tools and materials required, you’re ready to move on to the actual installation process. Stay tuned for our next guide on the step-by-step instructions for installing a bathtub drain and trap.

Step 1: Preparing For Installation
Before you start installing a bathtub drain and trap, it’s crucial to prepare properly. This initial step ensures that you have everything you need and sets the foundation for a successful installation. In this section, we will cover two essential tasks: measuring and marking the bathtub drain location and removing the existing drain and trap.
Measuring and Marking the Bathtub Drain Location
The first step in preparing to install a bathtub drain and trap is measuring and marking the drain location. This will help ensure that the new drain aligns perfectly with your bathtub. Follow these steps to get it right:
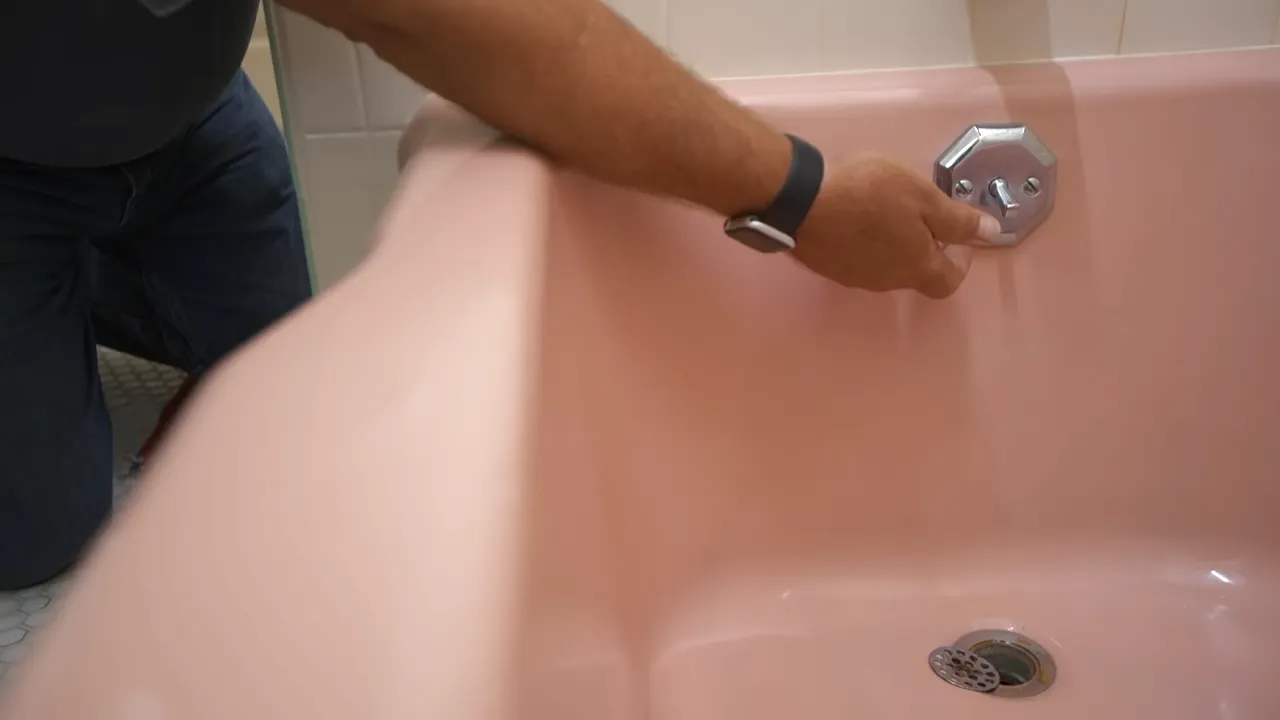
- Remove the bathtub stopper or any drain covers that may be in place.
- Locate the center of the drain hole in the bathtub. The easiest way to do this is by using a measuring tape or ruler. Measure the width of the tub, and mark the center point.
- From the center point, measure and mark the exact location where the new drain will be installed. Refer to the manufacturer’s instructions for the specific measurements.
Taking accurate measurements and marking the drain location beforehand will save you from potential headaches during installation. It ensures that the new drain fits securely and functions properly, preventing any unwanted leaks or drainage issues.
Removing the Existing Drain and Trap
Once you have measured and marked the drain location, the next step is to remove the existing drain and trap. This allows you to start with a clean slate and ensures that the new components fit seamlessly. Here’s how you can do it:
- Put on protective gloves to safeguard your hands.
- Use a screwdriver or pliers to remove the screws or nuts securing the drain cover or drain strainer. Keep them safely aside, as you may need them later.
- Gently twist and pull the drain cover or strainer to detach it from the drain hole. Be careful not to damage the surrounding bathtub surface.
- Use a drain wrench or pliers to loosen and remove the drain flange beneath the drain cover. Turn it counterclockwise until it is completely detached.
- Inspect the trap assembly and loosen the nuts connecting it to the main drainpipe. Carefully remove the trap and dispose of it properly.
The removal of the existing drain and trap is a critical step in the installation process. By completing this step accurately, you ensure a smooth transition to installing the new components and minimize any potential issues.

Step 2: Installing The Bathtub Drain
Now that you have successfully removed the old drain and trap in Step 1, it’s time to move on to installing the new bathtub drain. This step is crucial to ensure a watertight seal and prevent any leaks. In this section, we will guide you through the process of choosing the right type of bathtub drain, applying plumbers putty or silicone caulk for a watertight seal, and inserting and tightening the drain flange.
Choosing the Right Type of Bathtub Drain
Before you dive into the installation process, it’s essential to choose the right type of bathtub drain. There are several options available, including pop-up drains, toe-tap drains, and lift-and-turn drains. Take into consideration your preferences, style, and the compatibility with your bathtub.
Applying Plumbers Putty or Silicone Caulk for a Watertight Seal
To ensure a tight seal that prevents leakage, you will need to apply either plumbers putty or silicone caulk around the drain opening.
- Carefully remove a small amount of plumbers putty or silicone caulk from the container.
- Rub the putty or caulk between your hands to warm and soften it.
- Place the softened putty or caulk around the drain opening in a circular shape.
- Press down gently to create an even layer.
Note: Make sure to cover the entire area around the drain opening to ensure a watertight seal. Any gaps or inconsistencies could lead to leaks in the future.
Inserting and Tightening the Drain Flange
Once you have applied the plumbers putty or silicone caulk, it’s time to insert and tighten the drain flange. The drain flange is the piece that connects the drain to the bathtub and ensures a secure connection.
- Insert the drain flange into the drain opening.
- Thread the drain flange clockwise until it is snugly fit into the drain.
- Use a drain wrench or pliers to tighten the drain flange further, ensuring a secure and watertight seal.
Be careful not to overtighten the drain flange, as this could cause damage to the bathtub or the drain assembly.
With the drain flange securely in place, you have completed the second step of installing the bathtub drain. Now you can move on to Step 3: Installing the Bathtub Trap.
Step 3: Attaching The Bathtub Trap
Once you have selected the appropriate trap type and connected the necessary trap components, it is time to attach the bathtub trap. This crucial step ensures that your bathtub drain functions properly and prevents any potential plumbing problems down the line. In this section, we will outline the process of attaching the bathtub trap, along with tips and guidelines for adjusting it for proper alignment and support.
Selecting the Appropriate Trap Type
Before you can attach the bathtub trap, it is important to select the appropriate trap type for your specific plumbing system. There are various types of traps available, including P-traps, S-traps, and bottle traps. The choice of trap largely depends on your local plumbing code and the layout of your bathroom.
To determine the right trap type, you can consult with a professional plumber or research the local building codes. Once you have identified the suitable trap type, ensure that you have the necessary components and fittings required for the installation.
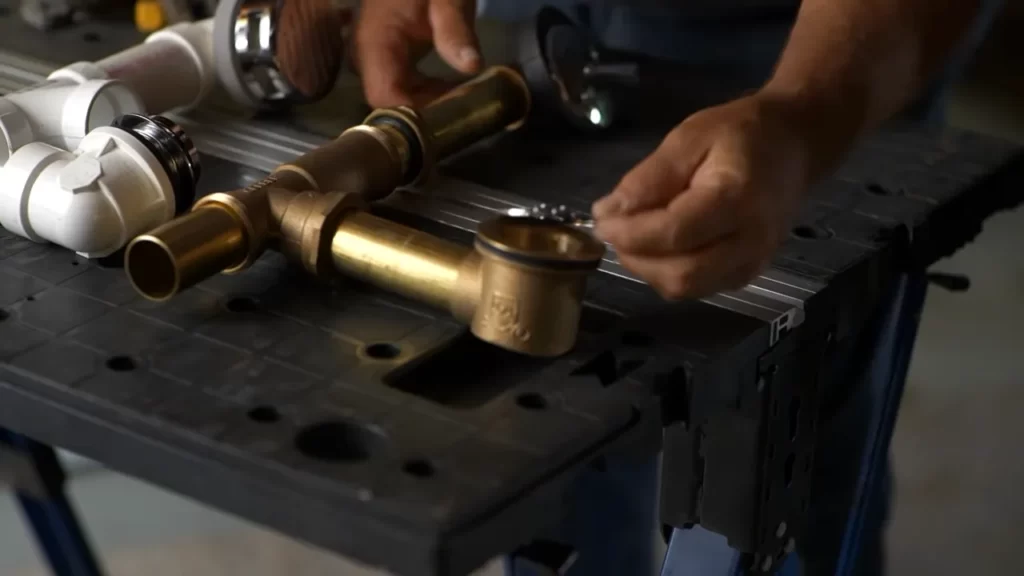
Connecting the Trap Components
Now that you have the appropriate trap type and the necessary components, it’s time to connect the trap components together. Here is a step-by-step guide:
- Place the trap under the bathtub drain opening and align it properly.
- Secure the trap components with slip nuts and washers, ensuring a watertight seal.
- Hand-tighten the slip nuts, and then use a wrench to tighten them further, avoiding overtightening.
- If your trap includes an extension pipe, connect it to the outlet of the trap and secure it with slip nuts.
Remember to carefully read the manufacturer’s instructions for any specific guidelines or considerations for your trap type. This will help ensure a proper installation and prevent any future issues.
Adjusting the Trap for Proper Alignment and Support
After connecting the trap components together, it’s essential to adjust the trap for proper alignment and support. Here are some tips to help you accomplish this:
- Check that the trap is aligned horizontally and vertically. It should be level and not slanted or tilted.
- Ensure that the trap is properly supported by straps or hangers, preventing any unnecessary strain or stress.
- Inspect the trap for any leaks by running water through the drain. Look for any drips or signs of water escaping from the trap connections.
- If there are any leaks, tighten the slip nuts slightly until the leak stops. Be cautious not to overtighten, as it may damage the trap or the drain pipe.
By taking these steps and adjusting the trap accordingly, you can ensure proper alignment and support for your bathtub drain. This will help maintain the efficiency and functionality of your plumbing system while preventing potential issues in the future.
Step 4: Testing And Finishing Touches
After successfully installing the drain and trap for your bathtub, it’s time to test the system and add the final touches to ensure a leak-free and well-functioning bathtub. This step includes two important tasks: Ensuring Proper Drainage by Conducting a Water Test and Making Final Adjustments and Securing the Drain and Trap. Let’s dive into each one:
Ensuring Proper Drainage by Conducting a Water Test
Before proceeding further, it’s crucial to check if your bathtub drain and trap are correctly installed and don’t have any leaks. To do this, you’ll need to conduct a simple water test:
- Close the bathtub drain stopper if you have one. This will prevent water from flowing through the drain during the test.
- Fill the bathtub with a few inches of water. Ensure that the water level is below the overflow drain if your bathtub has one.
- Observe the water for any signs of leakage. If you notice water dripping or flowing out of the drain or trap, there may be a problem with the installation or a loose connection.
- If you do encounter leaks, identify the source and make the necessary adjustments or repairs. It could be as simple as tightening connections or applying plumbers tape to prevent leaks.
- Once you are confident that there are no leaks, drain the water from the bathtub by opening the drain stopper.
Making Final Adjustments and Securing the Drain and Trap
After passing the water test, you can proceed with the final adjustments to ensure the drain and trap are securely in place:
- Double-check the connections and ensure all fittings are tight.
- Use a pair of pliers, if needed, to ensure the connections are snug and leak-free.
- If you used plumber’s putty or a gasket to create a watertight seal at the drain assembly, make sure it is properly positioned and not squeezed out from the edges.
- Inspect the trap for any loose or misaligned parts. Adjust and secure them as necessary.
- Confirm that the bathtub drain stopper moves smoothly and seals tightly if applicable to your bathtub model.
Applying a Sealant or Adhesive to Prevent Leaks
To provide an extra layer of leak protection, you can apply a sealant or adhesive around the drain and trap connections. This step can help ensure a watertight seal and prevent any future leaks.
Follow these steps to apply the sealant:
- Clean the drain and trap area with a mild household cleaner.
- Apply a small amount of silicone-based plumber’s sealant or adhesive to the threads of the drain connection.
- Tighten the drain connection firmly, ensuring the sealant evenly covers the threads.
- If there are any visible gaps or areas prone to leakage, carefully apply the sealant around these areas as well.
- Allow the sealant to cure as instructed by the manufacturer before testing the drain system again.
By conducting a water test, making final adjustments, and applying a sealant or adhesive, you are taking the necessary steps to guarantee a properly installed bathtub drain and trap. Once you are confident in the functionality and leak-free performance of your bathtub, it’s time to move on to the exciting part – enjoying a relaxing soak!
Tips And Considerations For Bathtub Drain And Trap Installation
Tips and Considerations for Bathtub Drain and Trap Installation
When it comes to installing a bathtub drain and trap, it’s important to pay attention to the details. A properly installed drain and trap ensure the efficient operation of your bathtub’s plumbing system and prevent any potential issues down the line. In this article, we will discuss some tips and considerations to keep in mind during the installation process.
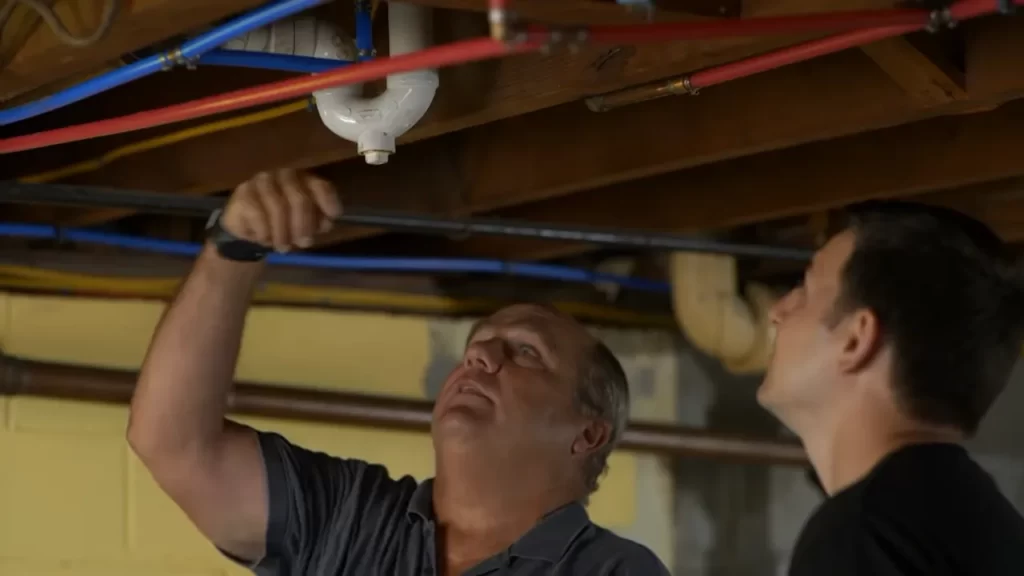
Properly Venting the Bathtub Drain and Trap System
One crucial aspect of installing a bathtub drain and trap is ensuring proper ventilation. Proper ventilation prevents unpleasant odors from seeping into your bathroom and helps maintain optimal water flow. To properly vent the bathtub drain and trap system, you need to connect it to the main vent stack of your house’s plumbing system.
This connection guarantees that any negative pressure created by the flow of water through the drain is balanced, allowing air to enter and prevent siphoning. Siphoning can lead to slow drainage or even complete blockage of your bathtub drain. Therefore, it’s essential to consult a professional plumber or adhere to local building codes to ensure proper venting.
Avoiding Common Installation Mistakes
When installing a bathtub drain and trap, it’s crucial to avoid common mistakes that could lead to plumbing issues. One common mistake is improperly aligning the trap with the drainpipe. This misalignment can cause leaks and poor drain functionality.
To avoid this mistake, make sure to double-check the alignment of the trap and the drainpipe before tightening the connections. Additionally, using plumber’s tape or pipe joint compound can help create a secure and watertight seal.
Another common mistake is overlooking the importance of properly securing all connections. A loosely connected drain and trap system can cause leaks and disrupt the water flow. Ensure that all connections are tightened correctly using the appropriate tools without over-tightening and damaging the pipes.
Regular Maintenance and Cleaning for Longevity
To ensure the longevity and optimal performance of your bathtub drain and trap system, regular maintenance and cleaning are essential. Over time, debris and hair can accumulate in the drain and trap, leading to clogs and inefficient drainage.
Regularly cleaning the drain and trap can prevent these issues. You can use a drain snake or a plunger to remove any clogs or blockages. Additionally, using a mixture of baking soda and vinegar can help dissolve any build-up and eliminate unpleasant odors.
Furthermore, it’s important to inspect the drain and trap system periodically for any signs of damage or wear. Damaged seals or cracks can lead to leaks and require immediate attention. By regularly maintaining and cleaning your bathtub drain and trap system, you can avoid costly repairs and ensure its longevity.
Frequently Asked Questions
Does A Bathtub Drain Need A Trap?
Yes, a bathtub drain needs a trap. The trap prevents sewer gases from coming back into the bathroom and also catches debris that could clog the drain. It’s an essential component of the plumbing system for hygiene and functionality.
How Do You Install A New Drain In A Bathtub?
To install a new drain in a bathtub, follow these steps: 1. Remove the old drain by unscrewing it counterclockwise. 2. Clean the area and apply plumber’s putty around the new drain’s flange. 3. Insert the drain into the drain hole and tighten it clockwise using a drain wrench.
4. Connect the drain pipe to the new drain using a PVC pipe and tighten the connections. 5. Test for leaks by filling the tub with water.
What Type Of Trap Is Used For A Bath Tub?
A P-trap is commonly used for bathtubs to prevent sewer gases from entering the bathroom. It is an S-shaped pipe that traps water to create a seal and prevent odors.
How Do You Put A Drain Stopper Back In A Bathtub?
To put a drain stopper back in a bathtub, follow these steps: 1. Lift the drain stopper handle to its highest position. 2. Insert the stopper into the drain hole, making sure it fits securely. 3. Push down on the stopper handle to engage it.
4. Test the stopper by filling the tub with water and checking for any leaks. 5. Adjust as necessary to ensure a tight seal.
Conclusion
To sum up, installing a bathtub drain and trap can seem daunting at first, but with the right tools and step-by-step guidance, it is a manageable DIY project. Following the instructions outlined in this blog post will ensure a successful installation that will prevent leaks and provide efficient drainage for your bathtub.
Remember to take your time, double-check your work, and don’t be afraid to ask for help if needed. Enjoy your newly installed bathtub drain and trap!