To install a shower panel, start by turning off the water supply and removing the existing showerhead. Then, attach the panel to the wall using the provided brackets and screws, connecting the hot and cold water supply lines to the corresponding ports.
Finally, test the panel for any leaks and adjust the water pressure as desired. Are you ready to upgrade your shower experience? Installing a shower panel can transform your daily routine. By following a few simple steps, you can enjoy the luxury and convenience of a high-pressure shower system right in your own home.
We will guide you through the process of installing a shower panel, providing you with all the information you need to get started. From turning off the water supply to testing for leaks, we will cover every step along the way. Let’s dive in and discover how easy it is to install a shower panel.
Factors To Consider Before Purchasing A Shower Panel
Installing a shower panel can greatly enhance your bathroom experience, providing a spa-like atmosphere right in the comfort of your home. However, before you make a purchase, it’s important to consider a few factors to ensure you select the right shower panel that meets your needs and preferences. By evaluating the size and dimensions of your bathroom, water pressure compatibility, material and durability, and style and design options, you can make an informed decision and enjoy your shower panel for years to come.
Size and Dimensions of Your Bathroom
One of the first factors to consider before purchasing a shower panel is the size and dimensions of your bathroom. Measure the available space where you plan to install the panel to ensure it fits appropriately. Additionally, consider the layout of your bathroom and any potential obstructions such as windows or fixtures that may affect the positioning of the shower panel.
Water Pressure Compatibility
Another crucial factor to consider is the water pressure compatibility of the shower panel. Different panels require different water pressures to function optimally. It’s important to check your home’s water pressure level and compare it to the requirements of the panel you are considering. Installing a shower panel with incompatible water pressure may result in poor performance and an unsatisfactory shower experience.
Material and Durability
The material and durability of the shower panel are important aspects to evaluate. Look for panels made from high-quality materials such as stainless steel or tempered glass, as these are known for their durability and resistance to wear and tear. Additionally, consider factors such as corrosion resistance and ability to withstand high water temperatures. Investing in a shower panel with sturdy construction and reliable materials will ensure its longevity and performance over time.
Style and Design Options
The style and design options of shower panels are vast, allowing you to choose a panel that complements the aesthetics of your bathroom. Consider the overall theme and decor of your bathroom and select a shower panel that aligns with your personal style. Whether you prefer a minimalist design or a more luxurious look with waterfall features, there are options available to suit every taste. Take your time to explore different styles and designs to find the perfect shower panel that not only functions well but also adds a touch of elegance to your bathroom.
By carefully considering these factors before purchasing a shower panel, you can make an informed decision and choose the panel that best suits your needs and preferences. Remember to measure your bathroom dimensions, assess water pressure compatibility, prioritize material durability, and select a style that enhances the overall aesthetic of your bathroom. With these considerations in mind, you can look forward to enjoying your new shower panel and transforming your daily shower routine into a luxurious experience.
Essential Tools For Installing A Shower Panel
Installing a shower panel in your bathroom can completely transform your bathing experience. Whether you’re looking to upgrade your current shower system or simply add a modern touch to your bathroom, a shower panel offers both functionality and style. Before you dive into the installation process, it’s important to have the right tools on hand to ensure a smooth and successful installation. Here are the essential tools you’ll need to install a shower panel:
Adjustable wrench
To begin the installation, an adjustable wrench is a must-have tool. This versatile tool allows you to tighten and loosen nuts and bolts of various sizes. The adjustable feature makes it easy to fit onto different sized fittings, ensuring a secure connection. Make sure to have a sturdy adjustable wrench within reach before you start the installation.
Screwdriver
A screwdriver is another essential tool that you’ll need for installing a shower panel. It will come in handy when securing screws and fasteners during the installation process. Having both a flathead and a Phillips head screwdriver will ensure that you have the right tool for different types of screws.
Drill (if needed)
If your shower panel requires drilling holes for installation, then a drill is necessary. A drill allows you to create precise holes in various surfaces, ensuring a secure and sturdy installation. Make sure to use the appropriate drill bit size for the holes specified in the shower panel’s installation instructions.
Tape measure
Precision is key when installing a shower panel, and a tape measure will help you achieve accurate measurements. Measure the distance between existing plumbing fixtures and the desired location of the shower panel to ensure proper alignment. Additionally, use the tape measure to check the levelness and vertical alignment of the panel during installation.
Level
Ensuring that your shower panel is level is crucial for both aesthetic and functional reasons. A level tool allows you to accurately determine if the panel is perfectly horizontal or vertical. Use the level to make any necessary adjustments and ensure a straight and balanced installation.
With these essential tools at your disposal, you’ll have everything you need to install a shower panel in your bathroom. Remember to always follow the manufacturer’s instructions and take necessary safety precautions during the installation process.
Frequently Asked Questions
How Do You Install Shower Wall Panels?
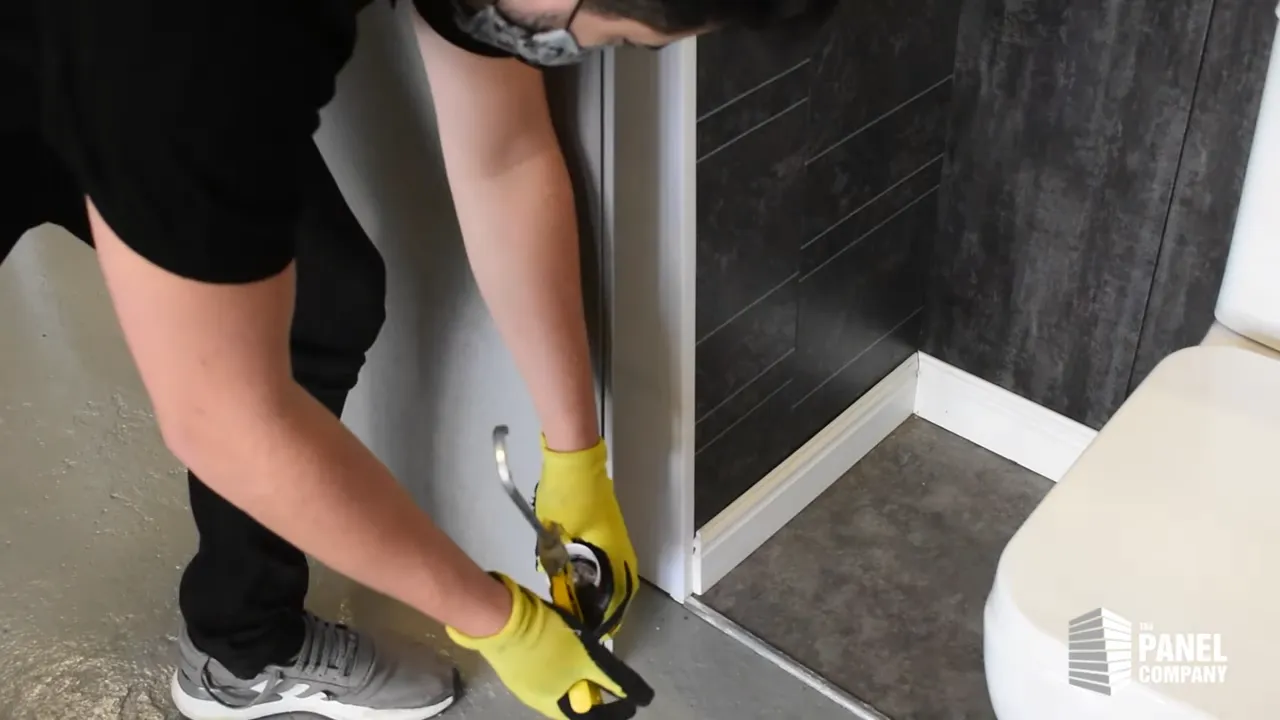
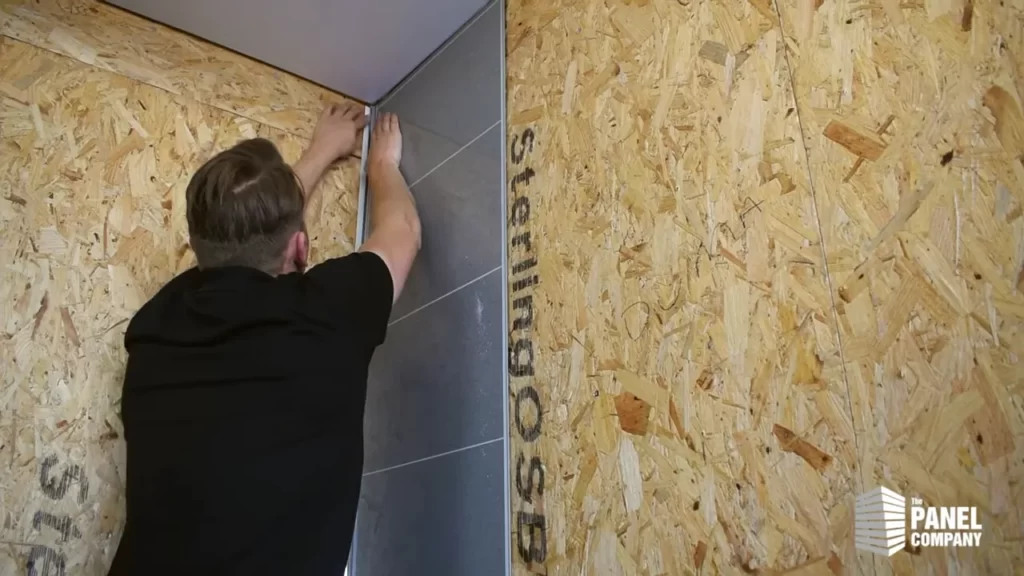
To install shower wall panels, follow these steps: 1. Measure and cut the panels to fit your shower walls. 2. Clean the walls thoroughly and remove any existing tiles or wallpaper. 3. Apply adhesive to the back of the panel and press it firmly onto the wall.
4. Use a level to ensure the panels are straight and aligned. 5. Allow the adhesive to set and caulk the edges to create a watertight seal.
Can You Install Shower Panel In Existing Shower?
Yes, you can install a shower panel in your existing shower. It is a simple and convenient way to upgrade your shower experience without needing to renovate or replace your entire shower setup. Just ensure that the shower panel is compatible with your existing plumbing fixtures.
What Do You Put Behind Shower Panels?
Common materials used behind shower panels include waterproof drywall, cement backerboard, and waterproof membrane systems. These provide a sturdy, moisture-resistant base for shower walls.
Are Shower Wall Panels A Good Idea?
Shower wall panels are a great choice for your bathroom. They provide a durable and low-maintenance option for your shower walls. With different designs and colors available, you can create a stylish and modern look. Plus, they are easy to install and can help prevent water damage.
Conclusion
Installing a shower panel may seem daunting at first, but by following the step-by-step instructions provided in this guide, you can easily transform your showering experience. From gathering the necessary tools to securely fixing the panel onto the wall, this blog post has provided you with all the essential information.
So why wait? Start enjoying the benefits of a luxurious shower panel today!