To install a shower door frame, measure the door opening, cut the track and frame pieces to size, attach the frame to the wall, install the track, and hang the shower door. Installing a shower door frame can be a simple and affordable way to update the look of your bathroom and provide a sleek and functional enclosure for your shower.
By following a few steps and using some basic tools, you can complete this DIY project in no time. We will guide you through the process of installing a shower door frame, so you can enjoy your new shower enclosure in no time.
Choosing The Right Shower Door Frame
When it comes to installing a shower door frame, one of the crucial steps is choosing the right frame for your bathroom. The shower door frame not only plays a functional role but also adds to the aesthetic appeal of your shower area. Here are a few factors to consider when selecting the perfect shower door frame:
Consider the style and design of your bathroom
The first step in choosing the right shower door frame is to consider the style and design of your bathroom. Take a look at the overall theme and ambiance of your bathroom to determine what type of frame will complement it best. If you have a modern and sleek bathroom, a frameless or semi-frameless shower door frame could be the perfect fit. On the other hand, if your bathroom has a traditional or vintage style, a framed shower door frame with ornate details might be more suitable.
Measure the size and dimensions of your shower area
Next, it’s essential to measure the size and dimensions of your shower area before making any decisions. This will ensure that the shower door frame you choose fits perfectly and functions properly. Measure the width and height of your shower opening, as well as the thickness of the walls. These measurements will help you determine if you need a standard-sized door frame or if you require a custom-made frame to fit your specific shower dimensions.
Research different types of shower door frames available
Now that you have considered the style of your bathroom and have the measurements, it’s time to research the different types of shower door frames available. There are various options to choose from, including framed, frameless, and semi-frameless shower door frames. Each type has its own unique advantages and disadvantages, so it’s important to understand these differences before making a decision.
To help you better understand the various types of shower door frames, here is a table summarizing their key features:
| Shower Door Frame Type | Key Features |
|---|---|
| Framed |
|
| Frameless |
|
| Semi-frameless |
|
By researching and understanding the different types of shower door frames, you can make an informed decision that matches both your style preferences and the needs of your bathroom. Remember, the right shower door frame can enhance the functionality and visual appeal of your shower area, elevating the overall look and feel of your bathroom.
Gathering The Necessary Tools And Materials
Gathering the Necessary Tools and Materials
Before you start installing a shower door frame, it’s essential to gather all the necessary tools and materials. Having everything on hand will make the installation process smoother and more efficient. To help you get prepared, here’s a list of tools and materials you’ll need:
List of tools required for the installation process:
- Measuring Tape: Ensure precise measurements for a perfect fit.
- Cordless Drill: To securely attach the frame to the shower wall.
- Screwdriver Set: Necessary for tightening screws and other hardware.
- Silicone Caulk Gun: Used to apply caulk for a watertight seal.
- Level: Ensures that the frame is plumb and level during installation.
- Hacksaw: Required for cutting the frame to the desired length.
- Hammer: Useful for gently tapping parts into place.
- Pliers: Help with grip and maneuvering during the installation process.
List of materials needed for a seamless bathroom upgrade:
- Shower Door Frame Kit: Choose a high-quality frame that complements your bathroom style.
- Glass Panels: Determine the appropriate size and thickness for your shower area.
- Screws and Anchors: Ensure secure attachment to the shower wall.
- Shower Door Sweep: Prevents water leakage from the bottom of the door.
- Caulk: Use a waterproof silicone caulk for a durable seal.
By gathering these tools and materials in advance, you’ll have everything you need to successfully install a shower door frame. Now that you’re well-equipped, it’s time to move on to the next steps in the installation process. Stay tuned for our upcoming blog posts, where we’ll guide you through each stage of the installation, ensuring a seamless bathroom upgrade.
Preparing The Shower Area
Remove any existing shower door or frame
Before you start installing a new shower door frame, it’s essential to remove any existing door or frame that might be in place. This step ensures a clean slate and allows for a smooth installation process. Here are the steps to remove the shower door or frame:
- First, locate the screws or fasteners that are securing the existing shower door or frame. These are typically found on the sides and the top of the frame.
- Using a screwdriver or the appropriate tool, carefully remove the screws or fasteners one by one.
- Once the screws or fasteners are removed, gently lift the shower door or frame away from the shower area.
- Set aside the removed door or frame in a safe place to avoid any damage.
Clean and prepare the shower area for installation
With the old shower door or frame out of the way, it’s time to clean and prepare the shower area for the new frame installation. Follow these steps to ensure a proper installation:
- Thoroughly clean the shower area using a suitable bathroom cleaner and a sponge or cloth. Remove any soap scum, mold, or debris that may have accumulated over time.
- Inspect the walls and floor of the shower area for any signs of damage, such as cracks or loose tiles. If any issues are found, address them before proceeding with the installation.
- Measure the dimensions of the shower area to determine the appropriate size for the new shower door frame. Ensure the measurements are accurate to avoid any installation complications.
- If necessary, apply a waterproofing sealant to the shower area to prevent water leakage. This step is particularly important if the shower walls are made of porous materials such as tiles.
By taking the time to remove any existing shower door or frame and thoroughly clean and prepare the shower area, you’re setting the stage for a successful installation. Now that the shower area is ready, you can move on to the next step of installing the new shower door frame.

Installing The Shower Door Frame
When it comes to installing a shower door frame, proper placement and secure anchoring are crucial for a sturdy and functional installation. Additionally, ensuring proper alignment and level of the frame ensures a visually pleasing end result. In this guide, we will walk you through the step-by-step process of installing the shower door frame, starting with marking the placement of the frame on the shower walls, securing the frame with appropriate anchor points, and finally, ensuring proper alignment and level of the frame.
Marking the placement of the frame on the shower walls
The first step in installing the shower door frame is to mark the placement of the frame on the shower walls. This is an essential step as it determines the position and alignment of the frame. Here’s how you can do it:
- Carefully measure the width of the shower opening and mark the center point on the wall.
- Use a level to draw a plumb line from the center point down to the desired height of the frame.
- Repeat the process on the opposite wall to ensure that the frame is centered.
- Measure and mark the height of the frame on both walls, ensuring that the marks are level with each other.
- Use a straight edge or a level to connect the marks on both walls, creating a horizontal line for the top edge of the frame.
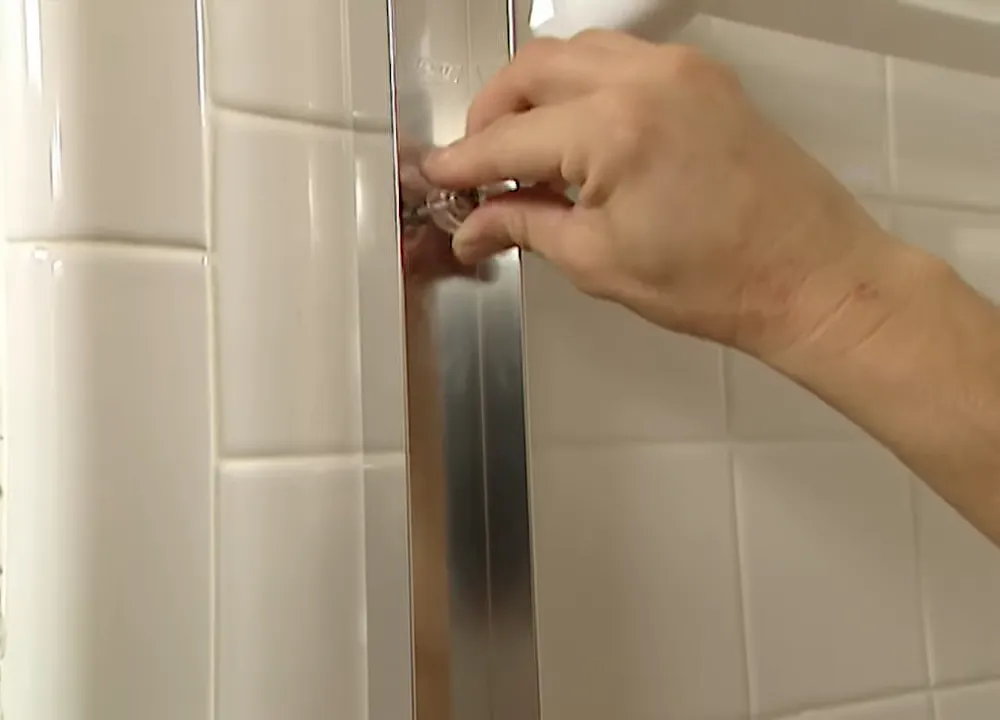
Securing the frame with appropriate anchor points
Once you have marked the placement of the frame on the shower walls, it’s time to secure the frame with appropriate anchor points. Proper anchoring is essential to ensure the stability and longevity of the installation. Follow these steps:
- Position the frame against the wall, aligning it with the marks you made in the previous step.
- Insert appropriate anchor points, such as wall anchors or screws, into the pre-drilled holes in the frame.
- Ensure that the anchor points are securely fastened to the wall, providing enough support for the frame.
- Repeat the process for all the anchor points along the frame, ensuring equal spacing and proper alignment.
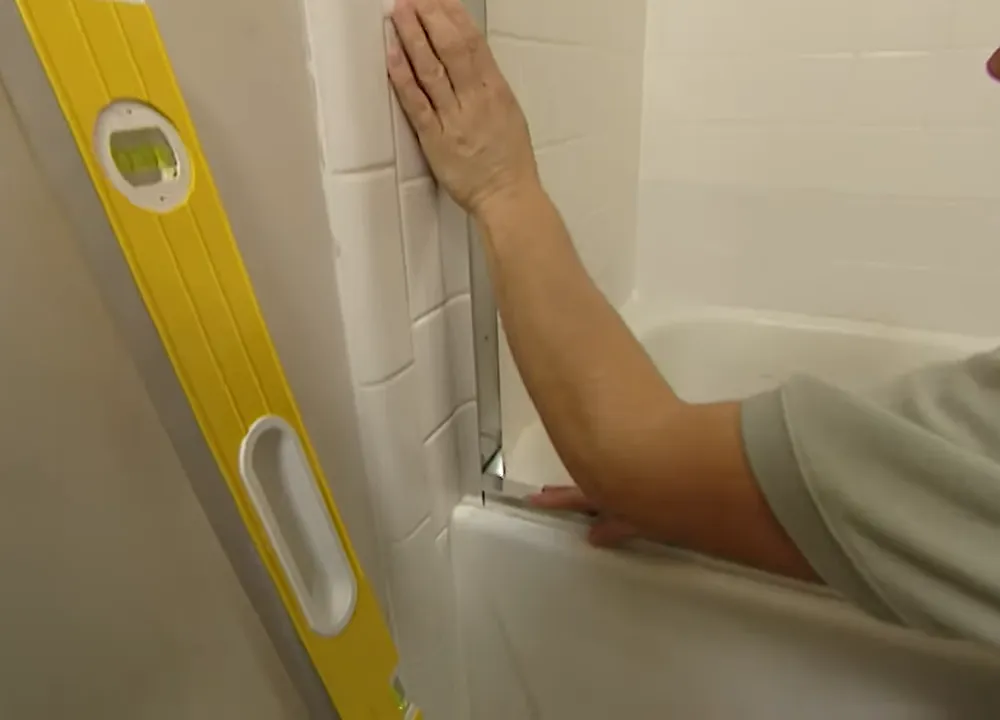
Ensuring proper alignment and level the frame
After securing the frame with appropriate anchor points, it’s time to ensure proper alignment and levelness of the frame. This step is crucial for a visually pleasing and functional installation. Follow these steps:
- Use a level to check the vertical alignment of the frame on both sides. Adjust the anchor points if necessary to achieve perfect alignment.
- Check the horizontal level of the frame using a level. Make any adjustments needed to ensure a level installation.
- Double-check the alignment and levelness of the frame, making sure all anchor points are secure and the frame is stable.
- Once you are satisfied with the alignment and levelness, ensure that all anchor points are tightened securely.
By following these steps, you can successfully install a shower door frame that is properly aligned, securely anchored, and visually appealing. Remember to carefully measure, mark, and level throughout the process to achieve the best results. Happy installing!
Attaching The Door To The Frame
Once you have successfully installed hinges or brackets on the shower door frame, it’s time to move on to the next crucial step – attaching the door to the hinges or brackets. This step ensures that the door is securely in place and allows for proper fit and smooth movement.
Installing hinges or brackets on the frame
Before you can attach the door to the frame, you need to make sure that you have installed hinges or brackets on the frame. These hinges or brackets serve as the connection point between the door and the frame, allowing the door to swing open and closed smoothly.
To install the hinges or brackets on the frame, follow these steps:
- Measure the correct placement for the hinges or brackets on the frame, ensuring that they are aligned properly.
- Use a pencil to mark the screw hole locations for the hinges or brackets on the frame.
- Drill pilot holes at the marked locations to prevent wood from splitting when you attach the hinges or brackets.
- Securely attach the hinges or brackets to the frame using screws or other suitable fasteners.
Attaching the door to the hinges or brackets
Now that the hinges or brackets are securely installed on the frame, it’s time to attach the door to them. Here’s how you can do it:
- Position the door so that it aligns properly with the hinges or brackets on the frame.
- Ensure that the door is level and plumb using a spirit level. Make any necessary adjustments by adding or removing shims.
- Once the door is properly aligned, mark the screw hole locations on the door where it will connect to the hinges or brackets.
- Drill pilot holes at the marked locations to prevent the door from splitting when you attach it to the hinges or brackets.
- Carefully attach the door to the hinges or brackets using screws or other appropriate fasteners. Make sure they are tightened securely.
Adjusting the door for proper fit and smooth movement
After attaching the door to the hinges or brackets, it’s important to adjust the door for proper fit and smooth movement. This step ensures that the door operates smoothly and securely. Here are some adjustments you can make:
- Check if the door opens and closes smoothly without getting stuck or rubbing against the frame. If needed, make minor adjustments to the hinges or brackets to improve the door’s movement.
- Ensure that the gap between the door and the frame is consistent and even along all edges. Adjust the hinges or brackets accordingly to achieve the desired gap.
- Test the door’s fit by opening and closing it multiple times. Make any necessary adjustments until the door fits perfectly and operates smoothly.
- Finally, tighten any loose screws on the hinges or brackets to ensure that the door remains secure over time.
By following these steps, you can successfully attach your shower door to the frame, allowing for a secure fit and smooth movement. Remember to make any necessary adjustments along the way to achieve the perfect installation.
Sealing And Waterproofing
When it comes to installing a shower door frame, sealing and waterproofing are crucial steps that ensure a watertight and durable installation. Proper sealing and waterproofing prevent water leakage, mold growth, and damage to the surrounding areas. In this section, we will explore the necessary steps to seal and waterproof your shower door frame, ensuring a safe and enjoyable bathing experience.
Applying silicone sealant around the edges of the frame
Once you have successfully installed the shower door frame, the next step is to apply a silicone sealant around its edges. Silicone sealant is specifically designed to create a waterproof barrier, preventing any water from seeping through the gaps and causing damage. Follow the steps below to apply the sealant:
- Carefully clean the edges of the frame using a mild soap and warm water solution. This will remove any dust, dirt, or debris that could affect the adhesion of the sealant.
- Dry the cleaned edges thoroughly using a clean cloth or towel.
- Insert the silicone sealant tube into a caulk gun, ensuring it is securely in place.
- Starting from one corner, apply a steady and even bead of sealant along the edges of the frame, making sure to maintain a continuous line.
- Use a caulk smoother or your finger dipped in soapy water to smooth out the sealant, creating a seamless and professional finish.
- Allow the sealant to dry completely, following the manufacturer’s instructions before using the shower.
Checking for any leaks or gaps in the sealant
Once the sealant has dried, it’s vital to thoroughly inspect it for any leaks or gaps. Over time, the sealant may deteriorate or develop small openings, compromising its waterproofing capabilities. Follow these steps to check for any leaks or gaps in the sealant:
- Run water over the sealed edges of the shower door frame and observe closely for any signs of leakage.
- If you notice any water seeping through, it indicates a potential gap in the sealant.
- Using a clean cloth, dry the area and mark the location of the leak or gap.
- Apply additional sealant to the identified area, following the same steps mentioned earlier.
- Allow the new sealant to dry completely before retesting for any further leaks.
Waterproofing the shower area for long-lasting protection
In addition to sealing the shower door frame, it’s essential to waterproof the entire shower area to enhance its longevity and protect against water damage. Consider the following steps to waterproof the shower area:
- Ensure that all gaps and cracks in the tiles or walls are filled using a waterproof filler.
- Apply a waterproof membrane over the entire shower area, following the manufacturer’s instructions.
- Pay special attention to corners, seams, and edges to create a thorough and effective barrier.
- Apply a waterproofing agent to the exposed surfaces, such as the shower floor and walls, using a paintbrush or roller.
- Allow the waterproofing agent to dry completely before proceeding with any tiling or further installation.
By following these sealing and waterproofing steps, you can ensure that your shower door frame and the surrounding area remain protected from water damage. Remember to regularly inspect the sealant and perform any necessary repairs to prolong the life of your shower installation.
Testing And Adjusting
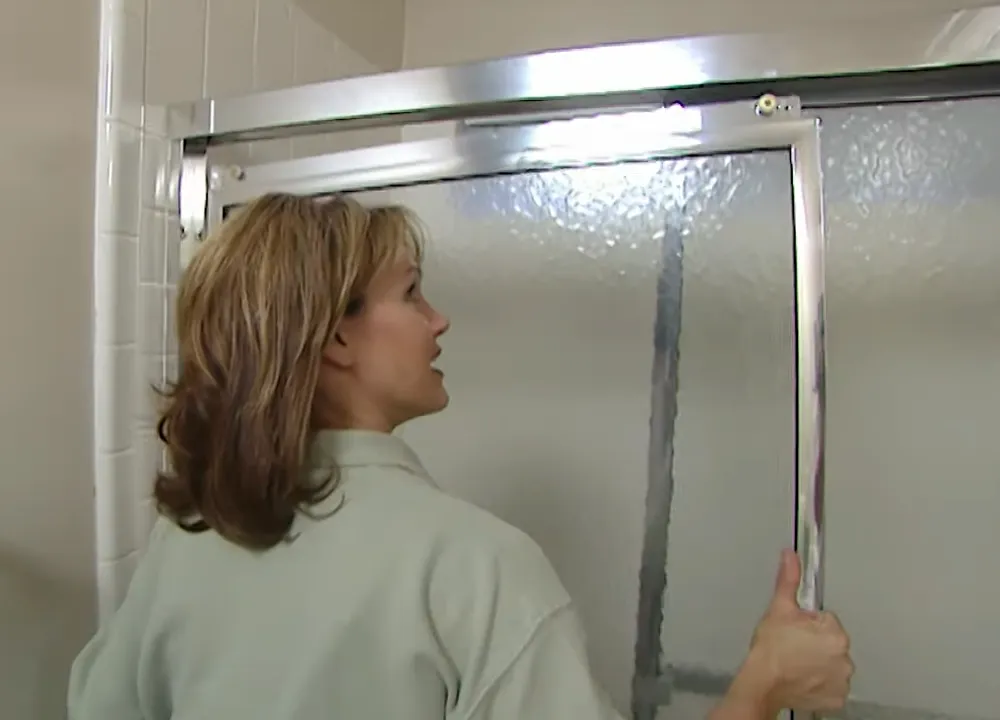
Testing the functionality of the shower door
After installing the shower door frame, it is important to test its functionality to ensure it operates smoothly and effectively. By following a few simple steps, you can make sure that your shower door is working as intended.
First, check the alignment of the door panels. Open and close the door a few times, observing if it moves smoothly along the tracks. Make sure there is no resistance or sticking, as this may indicate a problem with the installation.
Next, examine the door seals. Run your hand along the edges of the door to feel for any gaps or air leaks. If you notice any issues, you may need to adjust the door or replace the seals to ensure a watertight fit.
Making any necessary adjustments for a perfect fit
To achieve a perfect fit, it may be necessary to make some adjustments to the shower door frame. Here are the steps to follow:
1. Begin by inspecting the door panels’ alignment once again. If they are not properly aligned, loosen the screws on the hinges or track brackets to adjust their position. Ensure that the door is level and plumb before tightening the screws back in place.
2. Check the door’s clearance by opening and closing it. If it rubs against the floor or the frame, you may need to adjust the height of the door. This can usually be done by loosening the screws on the bottom track and raising or lowering it as needed.
3. If the door swings open or closed too quickly, you can adjust the tension of the hinge springs. Tighten or loosen the adjustment screws on the hinges to achieve the desired speed and resistance.
4. Once you have made the necessary adjustments, repeat the functionality testing to ensure that the door operates smoothly and fits perfectly within the shower frame.
Ensuring the door opens and closes smoothly
A crucial aspect of installing a shower door frame is ensuring that the door opens and closes smoothly. Follow these steps to ensure a seamless operation:
1. Verify that there is enough clearance for the shower door to swing open without hitting any fixtures or walls. If necessary, adjust the door’s swing by moving the pivot brackets or hinges.
2. Check the door’s closing mechanism. If it slams shut, adjust the closing speed by tightening or loosening the closing speed screw, typically located on the hydraulic hinge.
3. Test the door’s smoothness by opening and closing it multiple times. Ensure there is no resistance or scraping along the track. If there are any issues, make further adjustments to the alignment, hinges, or tracks as required.
By carefully testing and adjusting your shower door frame, you can ensure that it functions properly and provides a seamless showering experience. Take the time to make any necessary adjustments, and enjoy your newly installed shower door for years to come.
Final Touches And Cleaning
Once you have successfully installed the shower door frame, it’s time to add those final touches to enhance its overall appearance. Additionally, you’ll want to ensure that the entire area is clean and free from any residue. In this section, we’ll discuss the steps to remove any excess sealant or adhesive, clean the shower door and frame, and add finishing touches to give your bathroom a polished look.
Removing any excess sealant or adhesive
After installing the shower door frame, it’s common to find small amounts of sealant or adhesive that may have been squeezed out during the installation process. It’s important to remove these excess materials for a clean and professional finish. Here’s how you can do it:
- Carefully inspect the frame and track of the shower door for any dried or excess sealant or adhesive.
- Using a plastic scraper or putty knife, gently scrape off the excess sealant or adhesive. Be cautious not to scratch the surface of the frame or the glass.
- You can also use a mild solvent, such as rubbing alcohol or acetone, to soften the sealant or adhesive before scraping it off. Apply the solvent to a clean cloth and gently rub the affected areas.
- Once you have removed the excess sealant or adhesive, wipe the frame and glass with a damp cloth to remove any residue. Ensure that the area is completely dry before moving on to the next step.
Cleaning the shower door and frame
To maintain the pristine appearance of your shower door and frame, regular cleaning is essential. Follow these steps for a thorough clean:
- Start by mixing a solution of warm water and mild liquid soap in a bucket or container.
- Dip a soft cloth or sponge into the soapy water and gently scrub the glass and frame of the shower door.
- Pay special attention to areas with soap scum or dirt buildup. You can use a non-abrasive brush or toothbrush to reach into those tight corners.
- Rinse the cloth or sponge with clean water and wipe away any remaining soap residue.
- Dry the glass and frame with a clean, lint-free cloth to prevent water spots.
Adding finishing touches to enhance the overall appearance
With the shower door and frame clean and free from any excess sealant or adhesive, it’s time to add those final touches to elevate the overall appearance of your bathroom. Here are a few ideas:
- Apply a high-quality glass cleaner to the glass surface to give it a sparkling, streak-free shine.
- Consider adding decorative elements, such as adhesive window film or etched glass designs, to add a touch of elegance to your shower door.
- Install a towel bar or hooks near the shower door for convenience and easy access to towels or bathrobes.
- Ensure that all hardware, such as hinges and handles, are securely tightened and aligned.
By following these final touches and cleaning steps, you can achieve a beautifully installed shower door frame that enhances the overall look and feel of your bathroom.
Maintenance And Care Tips
Proper maintenance and care are essential for keeping your shower door frame in top condition. By following a few simple steps, you can prevent damage and address common issues that may arise. Here are some maintenance and care tips to keep your shower door frame looking and functioning its best:
Regular cleaning and maintenance to prevent damage
Regular cleaning is crucial for preventing dirt, soap scum, and grime build-up on your shower door frame. To keep your frame looking pristine, make sure to:
- Wipe down the frame after each shower to remove water droplets and excess moisture. This helps prevent the growth of mold and mildew.
- Use a mild, non-abrasive cleaner specifically formulated for shower doors to remove stains and build-up. Avoid harsh chemicals that can damage the frame’s finish.
- Gently scrub the frame using a soft sponge or cloth to remove stubborn stains.
- Rinse the frame thoroughly with clean water and wipe it dry to prevent water spots.
How to address common issues with shower door frames
Despite regular maintenance, you may encounter common issues with your shower door frame. Here’s what you can do to address them:
- Wobbly frame: Tighten any loose screws or bolts that may be causing the frame to wobble. Use a screwdriver or Allen wrench to secure them properly.
- Water leaks: If you notice water leaking through the frame, check the rubber seals for any damage or wear. Replace any worn-out seals to ensure a watertight seal.
- Sticky track: If the sliding doors don’t glide smoothly along the track, clean the track with a brush to remove any debris or obstructions. Apply a silicone-based lubricant for smooth operation.
- Scratches or chips: Minor scratches or chips on the frame can be fixed using touch-up paint or clear nail polish. Apply a small amount to the affected area and let it dry thoroughly.
Tips for prolonging the lifespan of your shower door frame
To ensure the longevity of your shower door frame, consider the following tips:
- Keep the area around your shower dry and well-ventilated to prevent excessive moisture build-up.
- Avoid using abrasive cleaners or tools that can scratch or damage the frame’s finish.
- Regularly inspect the frame for any signs of wear or damage and address them promptly.
- Apply a coat of wax or protective sealant to the frame’s surface to enhance its durability and resistance to water damage.
- If you have hard water, use a water softening system or cleaner to prevent mineral deposits from building up on the frame.
By following these maintenance and care tips, you can keep your shower door frame in excellent condition for years to come, ensuring a beautiful and functional shower experience.
Frequently Asked Questions
How Do You Install A Shower Screen Frame?
To install a shower screen frame, follow these steps: 1. Measure the shower area and choose a frame that fits. 2. Mark the position of the frame on the wall and drill pilot holes for screws. 3. Attach the frame by screwing it into the wall securely.
4. Install the glass or acrylic panels into the frame, following the manufacturer’s instructions. 5. Check for any gaps or leaks, make adjustments if necessary, and enjoy your newly installed shower screen frame!
Can You Replace Shower Door Frame?
Yes, it is possible to replace a shower door frame.
How Do You Install A Framed Shower Door Bottom Seal?
To install a framed shower door bottom seal, follow these steps: 1. Measure the length needed for the seal. 2. Cut the seal to the correct size. 3. Slide the seal into the bottom of the shower door frame. 4.
Align the seal properly. 5. Tighten any screws or clips to secure the seal in place.
Do You Need A Stud For Shower Door?
No, you don’t need a stud for a shower door. Shower doors can be installed using a variety of hardware options, including wall anchors. However, studs provide extra stability and are recommended for heavy or glass doors.
Conclusion
Installing a shower door frame is a straightforward process that can greatly enhance the functionality and aesthetics of your bathroom. By following these simple steps, you can successfully complete the installation on your own. Remember to measure accurately, choose the right materials, and follow the manufacturer’s instructions for a seamless installation.
With a little patience and attention to detail, you can transform your shower space into a beautiful and functional oasis. Take your time, follow the steps, and enjoy the satisfaction of a job well done!