
To install a hand shower, first, remove the existing showerhead by unscrewing it from the shower arm. Then, attach the hand shower holder bracket to the shower arm and tighten it securely.
Choosing The Right Hand Shower
Factors to consider when selecting a hand shower
When it comes to choosing the right hand shower, there are several factors that you should consider. Understanding these factors will help you make an informed decision and ensure that you select a hand shower that meets your specific needs and preferences. Here are some key factors to take into account:
- Water Pressure: The water pressure in your home can vary depending on the plumbing system. It is important to choose a hand shower that is compatible with your water pressure to ensure a satisfying shower experience. Check the product specifications or consult with a professional if you are unsure about the water pressure requirements.
- Style and Finish: Hand showers come in a variety of styles and finishes, allowing you to match your bathroom decor. Consider the design of your bathroom and choose a hand shower that complements the overall aesthetic.
- Ease of Installation: If you plan to install the hand shower yourself, consider the level of complexity involved. Look for hand showers that come with easy-to-follow instructions and require minimal tools for installation.
- Functionality: Think about the specific features you require in a hand shower. Do you want multiple spray patterns? Adjustable water flow? A pause feature? Consider your needs and select a hand shower that offers the functionality you desire.
- Budget: Hand showers come in a wide price range, so it’s important to establish a budget beforehand. Determine how much you are willing to spend and look for options within that price range that meet your requirements.
Evaluating different hand shower options
Now that you are aware of the factors to consider, it’s time to evaluate different hand shower options. Here are some popular types of hand showers:
| Hand Shower Type | Description |
|---|---|
| Single Function Hand Shower | This type of hand shower provides a single spray pattern and is a basic option for those who prefer simplicity. |
| Multi-Function Hand Shower | These hand showers offer various spray patterns, allowing you to customize your shower experience according to your preferences. |
| Slide Bar Hand Shower | Slide bar hand showers feature an adjustable slide bar that allows you to position the hand shower at your desired height for added convenience. |
| Filtered Hand Shower | Filtered hand showers are equipped with a built-in water filter that helps remove impurities from the water, providing a cleaner shower experience. |
Understanding the features and benefits of various hand shower models
Each hand shower model offers its own set of features and benefits. Here are some common features to consider:
- Spray Patterns: Different hand showers offer a variety of spray patterns, such as rain, massage, and mist. Choose a hand shower that provides the spray patterns you enjoy.
- Water-saving Technology: Some hand showers incorporate water-saving technology to help conserve water without compromising on performance.
- Easy Cleaning: Look for hand showers that have easy-to-clean nozzles or self-cleaning features, making maintenance a breeze.
- Durable Construction: Opt for hand showers made from high-quality materials, as they are likely to be more durable and long-lasting.
- Anti-Clog Features: Hand showers with anti-clog features help prevent mineral build-up, ensuring optimal water flow over time.
By considering these factors and understanding the features and benefits of different hand shower models, you can confidently select the right hand shower that suits your needs and enhances your showering experience.
Preparing For Installation
Before you begin installing your hand shower, it’s important to properly prepare for the process. This involves gathering the necessary tools and materials, checking the compatibility of your existing shower system, and measuring and adjusting the shower arm height if needed. By following these steps, you’ll ensure a smooth and successful installation. Let’s dive into the details of each step.
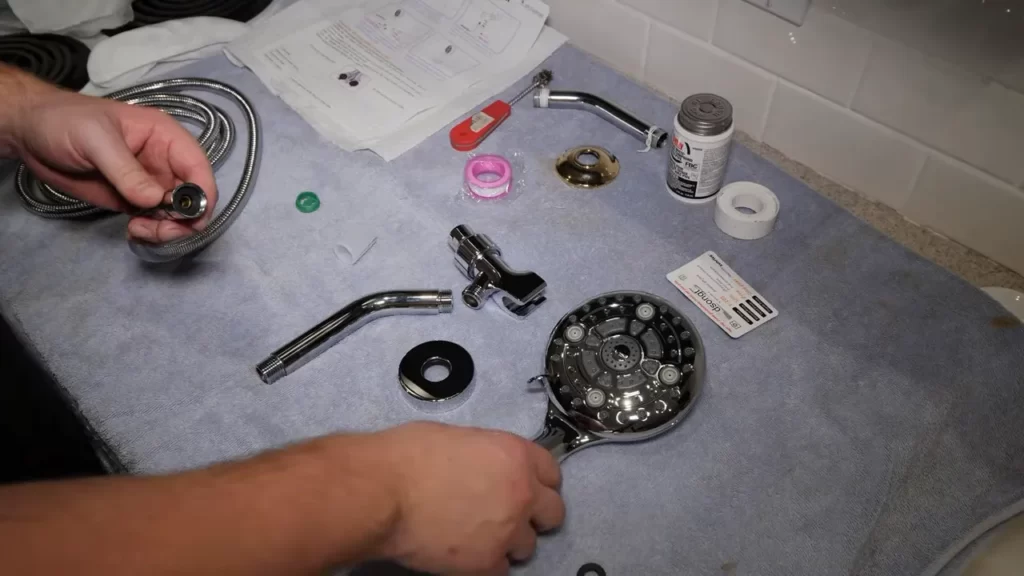
Gathering the necessary tools and materials
Before you start the installation, make sure you have all the required tools and materials handy. This will save you from having to run back and forth to grab anything you might have forgotten. Here are the tools and materials you will need:
| Tools | Materials |
|---|---|
|
|
Checking the compatibility of your existing shower system
Before proceeding with the installation, it’s important to ensure that your existing shower system is compatible with the hand shower kit you’ve purchased. Check the specifications and requirements provided by the manufacturer to confirm compatibility. This will prevent any potential issues or incompatibilities during the installation process.
Measuring and adjusting the shower arm height if needed
The height of the shower arm plays a crucial role in the comfortable use of a hand shower. Measure the current height of your shower arm and compare it to the recommended height for proper installation. If the height needs to be adjusted, use an adjustable wrench to loosen the connection and adjust accordingly. Make sure to tighten the connection securely after making the adjustment.
By following these steps and preparing adequately for the installation, you’ll be well on your way to enjoying the convenience and functionality that a hand shower provides. Now that you’re prepared, let’s move on to the actual installation process in our next blog post.
Installing The Hand Shower
Installing a hand shower can greatly enhance your showering experience, giving you the flexibility to direct the water exactly where you need it. Whether you’re looking to replace an old showerhead or simply upgrade your existing setup, installing a hand shower is a relatively simple and rewarding DIY project. In this guide, we’ll walk you through the step-by-step process of installing a hand shower, ensuring a leak-free and functional installation.
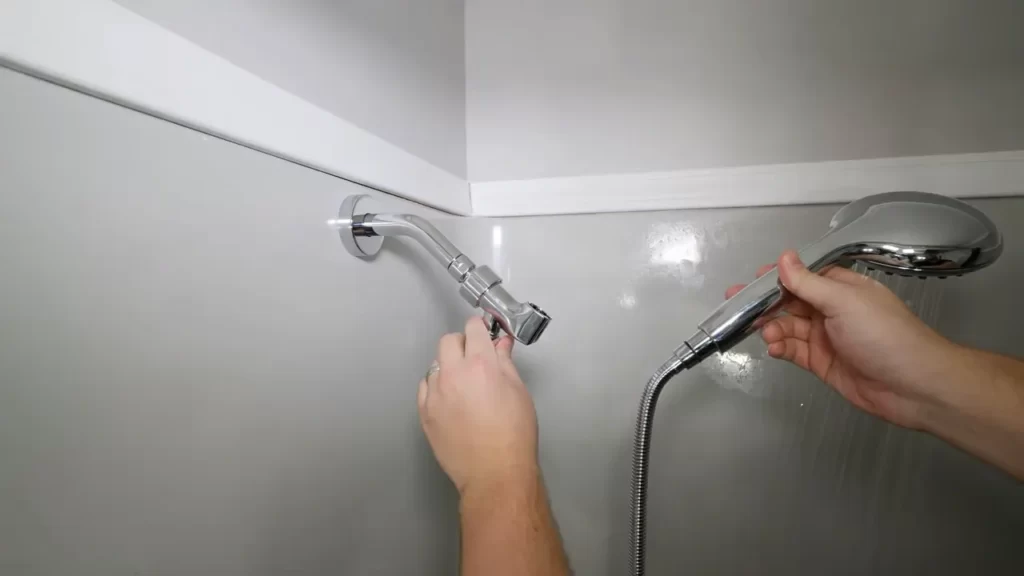
Step 1: Removing the existing showerhead
The first step in installing a hand shower is to remove the existing showerhead. This is usually done by unscrewing it counterclockwise. If the showerhead is stubborn and difficult to remove, you can use a pair of adjustable pliers or a pipe wrench for extra leverage. Once the showerhead is removed, set it aside for now.
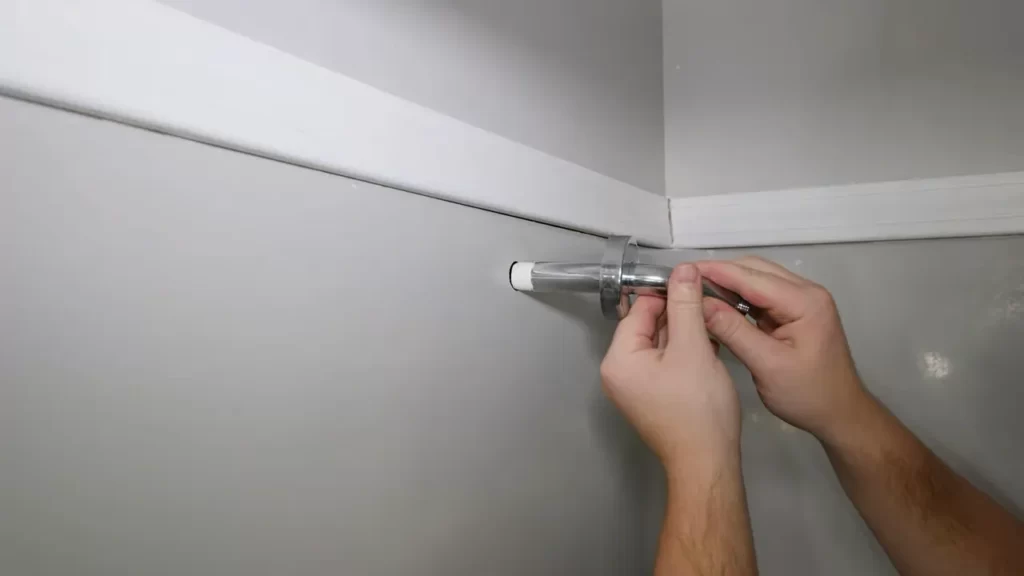
Step 2: Applying thread seal tape to prevent leaks
To ensure a watertight connection, it is essential to apply thread seal tape to the shower arm before installing the hand shower holder bracket. Thread seal tape, also known as plumber’s tape, helps create a seal and prevent leaks. Start by wrapping the tape clockwise around the threads of the shower arm, making sure to cover all the exposed threads.
Step 3: Attaching the hand shower holder bracket
Next, it’s time to attach the hand shower holder bracket to the shower arm. The bracket serves as a support for the hand shower and allows you to conveniently hang it when not in use. Align the bracket with the threaded end of the shower arm and begin twisting it clockwise by hand. Use an adjustable wrench or pliers to tighten it further, ensuring a secure fit.
Step 4: Connecting the shower hose to the bracket and hand shower
With the holder bracket securely in place, it’s time to connect the shower hose to both the bracket and the hand shower. Attach one end of the hose to the bracket by screwing it onto the threaded fitting. Make sure to tighten it securely to prevent any leaks. On the other end of the hose, attach it to the hand shower, again screwing it on tightly.
Step 5: Testing for leaks and ensuring proper functionality
After completing the physical installation, it’s important to test for any leaks and ensure that the hand shower is functioning as intended. Turn on the water supply and inspect the connections for any signs of water leakage. If you notice any leaks, tighten the connections further or consider applying additional thread seal tape. Once you’re satisfied with the leak-free installation, test the hand shower by running water through it. Check for proper water flow and adjust the settings as desired.
Congratulations! You have successfully installed a hand shower, bringing added convenience and flexibility to your daily showers. Enjoy the refreshing experience and relish in the versatility of your new hand shower!
Enhancing Your Hand Shower Experience
Exploring Additional Features and Accessories for Your Hand Shower
Enhancing your hand shower experience goes beyond the installation process. By exploring additional features and accessories, you can take your showers to the next level of comfort and luxury. Whether you enjoy a powerful jet spray or a gentle rainfall effect, there are various options available to suit your preferences. Here are a few features and accessories you can consider:
Massage Functionality
A hand shower with massage functionality provides a spa-like experience in the comfort of your own bathroom. This feature allows you to switch between different massage sprays, providing relief to tired muscles and promoting relaxation.
Adjustable Spray Patterns
With adjustable spray patterns, you have the freedom to customize your shower experience. Whether you prefer a concentrated stream for targeted cleaning or a wide spray for a more gentle cascade, this feature allows you to find the perfect balance.
Water-saving Mode
If you’re conscious about your water consumption, consider a hand shower with a water-saving mode. This feature reduces water flow without compromising on the shower experience, helping you conserve water and reduce your environmental footprint.
Showerhead Filters
To improve the quality of your shower water, you can invest in a hand shower with built-in filters. These filters help remove impurities, such as chlorine and sediment, leaving your skin and hair feeling softer and healthier after every shower.
Shower Holder
While using a hand shower, a shower holder is an essential accessory that provides convenience and flexibility. It allows you to easily adjust the height and angle of the hand shower, ensuring a comfortable and efficient shower experience.
Tips for Cleaning and Maintaining Your Hand Shower
Maintaining your hand shower is crucial to ensure its longevity and optimal performance. Here are some tips to keep your hand shower clean and functioning properly:
Regular Cleaning
To prevent the buildup of mineral deposits and grime, it’s important to clean your hand shower regularly. Simply wiping it with a soft cloth or sponge and mild soap can do the trick. Avoid using harsh chemicals or abrasive materials, as they can damage the finish of the hand shower.
Deep Cleaning
If you notice a decrease in water flow or a decrease in the spray pattern quality, it may be time for a deep clean. Soak the hand shower in a mixture of warm water and vinegar for a few hours to dissolve any mineral deposits. Then, scrub gently with a soft brush to remove any remaining residue.
Check for Leaks
Periodically check for leaks or drips in the connecting pipes or hoses. If you notice any leaks, tighten the connections or replace any faulty parts to prevent further damage to the hand shower.
Avoid Hard Water
Hard water can cause mineral deposits to accumulate more quickly in your hand shower. If possible, consider installing a water softening system or using a water softening showerhead filter to reduce the impact of hard water on your hand shower.
Troubleshooting Common Issues and Resolving Them
Even with regular maintenance, you may encounter some common issues with your hand shower. Here are a few troubleshooting tips to help you resolve them:
| Issue | Possible Solution |
|---|---|
| No Water Flow | Check if the water supply valve is fully open. Ensure that the hand shower hose is not twisted or kinked. If necessary, replace the hose or remove any blockages. |
| Low Water Pressure | Ensure that the water pressure in your home is adequate. Remove any mineral deposits from the hand shower by soaking it in vinegar. If the issue persists, consider installing a showerhead booster pump. |
| Leaking Hand Shower | Check for loose connections or damaged parts. Tighten any loose connections or replace faulty parts, such as washers or O-rings. |
| Inconsistent Temperature | If your hand shower is connected to a mixer valve, check if the valve is properly calibrated. Adjust the temperature control to ensure a consistent and comfortable showering experience. |
By exploring additional features and accessories, cleaning and maintaining your hand shower, as well as troubleshooting common issues, you can enhance your hand shower experience and enjoy refreshing showers every time.
Frequently Asked Questions
How Do You Attach A Hand Shower?
To attach a hand shower, follow these steps: 1. Locate the diverter valve or diverter spout on your shower fixture. 2. Remove any existing shower head or hose. 3. Attach the hand shower hose to the diverter valve or spout.
4. Hand tighten the hose connection. 5. Test the hand shower for proper water flow and adjust as needed.
Can You Add A Handheld Shower?
Yes, you can add a handheld shower to your bathroom. It is a simple and convenient way to enhance your showering experience. Installing a handheld shower allows you to easily direct the water flow and rinse hard-to-reach areas. Enjoy the versatility and flexibility a handheld shower provides.
Where Do You Mount A Handheld Shower?
Mount a handheld shower wherever it’s convenient for you. Common spots include the wall near the bathtub or shower area, or on a slide bar for adjustable height. Choose a location that allows easy reach and use of the showerhead while standing or sitting.
How Do You Install A Shower Head With A Hose?
To install a shower head with a hose: 1. Unscrew the existing shower head. 2. Wrap plumber’s tape around the shower arm threads. 3. Attach the hose to the shower arm, tightening it with pliers. 4. Connect the hose to the shower head, again using pliers.
5. Test for any leaks and adjust the water pressure as needed.
Conclusion
Installing a hand shower doesn’t have to be a daunting task. With the right tools and steps, you can easily enjoy the convenience and comfort it brings. By following the instructions provided in this guide, you can confidently take on this DIY project.
Remember to always prioritize safety and consult professionals if needed. Now, go ahead and enjoy the relaxation and functionality of your newly installed hand shower!