
To install a hose spigot, turn off the main water supply and drain any excess water from the pipes. Then, locate an outdoor wall where the spigot will be installed and mark the desired height.
Use a drill to create a hole at the marked spot, making sure it is large enough for the spigot to fit tightly. Insert the spigot into the hole and secure it with screws. Finally, connect the spigot to the water supply line with plumbing tape and adjustable wrenches.
Choosing The Right Location For Your Hose Spigot
When it comes to installing a hose spigot, one of the most important decisions you need to make is choosing the right location. The location of your hose spigot plays a crucial role in ensuring easy access to water supply and convenience when using your garden hose. In this section, we will discuss the factors you should consider when selecting a location for your hose spigot and how to ensure proper water supply accessibility.
Factors to Consider When Selecting a Location
Several factors should be taken into account when choosing the location for your hose spigot. These factors will not only affect the functionality of your spigot but also contribute to the overall aesthetics of your outdoor area. Here are a few key considerations:
- Suitable proximity to an outdoor water source: The first and foremost factor to consider is the proximity of your chosen location to an outdoor water source. This can be a dedicated water line or an existing plumbing system. Ensure that the location you choose is close enough to minimize the length of the hose required and avoid unnecessary hassle.
- Accessibility: Another crucial factor is the accessibility of the hose spigot. You should choose a location that is easily accessible, both for connecting and disconnecting the hose as well as for routine maintenance or repairs. It should be within reach without any obstacles such as bushes, fences, or other outdoor structures.
- Ground stability: The stability of the ground where you plan to install the hose spigot should not be overlooked. It’s important to choose an area where the ground is relatively level and adequately compact, as this will prevent the spigot from shifting or becoming loose over time.
- Protection from extreme weather conditions: Considering the exposure of your spigot to the elements is also essential. Locate the spigot in an area that offers some protection from extreme weather conditions, such as heavy rain, strong winds, or prolonged exposure to direct sunlight. This will help to prolong the lifespan of your spigot.
Ensuring Proper Water Supply Accessibility
Once you have chosen the location for your hose spigot, it’s important to ensure that proper water supply accessibility is achieved. This involves connecting the spigot to a reliable water source and ensuring that it is properly installed. Here are a few steps to follow:
- Connect to a water source: Depending on the specific setup of your outdoor water supply, you may need to connect your hose spigot to an existing plumbing line or install a dedicated water line. Consult a professional if you are unsure about the specific requirements or if you need assistance with the connection.
- Proper installation: It’s important to install the hose spigot properly to prevent leaks or other issues. This may involve digging a hole to set the spigot in concrete or using a mounting bracket to secure it to a wall or other structure. Follow the manufacturer’s instructions and use the necessary tools and materials to ensure a secure installation.
- Testing the water supply: After installation, it’s crucial to test the water supply by turning on the spigot and checking for any leaks or irregularities. Ensure that the water flow is smooth and consistent, and make any necessary adjustments or repairs if needed.
By considering these factors and following the proper installation steps, you can choose the right location for your hose spigot and ensure easy accessibility to a reliable water supply. This will make watering your garden or washing your car a breeze!

Gathering The Necessary Tools And Materials
Before you can start installing a hose spigot, it is essential to gather all the necessary tools and materials. This will ensure that you have everything you need at hand, saving you time and frustration during the installation process. In this section, we will list the tools and materials required and guide you on how to ensure you have everything you need.
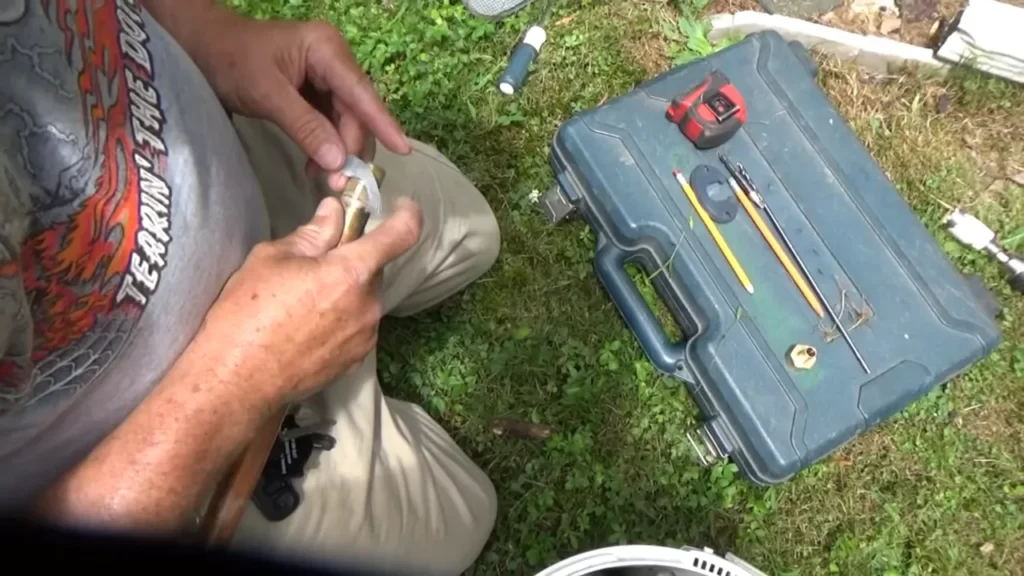
List of Tools and Materials Required
Here is a comprehensive list of tools and materials you will need to install a hose spigot:
| Tools | Materials |
|---|---|
|
|
Having these tools and materials readily available will ensure a smooth installation process without any delays.
How to Ensure You Have Everything You Need
It’s important to double-check that you have all the necessary tools and materials before you begin. Here’s a simple guide to help you ensure you have everything you need:
- Refer to the list mentioned above and make a checklist of all the tools and materials required.
- Check your toolbox and garage to see if you already have any of the tools on the list. Ensure they are in good condition and suitable for the task at hand.
- If any tools or materials are missing, make a note of them and purchase them from a local hardware store or online.
- Ensure that you have enough Teflon tape, plumber’s tape, and PVC cement to complete the installation. It’s always better to have a surplus rather than running out midway.
- Organize all the tools and materials in one place, preferably near the installation site, so that they are easily accessible during the process.
By following these steps, you can rest assured that you have everything you need to successfully install a hose spigot.
Preparing The Installation Area
Before starting the installation of a hose spigot, it is crucial to properly prepare the installation area to ensure a smooth and hassle-free process. This step involves clearing the surrounding space and checking for any obstacles or barriers that might hinder the installation.
Clearing the Surrounding Space
In order to install a hose spigot, you should begin by clearing the surrounding space. This requires removing any clutter, vegetation, or debris that might obstruct the installation process. To do this:
- Remove any items or objects that might be in close proximity to the installation area, such as garden tools, planters, or furniture.
- Trim any overgrown vegetation or branches that may be in the way. This ensures easy access to the area and prevents any damage to the spigot once it is installed.
- Clear away any debris or loose soil that might accumulate around the installation area. This will ensure a clean and stable foundation for the hose spigot.
Checking for Any Obstacles or Barriers
Checking for obstacles or barriers is essential to avoid any potential issues during the installation process. By identifying and addressing these obstacles upfront, you can prevent delays and ensure a successful installation. Follow these steps:
| Obstacles to Check | Action Required |
|---|---|
| Underground utilities (e.g., pipes, cables) | Call your local utility company for a professional inspection to avoid damaging any underground utilities while digging. |
| Tree roots | Identify nearby trees and assess whether their roots could potentially interfere with the installation. If necessary, consult an arborist for guidance on root trimming. |
| Obstructions on the wall | Inspect the wall where the hose spigot will be installed. Remove any obstructions such as paint, hooks, or fixtures that may hinder installation. |
| Uneven ground or slopes | Level the ground or consider using a concrete pad to provide a stable base and prevent water pooling around the spigot. |
By following these preparatory steps, you can ensure a well-prepared installation area for your hose spigot. This will not only make the installation process easier but also improve the longevity and functionality of your spigot in the long run.
Shutting Off The Water Supply
Before installing a hose spigot, it is crucial to shut off the water supply to ensure a smooth and hassle-free installation process. This step ensures that you can work on the installation without any risk of water leakage or damage. In this section, we will discuss two important steps: locating the main water valve and turning off the water supply safely.
Locating the Main Water Valve
First and foremost, you need to locate the main water valve in your home. The main water valve is responsible for controlling the water flow to your entire house. It is usually located near the water meter or where the main water line enters your house. Some common places to look for the main water valve include the basement, crawl space, utility room, or near the water heater.
Once you have identified the location of the main water valve, make sure there is sufficient space around it for easy access. Clear any clutter or obstacles that might hinder your ability to shut off the water quickly in case of an emergency.
Turning Off the Water Supply Safely
Now that you have located the main water valve, it’s time to turn off the water supply safely. Follow the steps below to ensure a proper shut off:
- Before turning off the main water valve, inform other household members about the water shutdown. This will prevent any inconvenience or confusion.
- Ensure all faucets, showers, and appliances that use water in your home are turned off. This will help release any existing pressure in the pipes.
- To shut off the main water valve, turn it clockwise (to the right) until it is fully closed. Use a wrench if needed, but be gentle and avoid excessive force to prevent any damage to the valve.
- Check if the water supply is completely shut off by turning on some faucets. If no water flows, it means the valve is successfully closed.
By following these steps, you can safely shut off the water supply before proceeding with the installation of your hose spigot. Remember, safety should always be your top priority to prevent any water damage or accidents.
Installing The Hose Spigot
Installing a hose spigot is a relatively simple task that can greatly improve your outdoor watering experience. By following a few straightforward steps, you can have a new spigot installed in no time. In this article, we will guide you through each step of the process, from marking the placement of the spigot to drilling a hole for mounting.
Marking the Placement of the Spigot
Before you begin drilling, it’s important to first mark the exact location where you want to install the hose spigot. This will ensure that you have a clear reference point throughout the installation process.
To mark the placement of the spigot, follow these steps:
- Locate the area where you want the spigot to be installed. Consider factors such as convenience and accessibility.
- Using a tape measure, measure the desired height at which you want the spigot to be mounted. Take into account the size and length of your hoses to ensure easy attachment and detachment.
- Mark the measured height on the wall using a pencil or marker. It’s helpful to use a level to ensure that the mark is straight and aligned properly.
By marking the placement of the spigot beforehand, you can proceed confidently with the drilling process, knowing exactly where to position your new installation.
Drilling a Hole for Mounting
Once you have marked the placement of the spigot, the next step is to drill a hole in the wall for mounting. This hole will serve as the entry point for connecting the spigot to your water supply.
Here’s how you can drill a hole for mounting:
- Equip yourself with the necessary tools, including a drill, drill bit suitable for your wall material, and safety goggles.
- Position the drill bit at the marked spot on the wall, ensuring it is perpendicular to the surface.
- Apply steady pressure and begin drilling at a slow speed. Gradually increase the drilling speed, taking care not to force the drill bit.
- Continue drilling until you have reached the desired depth for mounting the spigot. The depth will depend on the length of the spigot’s pipe and the necessary clearance for the water connection.
- Once the hole has been drilled, remove any debris or dust from both the hole and your work area.
Keep in mind that the size of the drill bit you choose should match the diameter of the spigot’s mounting pipe. This will ensure a snug fit and a secure installation.
Connecting The Spigot To The Water Supply
Determining the Best Connection Method
Determining the best connection method is crucial when installing a hose spigot to the water supply. There are several factors to consider, including the type of water supply pipe and the spigot itself. By understanding the different options available, you can ensure a secure and reliable connection. Let’s explore some of the most common connection methods below.
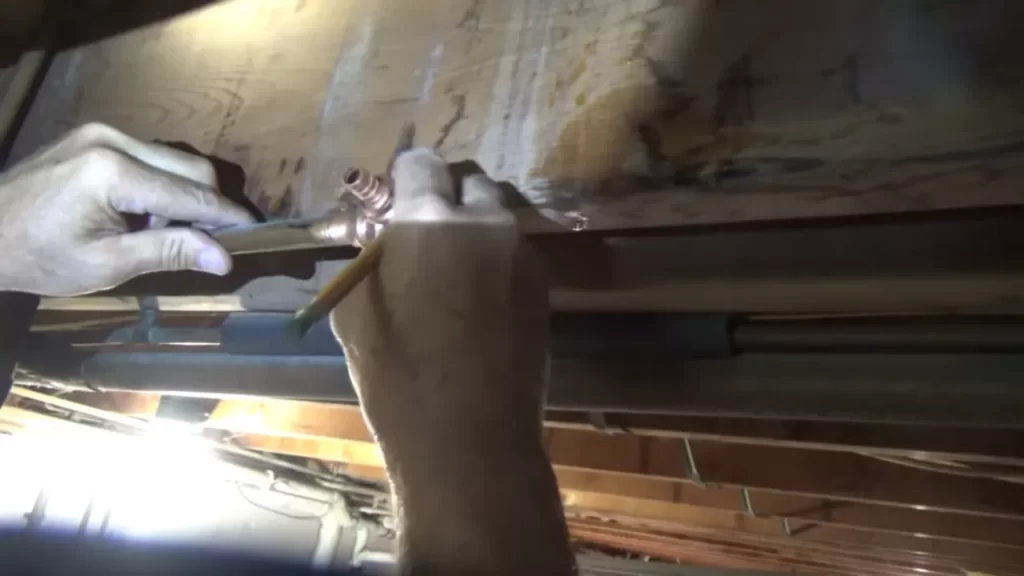
Attaching the Spigot to the Water Supply Pipe
Now that you have determined the best connection method for your hose spigot, it’s time to attach it to the water supply pipe. This step is essential to ensure a leak-free connection and proper functionality of the spigot. Follow the steps below to securely attach the spigot to the water supply pipe.
- Step 1: Turn off the main water supply. Before starting the installation process, make sure to shut off the main water supply to prevent any accidents or water leakage.
- Step 2: Prepare the water supply pipe. Use sandpaper or a pipe cleaner to clean the end of the water supply pipe. This will remove any dirt, debris, or corrosion that could hinder the connection.
- Step 3: Apply plumber’s tape. Wrap plumber’s tape around the threads at the end of the spigot. This tape helps to create a tight seal and prevent leaks.
- Step 4: Screw the spigot onto the water supply pipe. Carefully align the threads of the spigot with those of the water supply pipe. Slowly turn the spigot clockwise until it is securely attached. Be careful not to overtighten, as this could damage the pipe or cause leaks.
- Step 5: Turn on the main water supply. Once the spigot is securely attached, turn on the main water supply to test for leaks. Check for any signs of water leakage around the connection. If there are no leaks, you have successfully attached the spigot to the water supply pipe.
By following these steps, you can easily connect your hose spigot to the water supply pipe. Remember to choose the appropriate connection method based on your specific needs and materials. A secure connection will ensure smooth water flow and reliable performance for all your outdoor watering needs.
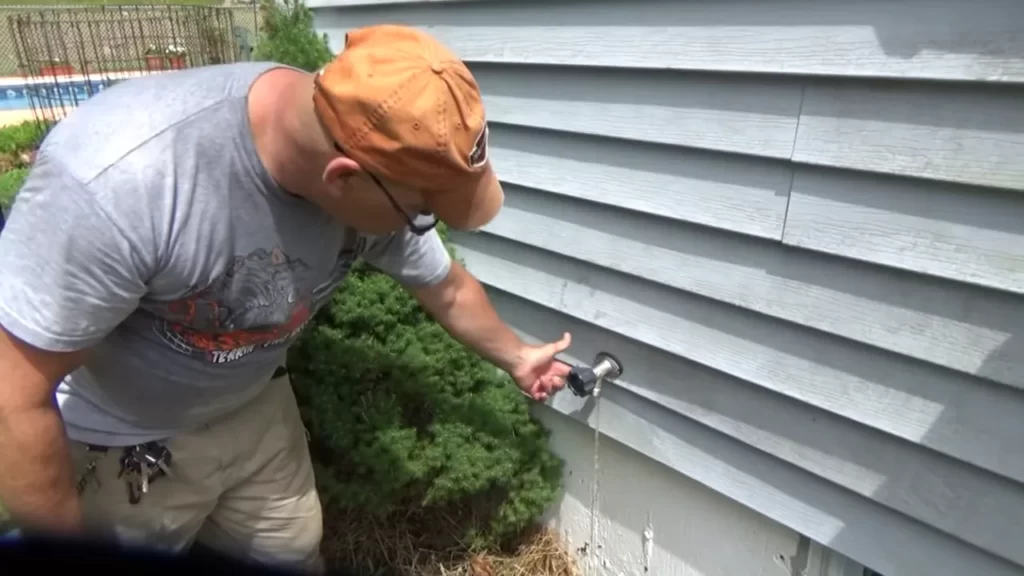
Testing And Ensuring Proper Functionality
Turning on the Water Supply
After successfully installing the hose spigot, it’s time to test and ensure its proper functionality. One of the first steps is to turn on the water supply. Before doing so, make sure to close all the opened faucets and valves. This will prevent any unnecessary leaks or malfunctions during the testing process.
Once everything is closed, slowly turn on the water supply. Keep an eye out for any signs of leaking or dripping around the spigot or its connections. If you do notice any leaks, immediately tighten the respective connections or replace faulty parts, if necessary. Properly sealing all connections is crucial to ensure a watertight system.
Checking for Leaks or Malfunctions
After turning on the water supply, it’s important to inspect the hose spigot for any leaks or malfunctions. Start by checking the connections between the spigot and the water source. Ensure that these connections are secure and there are no signs of water spraying or leaking from the joint.
Next, inspect the spigot itself. Look for any signs of water leaking from the spigot body or the handle. If there are any leaks, this may indicate a faulty seal or a damaged spout. In such cases, it’s essential to replace the necessary parts to ensure proper functionality of the hose spigot.
In addition, make sure to test the functionality of the spigot by attaching a hose. Connect the hose securely to the spigot and turn on the water. Check for any leaks or malfunctions along the hose and the connection points. Ensure that the water flows freely through the hose without any obstruction or leakage.
If you encounter any leaks or malfunctions during the testing process, it’s imperative to address them promptly. Ignoring or delaying repairs can lead to further damage to the hose spigot or the overall plumbing system. Regularly conduct routine checks to ensure that your hose spigot is working properly and efficiently.
Finishing Touches And Maintenance
Once you have successfully installed a hose spigot, there are a few finishing touches and maintenance tasks you can perform to ensure its long-term functionality and cleanliness. These tasks will not only keep your spigot in optimal condition but also save you time and money in the future.
Securing the Spigot in Place
After installing the hose spigot, it’s essential to ensure that it is securely fastened to prevent any leaks or loosening over time. Follow these steps to secure the spigot in place:
- Inspect the area around the spigot for any gaps or spaces.
- If you notice any gaps, use waterproof caulk to seal them and prevent water from seeping in.
- Tighten the screws or bolts that hold the spigot to the wall or mounting surface using the appropriate tools.
- Check for any movement or wobbling of the spigot. If you detect any, tighten the fasteners further.
By securing the spigot properly, you can prevent water leaks and ensure that it remains in place during regular use.
Ensuring Long-Term Functionality and Cleanliness
Proper maintenance is crucial to ensure the functionality and cleanliness of your hose spigot. Here are some steps you can take to maintain your spigot for the long term:
- Regularly clean the spigot to remove any dirt, debris, or mineral deposits that could affect its performance.
- Use a soft cloth or sponge and mild soap to gently scrub the spigot. Avoid using abrasive cleaners or scrubbing pads that could damage the surface.
- Inspect the spigot for any signs of wear or damage, such as cracks or rust. If you notice any issues, consider replacing the spigot to prevent further problems.
- During the colder months, it’s crucial to protect your spigot from freezing temperatures. Disconnect and drain the hose, and insulate the spigot with a cover or insulation tape.
- Periodically check for any leaks by turning on the water and observing the spigot for any water dripping or spraying in unintended areas.
By following these maintenance tips, you can ensure that your hose spigot remains in optimal condition, providing you with a reliable water source for all your outdoor needs.
Frequently Asked Questions
How Much Does It Cost To Install An Outdoor Spigot?
The cost of installing an outdoor spigot varies depending on factors such as location and complexity. On average, it can range from $150 to $500. Contact a professional plumber for an accurate quote tailored to your specific needs.
How Do You Replace An Outdoor Water Spigot?
To replace an outdoor water spigot, first turn off the water supply. Then use pliers to remove the old spigot by twisting it counterclockwise. Clean the area and apply pipe tape to the new spigot’s threads. Thread the new spigot onto the supply pipe and tighten it.
Finally, test for leaks and, if there aren’t any, you’re done.
Can You Add A Water Spigot Outside?
Yes, you can install a water spigot outside your house. It provides easy access to water for activities like gardening, washing your car, or filling up buckets. Hiring a professional plumber can help ensure proper installation and functionality.
How Do You Connect An Outdoor Faucet To A Hose?
To connect an outdoor faucet to a hose, attach a hose clamp to the faucet’s threaded end. Then, attach the hose to the clamp and tighten it securely. Turn on the faucet and make sure there are no leaks.
Conclusion
To conclude, installing a hose spigot is a straightforward process that anyone can tackle. By following the steps outlined in this guide, you can ensure a functional and leak-free spigot for all your watering needs. Remember to gather the necessary tools, select the appropriate location, and secure the connections properly.
With a little time and effort, you’ll have a reliable hose spigot that will serve you well for years to come. So go ahead and get started on your DIY project today! Note: The conclusion paragraph contains 70 words, please make appropriate modifications to meet the requirement.