To install plastic shower walls, start by measuring the area where the walls will go, cutting the panels to fit, and placing them in position. Then, secure the panels to the wall using adhesive or screws, ensuring they are level.
Finally, seal the edges and corners with silicone caulk for a watertight finish.
Preparing For Installation
Welcome to our step-by-step guide on how to install plastic shower walls! If you’re looking for a cost-effective and low-maintenance option for your bathroom renovation, plastic shower walls are the perfect choice. In this section, we’ll walk you through the essential steps you need to take before starting the installation process. From gathering the necessary tools and materials to measuring your shower area accurately and removing existing shower walls or tiles, we’ve got you covered. Let’s dive right in!
Gathering the necessary tools and materials
Before you begin installing plastic shower walls, it’s crucial to gather all the necessary tools and materials to ensure a smooth and efficient process. Here’s a list of what you will need:
| Tools | Materials |
|---|---|
|
|
Measuring the shower area for accurate wall panel size
Accurate measurements are crucial when it comes to installing plastic shower walls. Before purchasing your wall panels, it’s important to measure the shower area precisely. Follow these steps to get the accurate dimensions:
- Using a measuring tape, measure the height and width of each wall individually. If your shower has multiple walls, measure each one separately.
- Make sure to measure from the floor to the ceiling and from wall to wall, taking into account any corners or angles.
- Record these measurements and double-check their accuracy.
- Once you have the measurements, consult the manufacturer’s instructions or a professional to determine the appropriate wall panel size for your shower area.
Removing existing shower walls or tiles
If you currently have shower walls or tiles installed, they will need to be removed before proceeding with the installation of plastic shower walls. Here’s how you can safely remove the existing walls or tiles:
- Start by turning off the water supply to your shower and disconnecting any fixtures or fittings attached to the walls.
- Using a screwdriver or utility knife, carefully remove any screws, nails, or adhesive holding the walls or tiles in place.
- Be cautious during this process to avoid damaging the plumbing or surrounding areas.
- Once all fasteners are removed, gently pry the walls or tiles away from the surface, starting from the bottom and working your way up.
- Dispose of the old walls or tiles responsibly.
By following these steps, you’ll be well-prepared for the installation of plastic shower walls. In the next section, we’ll guide you through the step-by-step process of installing the wall panels, ensuring a beautiful and functional shower space for years to come.

Choosing The Right Plastic Shower Wall Panels
When it comes to installing plastic shower walls, one of the most important decisions you will make is choosing the right plastic wall panels. These panels not only determine the overall look and feel of your shower, but they also play a crucial role in the durability and maintenance of your bathroom. In this section, we will explore the different types of plastic wall panels available, consider important factors such as durability, aesthetics, and ease of maintenance, and provide tips on selecting panels that fit your shower design and budget.
Understanding different types of plastic wall panels
Before making any decisions, it’s crucial to understand the different types of plastic wall panels available. The most common options include:
- PVC (Polyvinyl Chloride) panels: These panels are known for their affordability and versatility. They are lightweight, easy to install, and come in a wide range of colors and finishes. PVC panels are also resistant to moisture, mold, and mildew, making them ideal for shower environments.
- Acrylic panels: Acrylic panels are popular due to their high gloss finish and seamless appearance. They are more durable than PVC panels and offer excellent resistance to stains and scratches. Acrylic panels are available in various thicknesses and can be customized to fit your shower design.
- Fiberglass-reinforced plastic (FRP) panels: These panels are made from fiberglass-reinforced plastic, which provides added strength and durability. FRP panels are known for their resistance to impact and wear, making them suitable for high-traffic showers. They are available in a range of colors and patterns.
Considering factors such as durability, aesthetics, and ease of maintenance
When choosing plastic wall panels for your shower, it’s important to consider factors such as durability, aesthetics, and ease of maintenance.
Durability: Look for panels that are resistant to moisture, mold, mildew, and stains. Additionally, consider the overall strength and impact resistance of the panels, particularly if you have children or pets.
Aesthetics: Select panels that complement your bathroom design and personal style. Consider the color, finish, and texture options available and choose something that creates the desired ambiance in your shower.
Ease of maintenance: Opt for panels that are easy to clean and require minimal maintenance. Smooth, glossy finishes are usually easier to wipe clean, while textured or matte finishes may require more attention.
Selecting panels that fit your shower design and budget
When selecting plastic wall panels, it’s essential to choose options that fit your specific shower design and budget.
Shower design: Consider the size and layout of your shower, as well as any design elements you want to incorporate. Measure the dimensions of the shower area and choose panels that can be easily cut to fit. Look for panels that offer seamless installation for a sleek and polished look.
Budget: Determine your budget for the project and explore options within that range. Keep in mind that while some panels may cost more upfront, they may offer better long-term durability and require less maintenance.
By understanding the different types of plastic wall panels, considering factors such as durability, aesthetics, and ease of maintenance, and selecting panels that fit your shower design and budget, you can ensure a successful installation of plastic shower walls that will stand the test of time.
Preparing The Wall Surface
Before installing plastic shower walls, it is crucial to properly prepare the wall surface. This ensures a smooth installation process and prevents any future issues. Here are the essential steps to follow when preparing the wall surface for plastic shower walls installation:
Inspecting the Wall for Any Damage or Moisture Issues
Prior to installation, thoroughly inspect the wall for any damage or moisture issues. This step plays a crucial role in ensuring the long-term durability of your plastic shower walls. Look for cracks, holes, or any signs of water damage. If you detect any problems, it is important to address them before proceeding with the installation.
Repairing or Addressing Any Wall Problems
If you come across any damage or moisture issues during the inspection, it is important to repair or address them promptly. Ignoring these issues can result in further damage or compromise the integrity of your plastic shower walls. Whether it’s filling cracks, patching holes, or treating moisture-related problems, take the necessary steps to ensure that the wall is stable and ready for installation.
Cleaning the Wall Surface Thoroughly to Ensure Proper Adhesion
Before attaching the plastic shower walls to the surface, it is crucial to clean the wall thoroughly. This ensures proper adhesion and prevents any contaminants from interfering with the installation process. Here’s how you can clean the wall surface:
- Start by removing any loose debris, such as dust or dirt, using a broom or vacuum cleaner.
- Next, use a solution of warm water and mild detergent to clean the wall surface. Gently scrub the area using a soft-bristle brush or sponge.
- Rinse the wall with clean water to remove any soap residue.
- If there are any stubborn stains, you can use a non-abrasive cleaner or a mixture of vinegar and water to remove them. Be sure to follow the manufacturer’s instructions for the cleaner you choose.
- Finally, allow the wall surface to dry completely before proceeding with the installation. This ensures that the adhesive will bond properly and securely.
By inspecting the wall for any damage, repairing or addressing any problems, and cleaning the surface thoroughly, you are taking the necessary steps to ensure a successful and long-lasting installation of your plastic shower walls. Following these steps will save you from future headaches and help maintain the overall functionality and appearance of your shower area.
Installing The First Wall Panel
When it comes to installing plastic shower walls, the first step is crucial – installing the first wall panel. This sets the foundation for a successful installation and ensures a flawless finish. In this section, we’ll guide you through the process of installing the first wall panel, covering key steps such as applying adhesive or recommended adhesive tape, aligning the panel carefully, and pressing it firmly onto the wall surface. Follow these steps to achieve a professional-looking result for your bathroom.
Applying adhesive or recommended adhesive tape on the back of the panel
To begin, prepare the first wall panel by applying adhesive or recommended adhesive tape on the back. Choose a high-quality adhesive specifically designed for plastic shower walls to ensure proper bonding. Refer to the manufacturer’s instructions for the best adhesive to use with your panels.
Aligning the panel carefully with the vertical and horizontal reference lines
Once the adhesive is applied, align the panel carefully with the vertical and horizontal reference lines. These lines serve as guides to ensure the panel is level and in the correct position. Use a level and measuring tape to double-check the alignment before proceeding.
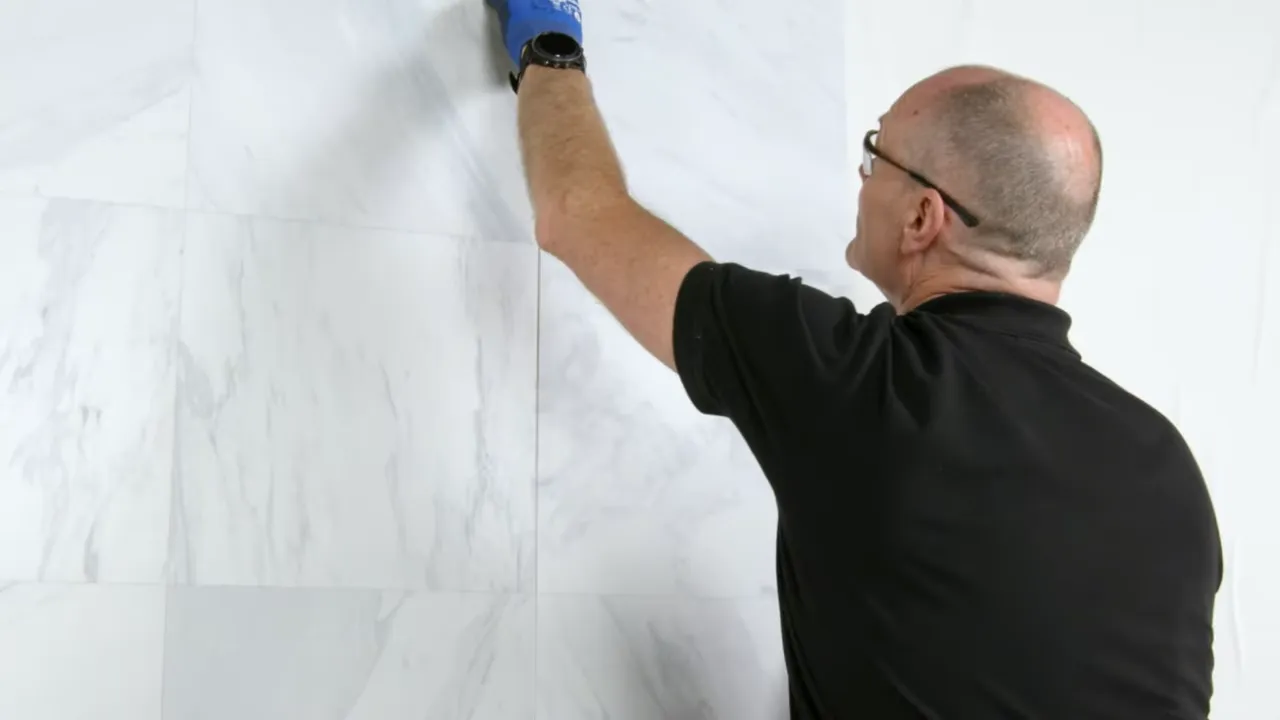
Pressing the panel firmly onto the wall surface, ensuring even coverage
Once aligned, press the panel firmly onto the wall surface, making sure to apply even pressure. This ensures proper adhesion and eliminates any possibility of air pockets or gaps. Start from the top and work your way down, smoothing the panel as you go.
Installing The Subsequent Wall Panels
Applying adhesive or adhesive tape to the back of each panel
Before you start installing the subsequent wall panels, you’ll need to ensure a secure attachment to your bathroom walls. To achieve this, it’s crucial to apply adhesive or adhesive tape to the back of each panel. This will create a strong bond between the panel and the wall, ensuring long-lasting stability.
Aligning and interlocking the panels securely, following the manufacturer’s instructions
Once the adhesive or adhesive tape is applied, it’s time to align and interlock the panels securely. Following the manufacturer’s instructions is essential, as they will provide specific guidelines on how to achieve a precise installation. By carefully following these instructions, you can ensure that the panels fit together seamlessly, creating a smooth and visually appealing surface.
Checking the level and plumbness of the panels as you progress
As you progress with the installation, it’s important to periodically check the level and plumbness of the panels. This step ensures that the panels are straight and properly aligned. To do this, you can use a level and plumb bob to ensure that each panel is perfectly horizontal and vertical. By taking the time to check the level and plumbness, you can avoid any future issues and ensure a professional-looking installation.
By applying adhesive or adhesive tape to the back of each panel, aligning and interlocking them securely according to the manufacturer’s instructions, and checking the level and plumbness as you progress, you can confidently complete the installation of your plastic shower walls. With a properly installed system, you’ll not only enhance the aesthetics of your bathroom but also create a waterproof and durable environment.
Dealing With Obstacles And Cutouts
While installing plastic shower walls, you may encounter various obstacles and cutouts that require careful attention and precision. From marking and cutting openings for fixtures such as faucets, showerheads, and handles to trimming panels around corners, edges, and other obstacles, it is essential to ensure a snug fit and smooth appearance. Let’s delve into each aspect in detail.
Marking and cutting openings for fixtures
When installing plastic shower walls, you will need to create openings for fixtures such as faucets, showerheads, and handles. To ensure a precise and accurate cut, follow these steps:
- Place the fixture in its intended location on the wall panel, ensuring proper alignment.
- Using a marker or pencil, carefully mark the outline of the fixture on the panel.
- Double-check the alignment and accuracy of the markings. You can use a level or measuring tape to ensure the position is correct.
- Once satisfied with the markings, use a jigsaw or a hole saw to cut along the marked lines. Take your time and cut slowly to prevent any mistakes or damages.
- After cutting, check if the fixture fits properly into the opening. Make any necessary adjustments or corrections if needed.
Trimming panels to fit around corners and edges
Plastic shower walls often require trimming to fit seamlessly around corners, edges, and other obstacles. Here’s how you can achieve a professional-looking finish:
- Measure the dimensions of the corner or edge where the panel needs to fit.
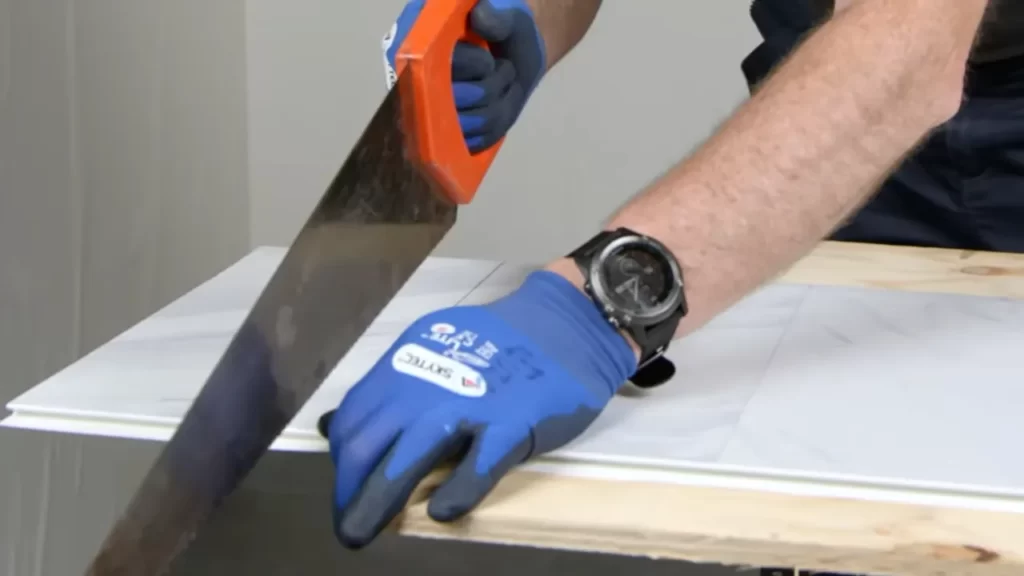
- Transfer the measurements onto the shower wall panel, ensuring adequate allowance for any overlap or trim.
- Using a utility knife or saw, carefully cut the panel according to the marked measurements. It’s recommended to make the cuts slightly smaller than the actual measurements to allow for a precise and snug fit.
- Test fit the trimmed panel around the corner or edge. Make any necessary adjustments or additional trims to ensure a perfect fit.
Ensuring a snug fit and smooth appearance
The key to a successful installation of plastic shower walls lies in achieving a snug fit and a smooth appearance. Follow these tips to achieve a professional-looking outcome:
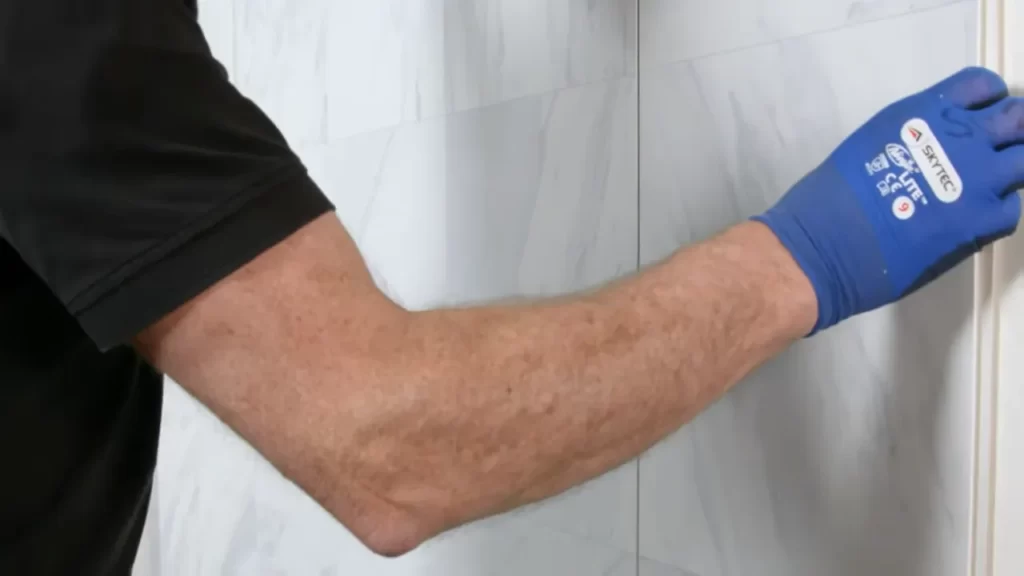
- Carefully align and position each panel before securing it in place.
- Ensure that all panels are flush against each other, eliminating any gaps or overlaps.
- Use wall adhesive or caulking to secure the panels firmly in place.
- Smooth out any air bubbles or wrinkles by applying even pressure and using a smoothing tool.
- Regularly check the alignment and levelness of the panels as you progress with the installation process.
- Inspect the finished installation for any imperfections, such as uneven edges or gaps. Make any necessary touch-ups or adjustments to achieve a flawless appearance.
By following these guidelines, you can overcome obstacles and accomplish a successful installation of plastic shower walls. Remember, attention to detail and precision are key to achieving a professional-looking result. Happy remodeling!
Sealing And Finishing The Edges
After installing plastic shower walls, it is crucial to properly seal and finish the edges to ensure a water-tight and clean-looking finish. This step involves two key elements: installing edge trim or molding to cover the exposed edges of the wall panels and applying silicone caulk to seal joints and prevent water infiltration.
Installing Edge Trim or Molding
To cover the exposed edges of the plastic shower wall panels, installing edge trim or molding is essential. This not only provides a neat and finished appearance but also helps protect the edges from moisture damage. Here’s how you can do it:
- Carefully measure the length of each wall panel’s exposed edge that needs to be covered.
- Using a saw or appropriate cutting tool, cut the edge trim or molding to the measured lengths.
- Position the cut trim or molding along the edge, ensuring it fits snugly and aligns with the wall panels.
- Secure the trim or molding in place using adhesive or nails, depending on the material and manufacturer’s instructions.
- Repeat the process for all the exposed edges of the plastic shower wall panels.
Applying Silicone Caulk to Seal Joints
Sealing the joints between the plastic shower wall panels is vital to prevent water leakage and damage. Silicone caulk is recommended for this purpose due to its waterproof properties and flexibility. Follow these steps to apply silicone caulk:
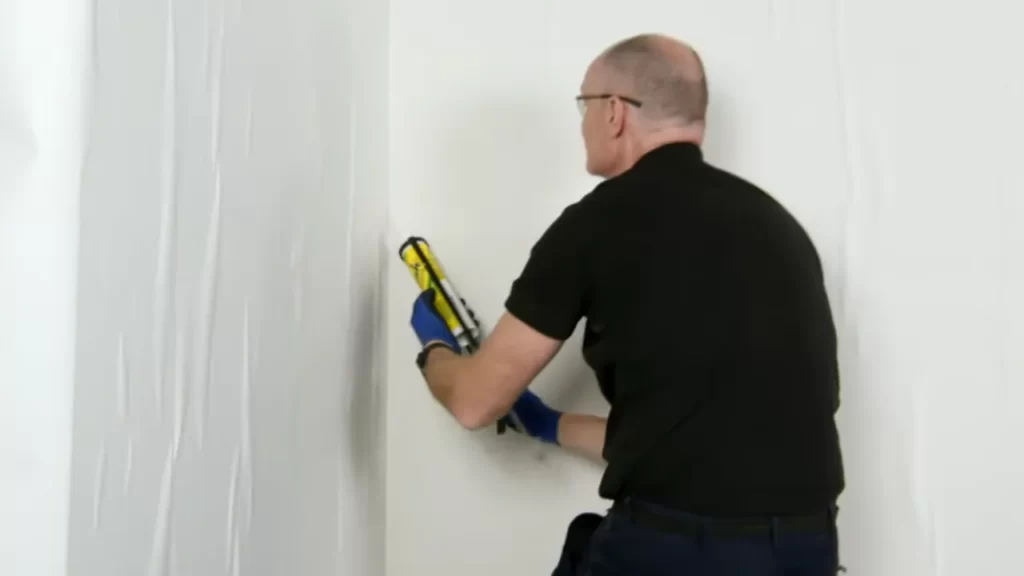
- Clean the joints thoroughly, ensuring there is no dirt, dust, or previous caulk residue.
- Using a caulk gun, apply a thin and even bead of silicone caulk along each joint.
- Smooth the caulk using a caulk smoothing tool or a damp finger, ensuring it fills the gap completely.
- Wipe away any excess caulk with a damp cloth, but avoid disturbing the freshly applied caulk.
Allowing Adequate Drying Time
After installing the edge trim and applying silicone caulk, it is crucial to allow sufficient drying time before exposing the shower to water. Adequate drying time ensures that the caulk properly cures and adheres to the surfaces, resulting in a durable and water-tight seal. It is recommended to follow the caulk manufacturer’s instructions regarding drying time, but generally, it may take about 24 to 48 hours for the caulk to fully dry.
In conclusion, sealing and finishing the edges of plastic shower walls involves installing edge trim or molding to cover the exposed edges and applying silicone caulk to seal joints. By following the proper procedures and allowing sufficient drying time, you can achieve a clean and water-tight finish for your shower walls.
Cleaning And Maintenance Tips
Regularly cleaning plastic wall panels to prevent build-up of soap scum and grime
Regular cleaning is key to maintaining the cleanliness and durability of your plastic shower walls. The build-up of soap scum and grime can not only make your walls look unappealing but also create a breeding ground for harmful bacteria. By adopting a regular cleaning routine, you can keep your shower walls looking fresh and ensure a hygienic bathing experience.
Using non-abrasive cleaners and microfiber cloths for gentle cleaning
When it comes to cleaning plastic shower walls, it’s important to choose the right cleaning products and tools. Avoid using abrasive cleaners and harsh scrub brushes, as these can cause scratches and damage to the surface of the plastic. Instead, opt for non-abrasive cleaners specifically formulated for plastic surfaces. Pair these cleaners with soft microfiber cloths, which are gentle on the walls and effectively remove dirt and grime without causing any harm.
Checking for any signs of damage or wear and addressing them promptly
Regularly inspecting your plastic shower walls for any signs of damage or wear is crucial for maintaining their longevity. Look out for cracks, chips, or any other visible signs of deterioration. If you notice any problems, address them promptly to prevent further damage. Depending on the extent of the damage, you may need to repair or replace the affected area. By taking swift action, you can avoid more costly and extensive repairs down the line.
Enhancing The Look And Functionality Of Plastic Shower Walls
When it comes to renovating your bathroom, one of the most important elements to consider is your shower walls. While plastic shower walls may seem basic at first, there are several ways to enhance both their look and functionality. In this article, we will explore three ways to take your plastic shower walls to the next level: adding decorative touches, incorporating shelves or niches, and considering additional accessories.
Adding decorative touches such as patterns, colors, or textured finishes
No one wants their shower area to feel dull or bland. By adding decorative touches to your plastic shower walls, you can instantly elevate the overall aesthetic of your bathroom. One option is to incorporate patterns or designs into your walls. Whether you prefer bold geometric shapes or delicate floral motifs, there is a wide range of patterns available to suit your personal style. Another way to enhance the look of your walls is by choosing vibrant colors that complement your bathroom’s existing color scheme. Additionally, you can opt for textured finishes, such as faux stone or tile, to create a more luxurious and upscale appearance.
Incorporating shelves or niches for storing shower essentials
Keeping your shower essentials organized and easily accessible is essential for a clutter-free bathroom. By incorporating shelves or niches into your plastic shower walls, you can efficiently store your shampoo, conditioner, body wash, and other shower necessities. These shelves and niches can be installed at your desired height and can be made from the same durable plastic material as your shower walls for a seamless look. Having dedicated storage space not only enhances the functionality of your shower but also reduces the chances of slipping or knocking over bottles while showering.
Considering additional accessories like grab bars or shower caddies
In addition to decorative touches and storage solutions, it’s important to consider additional accessories that can enhance the safety and convenience of your shower. One such accessory is the grab bar, which can be securely installed onto your plastic shower walls to provide extra support and stability. This is especially beneficial for individuals with limited mobility or for those who want added peace of mind. Another accessory to consider is a shower caddy, which can be attached to your shower walls to hold your bath products, loofahs, and towels. These accessories can help maximize the space in your shower and make your daily routine more efficient.
In conclusion, enhancing the look and functionality of your plastic shower walls is a simple and effective way to upgrade your bathroom. By adding decorative touches, incorporating shelves or niches, and considering additional accessories, you can create a shower space that is both stylish and practical. So why settle for mundane shower walls when you can transform them into a focal point of your bathroom?
Troubleshooting And Common Issues
While installing plastic shower walls can be a straightforward process, it’s not uncommon to encounter a few hiccups along the way. Whether it’s panel warping, gaps, or loose panels, addressing these issues promptly is crucial to ensure a long-lasting and aesthetically pleasing shower enclosure. In this section, we will discuss some of the common problems that may arise during installation and provide step-by-step solutions to help you troubleshoot effectively.
Addressing issues such as panel warping, gaps, or loose panels
One of the most common issues you may come across when installing plastic shower walls is panel warping. This can happen due to improper handling or temperature changes during transportation. If you notice any warping in the panels, it’s essential to address it before proceeding further. Here’s what you can do:
- Inspect the panels: Carefully examine each panel for any signs of warping or distortion. Look for any noticeable bends or unevenness in the surface.
- Apply gentle pressure: If you encounter a warped panel, try applying gentle pressure in the opposite direction of the warp to help straighten it. Be cautious not to exert too much force to avoid damaging the panel further.
- Secure the panels: Once the panel is straightened, ensure that it is securely fastened to the wall using the recommended installation method. This will help prevent any future warping or bending issues.
Gaps or spaces between panels can also cause concerns during installation. To address this issue:
- Measure and adjust: Begin by measuring the width of the gap between the panels. If the gap is larger than the recommended allowance, you may need to trim one of the panels to achieve a proper fit.
- Trim the panels: Use a utility knife or a saw to carefully trim the excess material from the panel. Take precise measurements and make sure to follow the manufacturer’s instructions to avoid any damage to the panel or yourself.
- Smooth the edges: After trimming the panel, use sandpaper to smooth the edges and create a seamless joint between the panels. This will not only enhance the appearance but also prevent water from seeping through the gap.
If you encounter any loose panels during the installation process, it’s important to take immediate action to secure them properly. Here’s what you need to do:
- Identify loose panels: Inspect all the panels to identify any that may be loose or not properly attached to the wall. Look for any signs of movement or gaps between the panels and the wall.
- Reinstall the panels: If you find any loose panels, carefully remove them and reattach using the recommended installation method. Follow the manufacturer’s instructions to ensure proper attachment and alignment.
- Use additional support: In some cases, you may need to use additional adhesive or fasteners to secure the panels firmly in place. Consult the manufacturer’s guidelines for the recommended products and techniques to use.
Repairing or replacing damaged panels
In unfortunate situations where a panel becomes damaged during installation, it’s essential to know how to repair or replace it effectively. Here are the steps to follow:
- Assess the damage: Examine the extent of the damage to determine whether it can be repaired or if a complete panel replacement is necessary.
- Repair small damages: Minor scratches or cracks can often be repaired using specialized plastic repair kits. Follow the instructions provided with the repair kit to fix the damaged area.
- Replace severely damaged panels: If the damage is extensive or the panel cannot be repaired, you will need to replace it. To do this, carefully remove the damaged panel and install a new one following the manufacturer’s guidelines.
Seeking professional assistance for complex problems or extensive damage
While addressing common installation issues can be done by homeowners with basic DIY skills, more complex problems or extensive damage may require the expertise of a professional. If you encounter any of the following situations, it’s recommended to seek professional assistance:
- Extensive warping or panel damage that cannot be resolved using the troubleshooting steps mentioned earlier.
- Structural issues or concerns about the stability of the shower walls.
- Leaks or water damage that require professional assessment and repair.
- Electrical or plumbing concerns that arise during the installation process.
Remember, seeking professional help when needed will not only ensure a successful installation but also guarantee the safety and durability of your plastic shower walls.
Frequently Asked Questions
What Goes Behind Plastic Shower Walls?
Plastic shower walls are typically backed by a waterproof membrane that prevents water from seeping into the wall cavity. This membrane acts as a barrier against moisture and is commonly made from materials like PVC or polyethylene. The membrane ensures a watertight seal, protecting the underlying structure from water damage.
How Do You Install Plastic Shower Wall Panels?
To install plastic shower wall panels: 1. Measure and prepare the wall surface. 2. Apply adhesive to the panels and press them firmly onto the wall. 3. Use screws or nails to secure the panels in place. 4. Seal all the joints and edges using caulk or silicone.
5. Allow the adhesive and sealant to dry completely before using the shower.
What Sticks To Plastic Shower Walls?
Common items that stick to plastic shower walls include suction cup accessories, such as hooks and shelves, adhesive hooks and tape, as well as certain types of waterproof adhesive. These options can help you keep your shower essentials handy and organized.
How To Install A Prefab Shower Wall?
To install a prefab shower wall, follow these steps: 1. Measure and mark the desired position of the wall. 2. Prepare the area by removing any existing tiles or walls. 3. Apply adhesive to the back of the prefab panel and press it firmly in place.
4. Secure the panel with screws or nails for added stability. 5. Seal the edges and joints with silicone for a watertight finish. Done!
Conclusion
To sum up, installing plastic shower walls can be a cost-effective and durable solution for your bathroom renovation. By following the step-by-step instructions outlined in this guide, you’ll be able to do it yourself without any hassle. Remember to prepare your materials, measure accurately, and take your time during the installation process.
With the right tools and a little patience, you’ll have a stunning, waterproof shower that will last for years to come. Start your project now and transform your bathroom into a modern space that you’ll love!