
To install a framed shower door, measure the dimensions of the opening and purchase a door kit that fits. Follow the manufacturer’s instructions to assemble and mount the door.
A framed shower door can add style and functionality to your bathroom. Whether you are renovating your existing shower or installing a new one, a framed shower door can be a great option. With a few simple steps, you can easily install a framed shower door and enjoy a beautiful and functional addition to your bathroom.
This article will guide you through the process of installing a framed shower door, from measuring the dimensions to mounting the door. So, let’s get started and learn how to install a framed shower door in your bathroom.
Preparation And Tools
Before installing a framed shower door, it is essential to properly prepare the area and gather the necessary tools and materials. This will ensure a smooth and efficient installation process. Follow these steps to get started:
Gather the necessary tools and materials
To install a framed shower door, you will need a set of tools and materials. Here is a list of everything you will need:
| Tools | Materials |
|---|---|
|
|
It is important to have all these tools and materials ready before you start the installation process. Having everything at hand will save you time and make the installation much easier.
Measure the shower area
Next, you need to measure the shower area accurately. This step is crucial as it dictates the size of the framed shower door you will need. Here is a quick guide on how to measure:
- Start by measuring the width of the shower opening at the top, middle, and bottom. Take the smallest measurement as your reference.
- Measure the height of the shower opening from the threshold to the top. Again, take the smallest measurement as your reference.
- Measure the width of the shower threshold.
Ensure that you measure each dimension multiple times to ensure accuracy. These measurements will help you choose the right sized framed shower door for your shower area.
Choose the right framed shower door
Now that you have the measurements, it’s time to select the right framed shower door for your shower area. Consider the following factors:
- Size: Choose a framed shower door that matches the measurements you took earlier.
- Style: Consider the overall style and design of your bathroom to select a framed shower door that complements it.
- Quality: Look for a high-quality framed shower door that is durable and long-lasting.
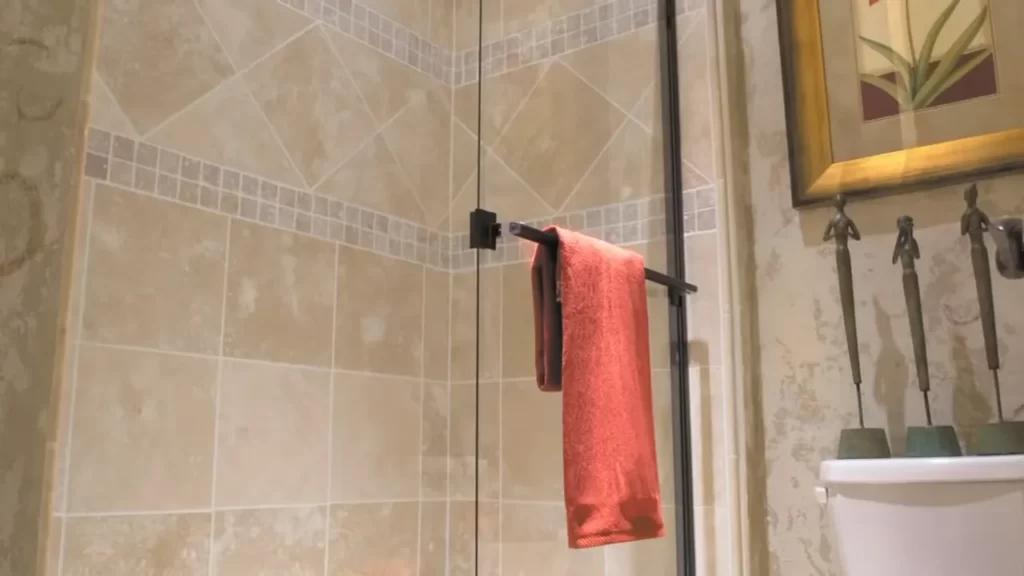
- Features: Some framed shower doors come with additional features, such as towel bars or handles. Decide if you want any of these extras.
Once you have considered these factors, you can confidently choose the right framed shower door that meets your requirements.
By following these steps and properly preparing the area, gathering the necessary tools and materials, measuring accurately, and choosing the right framed shower door, you will be ready to install your new shower door with ease. Stay tuned for the next section of the blog post where we will guide you through the installation process.
Remove Existing Shower Door
Remove Existing Shower Door
The first step in installing a framed shower door is to remove the existing shower door. This process can be a bit tricky, but with the right tools and techniques, you can do it safely and efficiently.
Assess the current shower door
Before you begin removing the shower door, assess its condition. Take a close look at the frame, hinges, and glass to determine if any repairs or replacements are necessary. Additionally, measure the dimensions of the current door to ensure that your new framed shower door will fit properly.
Safely remove the old shower door
To remove the old shower door, follow these steps:
- Start by removing any screws or hardware that are holding the door in place. Use a screwdriver or Allen wrench to loosen and remove these fasteners.
- Next, carefully lift the door off its hinges or tracks. It may be helpful to have a friend or family member assist you with this step, as shower doors can be heavy.
- Once the door is off, examine the hinges or tracks for any remaining debris or adhesive. Clean these areas thoroughly with a mild cleaner to ensure a smooth installation for your new door.
In conclusion, removing an existing shower door is the first step in installing a framed shower door. By assessing the condition of the current door and safely removing it using the steps outlined above, you can prepare for a successful installation of your new shower door.
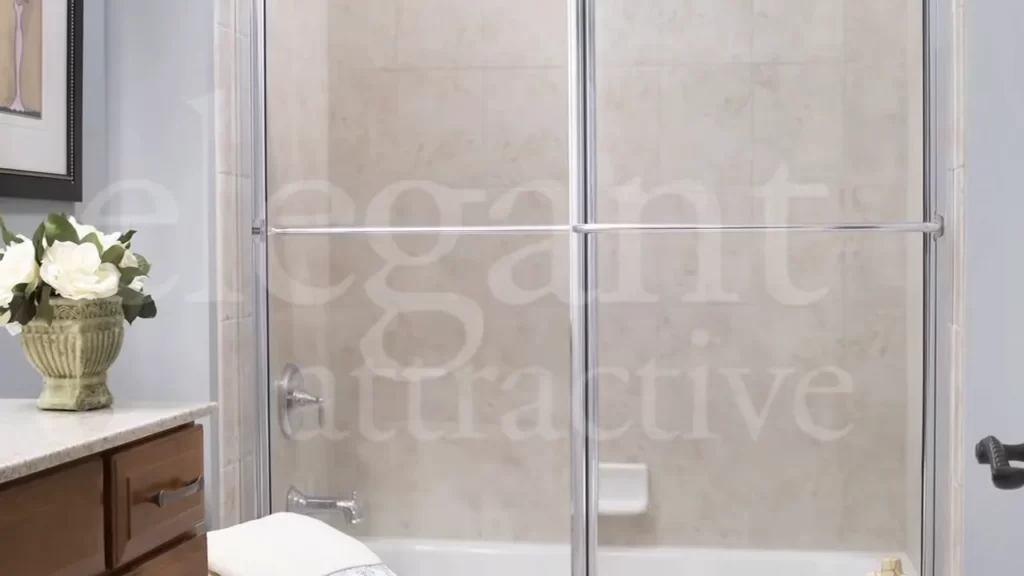
Install The Shower Door Frame
Installing a framed shower door can give your bathroom an elegant and polished look. The frame not only adds stability to the door but also enhances the overall aesthetic appeal of the shower enclosure. In this section, we will guide you through the process of installing the shower door frame.
Assemble the shower door components
The first step in installing the shower door frame is to assemble all the necessary components. Refer to the manufacturer’s instructions to identify and organize each part. Lay them out on a clean and flat surface for easy access during the installation process.

Start by identifying the top and bottom frame pieces. These are usually the longer sections that will connect the sides of the shower enclosure. Check for any pre-drilled holes or markings on the frame pieces that indicate their specific locations.
Next, locate the side frame pieces. These are generally shorter than the top and bottom ones. Place the side pieces directly against the corresponding ends of the top and bottom frame sections.
Once you have positioned all the frame pieces correctly, use the provided screws or bolts to secure them together. Ensure that the connections are tight but not overly tightened as it may damage the frame or cause misalignment.
Attach the frame to the shower enclosure</h3
Mount The Hinges And Door
Mount the Hinges and Door
Installing the hinges and attaching the door to the frame is a crucial step in the installation process of a framed shower door. By following these simple steps, you can ensure that your framed shower door is securely mounted and functions smoothly.
Mark the Hinge Placement
Before you begin mounting the hinges, it is essential to mark the correct placement. Grab a measuring tape and measure the height at which you want to position the hinges. Remember to mark both sides of the shower frame to ensure accurate placement. Double-check your measurements to avoid any unnecessary mistakes during the installation process.
Install the Hinges
Once you have marked the hinge placement, it’s time to install the hinges. Make sure that the hinges you have purchased are compatible with your shower door and frame. Most framed shower doors require two hinges for proper support. Begin by positioning the hinge on the marked spot, ensuring that it aligns correctly with the shower door and frame. Use a pencil to mark the screw holes.
Next, attach the hinges to the shower frame using the appropriate screws. Make sure to tighten the screws firmly but not too tight as it may cause damage to the frame. It is advisable to use a drill to ensure the screws are securely fastened. Repeat this process for the other hinge as well.
Attach the Door to the Frame
After successfully mounting the hinges, it’s time to attach the door to the frame. Begin by gently lifting the door and sliding the hinge arms onto the pins of the hinges. Make sure that the door is aligned correctly with the frame. Once in position, secure the door by tightening the hinge set screws. Be careful not to overtighten these screws as it may cause damage or misalignment of the door.
Take a moment to test the door’s opening and closing functionality. Ensure that it swings smoothly without any resistance or obstruction. If necessary, make slight adjustments to the hinges to achieve the desired balance and fit. Finally, tighten all remaining screws on the hinge set for added stability.
By following these steps, you can successfully mount the hinges and door of your framed shower door. Remember to double-check your measurements, use the appropriate screws, and test the functionality of the door to ensure a smooth installation. With these steps, your framed shower door will be securely mounted, providing an elegant and functional addition to your bathroom.
Adjust And Align The Door
Properly adjusting and aligning your framed shower door is essential for ensuring smooth operation and a secure fit. In this step, we will guide you through the process of checking the door alignment, making necessary adjustments, and testing the swinging motion. Let’s get started!
Check the door alignment
The first step in adjusting and aligning your framed shower door is to check its alignment. This will help you identify any areas that may need adjustment. Follow these steps:
- Close the door completely and observe it from both the inside and outside of the shower.
- Check for any gaps or misalignment between the door and the shower frame. A properly aligned door should fit snugly without any noticeable gaps.
- Inspect the top and bottom edges of the door to ensure they are parallel to the shower frame. Use a level or straight edge if necessary.
- Take note of any areas that require adjustment or appear to be misaligned.
Adjust the door for smooth operation
Once you have identified any misalignments or areas that require adjustment, it’s time to make the necessary changes. Following these steps will help you achieve a smooth operation:
- Locate the adjustment screws or mechanisms on the door hinges.
- Using a screwdriver or the appropriate tool, loosen the screws slightly to allow for adjustment.
- Carefully adjust the door vertically and horizontally to align it properly with the shower frame. Make small adjustments and check the alignment frequently.
- Once you are satisfied with the alignment, tighten the adjustment screws securely to hold the door in place.
Test the swinging motion
Now that you have adjusted and aligned the framed shower door, it’s crucial to test its swinging motion. Follow these steps to ensure the door opens and closes correctly:
- Gently open and close the door, paying attention to its movement and operation.
- Check for any resistance or sticking points along the way. The door should swing freely without any hindrance.
- If you notice any issues, such as doors sticking or not closing properly, repeat the adjustment process as needed.
- Continue testing the swinging motion until you are satisfied with the door’s smooth operation.
By following these steps to adjust and align your framed shower door, you can ensure a secure fit and smooth operation. Now that your door is properly aligned, you can move on to the next steps to complete your shower door installation. Stay tuned!
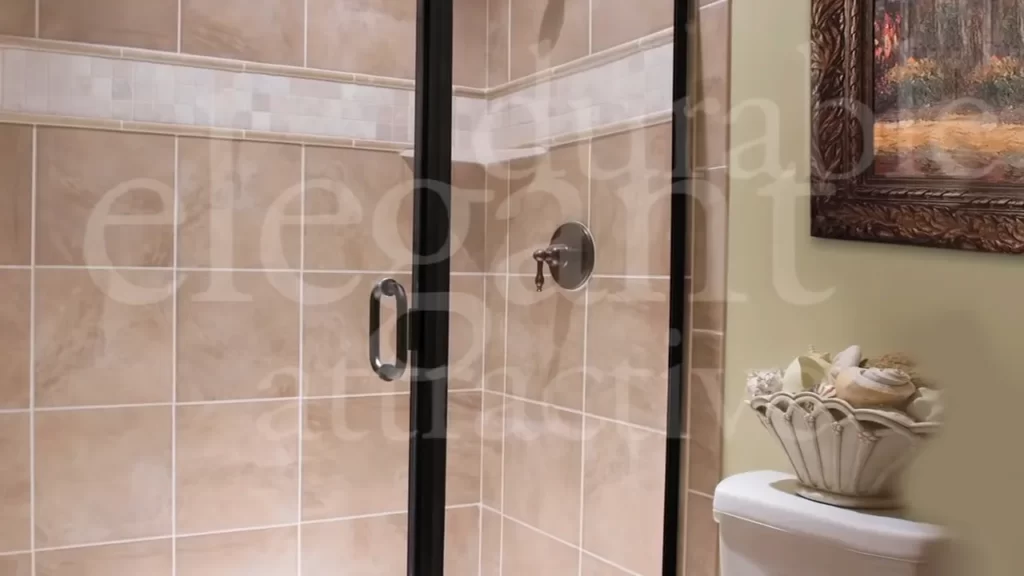
Install The Door Handle And Hardware
Once you have chosen the right door handle and hardware for your framed shower door, it’s time to install them. This step is crucial to ensure your shower door functions properly and adds a touch of style to your bathroom. Follow these simple steps to install the handle and other accessories with ease.
Choose the right door handle and hardware
Before you can install the door handle and hardware, it’s important to choose the right ones that complement the design and style of your shower door. Consider the following factors when making your selection:
- Compatibility with your shower door – Ensure that the handle and hardware are suitable for your specific shower door model.
- Material – Select a material that is durable, resistant to moisture, and easy to clean. Popular options include chrome, stainless steel, and brass.
- Ergonomics – Choose a handle that feels comfortable to grip and operate.
- Aesthetic appeal – Opt for a design that enhances the overall look of your shower door and complements your bathroom decor.
Consider these factors carefully to make an informed decision and find the perfect door handle and hardware for your framed shower door.
Install the handle and other accessories
Now that you’ve selected the right door handle and hardware, it’s time to install them. Follow these steps for a smooth installation process:
- Start by positioning the handle on the outside of the shower door, ensuring it is securely aligned with the pre-drilled holes.
- Insert screws or bolts through the handle and into the holes, tightening them securely with a screwdriver or Allen wrench.
- If your shower door requires additional hardware, such as towel bars or robe hooks, follow the manufacturer’s instructions to install them in the desired locations.
- Check that all the hardware is tightly secured to prevent any unnecessary movements or accidents.
- Once the handle and other accessories are installed, carefully test their functionality to ensure smooth operation.
By following these steps, you will successfully install the door handle and hardware for your framed shower door. Take your time during the process and pay attention to detail to achieve a stylish and functional addition to your bathroom.
Apply Waterproofing And Sealant
Apply Caulk or Silicone Sealant
One crucial step in installing a framed shower door is to apply caulk or silicone sealant. This step ensures that the frame is properly sealed, preventing water leakage and potential damage to the surrounding walls and floors. Start by obtaining a high-quality caulk or silicone sealant specifically designed for bathroom use. Such products are formulated to withstand high levels of moisture and provide a reliable waterproof seal.
Before applying the caulk or silicone sealant, thoroughly clean the surfaces around the shower door frame. Remove any dirt, grime, or old sealant using a mild soap or cleaner. Ensure that the surface is completely dry before proceeding with the next steps.
Next, prepare the caulk or silicone sealant by cutting the nozzle at an angle to allow for a precise application. Load the caulk or silicone gun and apply a thin bead of sealant along the edges of the shower door frame. Be careful not to apply too much, as excess sealant can create a messy appearance and prolong drying time.
Using a caulk smoothing tool, go over the applied sealant to create a neat, even finish. Smooth out any bumps or excess sealant, ensuring that the sealant fully adheres to the frame. Allow the caulk or silicone sealant to dry according to the manufacturer’s instructions before moving on to the next steps of the installation process.
Ensure Proper Waterproofing Around the Frame
Ensuring proper waterproofing around the frame is essential to prevent water damage and maintain the longevity of the shower door installation. Start by applying a waterproofing membrane or barrier along the surfaces surrounding the frame. This additional layer of protection provides an added safeguard against water infiltration.
If the shower area already has existing waterproofing, ensure that it extends to the frame’s perimeter. Waterproofing membranes should be securely attached and cover any gaps or seams. This step helps create a watertight seal, preventing water from leaking out of the shower enclosure.
When installing the framed shower door, pay close attention to areas where the frame meets the walls and floor. Apply a sufficient amount of sealant or waterproofing material to these areas to create a tight seal. Use a putty knife or finger to press the sealant into any gaps or crevices, ensuring a proper bond with the frame and the adjacent surfaces.
Always follow the manufacturer’s recommendations and guidelines for the specific products used. This will ensure that the waterproofing and sealant applied are suitable for the materials and conditions of your shower area.
Final Touches And Cleanup
Once you have successfully installed your framed shower door, it’s time for the final touches and cleanup. This is an important step to ensure the door is secure, clean, and polished. Follow the steps below to make the necessary adjustments, tighten any loose screws, and give your shower door a sparkling finish.
Make final adjustments and tighten any loose screws
Before proceeding with cleaning and polishing, it’s crucial to make sure that your framed shower door is properly aligned and secure. Follow these steps to make the final adjustments:
- Check the door hinges and track for any misalignment or gaps.
- If you notice any misalignment, use a screwdriver to adjust the hinges until the door sits securely in place.
- Inspect all the screws on the frame and hinges. Tighten any loose screws using the appropriate screwdriver.
- Ensure that the door swings open and closes smoothly without any resistance.
- Double-check that the door is level and evenly spaced within the frame.
By making these final adjustments, you will ensure that your framed shower door functions properly and is stable.
Clean and polish the shower door
Now that you have finished the adjustments, it’s time to clean and polish your newly installed framed shower door. Follow these steps to achieve a sparkling finish:
- Start by wiping down the door with a non-abrasive cleaner to remove any dust or debris.
- Use a microfiber cloth or sponge to clean the glass panels. Avoid using harsh chemicals or abrasive cleaners, as they can damage the surface.
- Pay special attention to the corners and edges of the glass.
- Rinse the door with clean water to remove any remaining cleaner.
- Dry the door with a clean, lint-free cloth to prevent water spots.
- Apply a glass cleaner or polish to bring out the shine of the glass. Use a soft cloth or paper towel to buff the glass, following the product instructions.
- Finally, wipe down the frame and hardware with a damp cloth to remove any fingerprints or smudges.
By following these steps, you’ll have a clean and polished framed shower door that looks brand new.
Enjoy your newly installed framed shower door
Congratulations! You have successfully installed and cleaned your framed shower door. It’s now time to enjoy your new addition to the bathroom. Step into your shower with confidence, knowing that your framed shower door is secure, well-maintained, and adds a touch of elegance to the space.
Note: Regular maintenance and cleaning will help extend the lifespan of your framed shower door, so make sure to incorporate it into your cleaning routine.
Frequently Asked Questions
How Do You Install A Framed Shower Door Bottom Seal?
To install a framed shower door bottom seal, follow these steps: 1. Measure the length of the door bottom. 2. Cut the seal to fit. 3. Clean the door bottom and ensure it’s dry. 4. Apply adhesive to the seal.
5. Press the seal firmly onto the door bottom and let it dry completely.
How Are Frameless Shower Doors Attached?
Frameless shower doors are attached to the walls using brackets or hinges. The hinges are mounted directly on the glass panels while the brackets are fixed to the walls. This installation method provides a sleek and seamless look without the need for a bulky frame.
What Is The Difference Between A Frameless And A Framed Shower Door?
The main difference between a frameless and a framed shower door is the presence or absence of metal framing. Frameless doors offer a sleek and modern appearance, with seamless panels of glass. Framed doors, on the other hand, have metal framing around the glass panels.
How Do You Install A Framed Shower Screen?
To install a framed shower screen, start by measuring the space and selecting the appropriate screen size. Next, carefully follow the manufacturer’s instructions for attaching the frame to the wall and floor. Install the glass panels securely and seal any gaps with silicone.
Finally, make sure the screen is level and secure before testing for leaks.
Conclusion
Installing a framed shower door may seem daunting, but with these step-by-step instructions, anyone can do it! By following this guide, you can create a stylish and functional shower enclosure that adds value to your bathroom. Remember to measure accurately, use the proper tools, and take your time for a flawless installation.
With a framed shower door, you can enjoy a beautiful and convenient shower experience every day. Start your project today and transform your bathroom into a relaxing oasis.