To install frameless shower doors, measure the opening, purchase the appropriate doors, install the wall anchors and track, secure the doors, and test for proper operation. We will guide you through the process of installing frameless shower doors in detail, allowing you to complete the project successfully.
From measuring the opening to securing the doors, we’ll provide step-by-step instructions to ensure a seamless installation. By following our guidelines, you can enjoy the benefits of a sleek and stylish frameless shower enclosure in your bathroom. So let’s get started and transform your shower space with frameless shower doors.
Why Choose Frameless Shower Doors?
Frameless shower doors have become increasingly popular in recent years due to their myriad of benefits and stunning design. Choosing frameless shower doors for your bathroom can transform the space, adding a touch of modernity and elegance. With their minimalistic design, frameless shower doors create a spacious and open feel in the bathroom, making it appear larger and more inviting. Additionally, these doors enhance the overall aesthetic appeal of the bathroom, providing a sleek and seamless look. Let’s explore the reasons why you should choose frameless shower doors for your bathroom.
Minimalistic Design Adds a Modern Touch
One of the main advantages of frameless shower doors is their minimalistic design. Unlike traditional shower doors, which often feature chunky frames and hardware, frameless shower doors are made from a single sheet of thick, tempered glass. This results in a sleek, seamless look that adds a modern touch to any bathroom. The absence of frames and hardware not only creates a clean and elegant appearance but also makes cleaning and maintenance a breeze. With their simplicity and sophistication, frameless shower doors are the perfect choice for those seeking a contemporary and stylish bathroom aesthetic.
Creates a Spacious and Open Feel in the Bathroom
Another key benefit of frameless shower doors is their ability to create a spacious and open feel in the bathroom. The absence of frames and bulky hardware allows for an unobstructed view, making the bathroom appear larger and more airy. The seamless glass panels provide an uninterrupted flow, maximizing the natural light and making the space feel brighter and more inviting. This open concept design is particularly advantageous for smaller bathrooms or those with limited natural light, as it can make the room feel more expansive and welcoming.
Enhances the Overall Aesthetic Appeal
When it comes to the overall aesthetic appeal of a bathroom, frameless shower doors are a game-changer. The sleek and seamless glass panels add a touch of sophistication and elegance, elevating the look of the entire space. The absence of frames and bulky hardware allows the focus to be on the beautiful tilework, fixtures, and décor in the bathroom. Whether you prefer a contemporary, minimalist design or a more luxurious and opulent style, frameless shower doors can complement any aesthetic, enhancing the overall visual appeal of your bathroom.
In conclusion, frameless shower doors are an excellent choice for those looking to update their bathroom with a modern and stylish touch. Their minimalistic design, ability to create a spacious and open feel, and enhancement of the overall aesthetic appeal make them a popular option among homeowners. Consider installing frameless shower doors in your bathroom to enjoy the benefits of a sleek and sophisticated space.

Planning And Preparation
Installing frameless shower doors is a great way to add a touch of elegance and sophistication to your bathroom. However, proper planning and preparation are essential for a successful installation. In this section, we will discuss the key steps to follow when planning and preparing for the installation of frameless shower doors.
Measure the shower opening accurately
Before you can select the right frameless shower door for your bathroom, it is crucial to measure the shower opening accurately. Use a measuring tape to measure the width and height of the opening. Make sure to measure at multiple points to account for any variations. This will ensure that you choose a shower door that fits perfectly and eliminates any gaps or leaks.
Research and select the right type of frameless shower door
After measuring the shower opening, it’s time to research and select the right type of frameless shower door. There are various options available, including sliding doors, pivoting doors, and hinged doors. Consider the space available in your bathroom, your personal preferences, and the overall aesthetic of your bathroom before making a decision. Additionally, ensure that the shower door you choose is of high-quality and durable.
Gather all the necessary tools and materials
Once you have selected the frameless shower door, gather all the necessary tools and materials required for the installation. Ensuring that you have everything you need before starting the installation process will save you time and frustration. Here is a list of tools and materials you may need:
| Tools | Materials |
|
|
Having all the necessary tools and materials at hand will make the installation process smoother and more efficient. Take some time to gather everything you need before you begin.
By following these steps in the planning and preparation phase, you will set yourself up for a successful installation of frameless shower doors. Accurate measurements, thorough research, and gathering the right tools and materials are key to ensuring a seamless and visually appealing addition to your bathroom.
Preparing For Installation
Before installing frameless shower doors, it is essential to properly prepare the shower area. This involves removing the existing shower door or enclosure, ensuring the shower area is clean and free from debris, and checking for any repairs or adjustments needed to the shower walls.
Remove the existing shower door or enclosure
To begin the installation process, the first step is to remove any existing shower doors or enclosures. This can typically be done by unscrewing any screws or fasteners that are holding the door or enclosure in place. Carefully remove the door, taking any necessary precautions to avoid damaging the shower walls or surrounding fixtures.
Ensure the shower area is clean and free from any debris
Before proceeding with the installation, it is important to thoroughly clean the shower area. Use a sponge or cleaning solution to remove any dirt, grime, or soap scum from the walls and floor. Pay attention to any corners or crevices where residue may accumulate. After cleaning, rinse the area with warm water and dry it thoroughly to ensure a clean surface for the installation.
Check if any repairs or adjustments need to be made to the shower walls
Prior to installing the frameless shower doors, carefully inspect the shower walls for any damages or issues that may interfere with the installation process. Look for cracks, loose tiles, or areas that may require re-caulking. If any repairs or adjustments are necessary, address them before moving forward with the installation to ensure a sturdy and secure final result.
Installing Frameless Shower Doors
Installing frameless shower doors can instantly transform the look and feel of your bathroom. With their sleek design and modern appeal, these doors create a seamless and elegant enclosure. However, the installation process can seem daunting if you’re not familiar with it. This step-by-step guide will walk you through the entire installation process, from installing the track or header to securing the door with hinges or brackets.
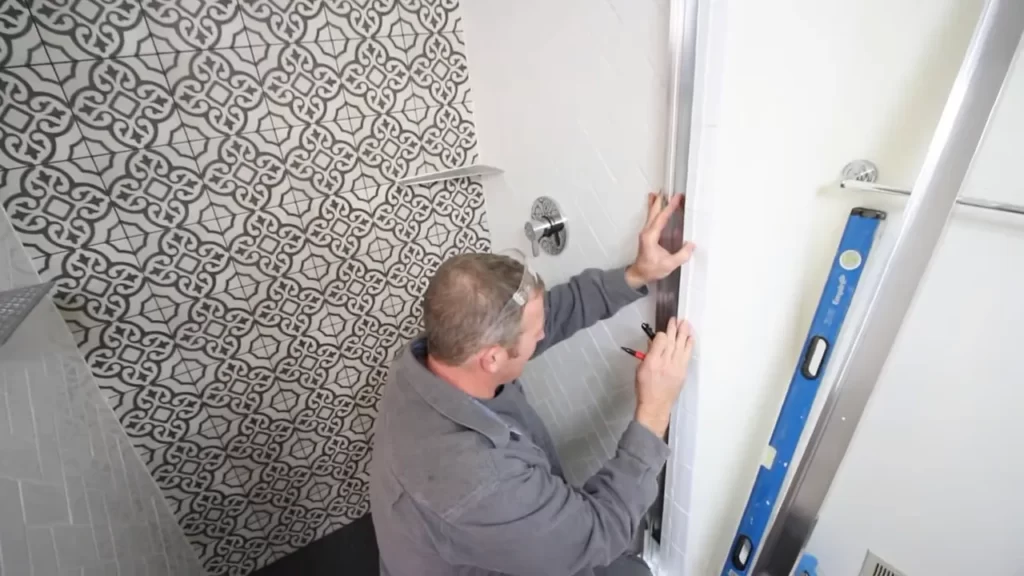
Step-by-step guide for installing the track or header
- Measure the width of your shower opening and mark the location where you’ll install the track or header.
- Using a level, ensure that the mark is level and then secure the track or header to the wall with screws.
- Apply a waterproof sealant along the bottom edge of the track or header to prevent water leakage.
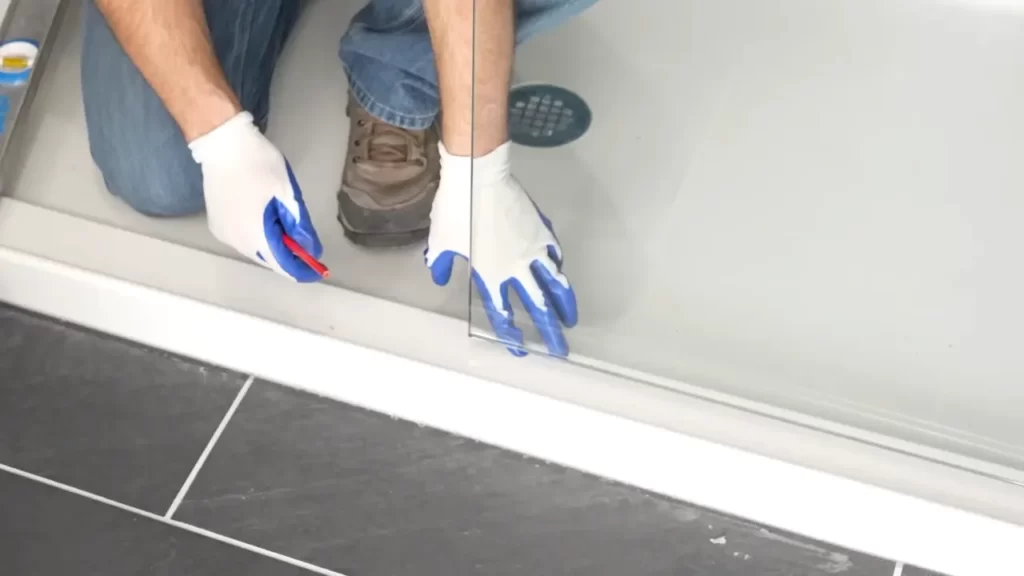
Properly aligning and installing the glass panels
- Measure the height of your shower opening and mark the location where the glass panels will be installed.
- Place the bottom glass panel onto the track or header, ensuring it is properly aligned and level.
- Slide the subsequent glass panels onto the bottom panel, aligning them with the track or header.
- Secure each glass panel to the track or header using the provided screws or brackets.
- Apply a waterproof sealant along the edges of each glass panel to prevent water leakage.
Securing the door with hinges or brackets
- Measure and mark the location where the hinges or brackets will be installed on the wall and glass.
- Secure the hinges or brackets to the wall and glass, following the manufacturer’s instructions.
- Ensure that the door swings freely and smoothly, making any necessary adjustments to the hinges or brackets.
- Apply a waterproof sealant around the hinges or brackets to prevent water leakage.
By following these step-by-step instructions, you can successfully install frameless shower doors in your bathroom. Remember to take accurate measurements, use a level for proper alignment, and apply waterproof sealant to ensure a water-tight enclosure. With the right tools and some patience, you can achieve a stunning and functional shower space that adds value to your home.

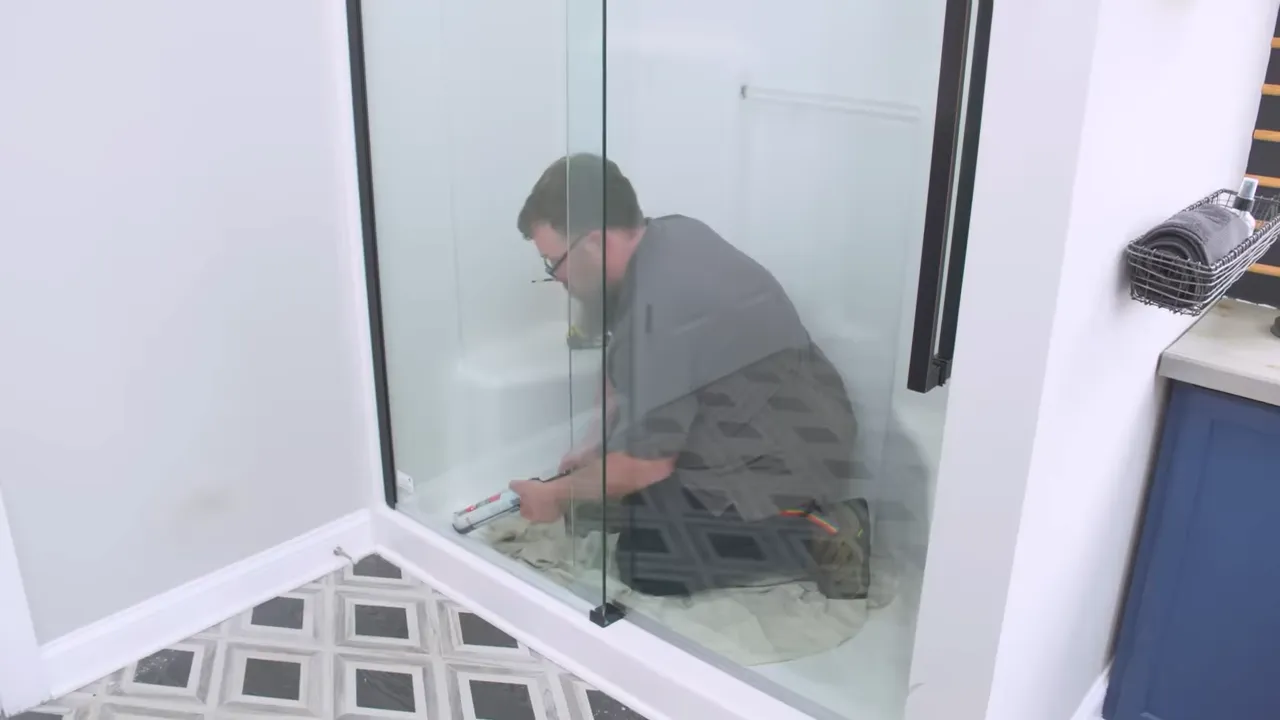
Sealing And Waterproofing
Applying sealant or silicone along the edges of the glass panels
When it comes to sealing and waterproofing your frameless shower doors, one crucial step is applying sealant or silicone along the edges of the glass panels. This serves as a protective barrier, preventing any water from seeping through and causing potential damage to your bathroom floor or walls. To start, ensure that the glass panels are thoroughly cleaned and free from any debris or dirt. This will guarantee optimal adhesion of the sealant or silicone, providing a watertight seal that keeps your shower area dry and leak-free.
Ensuring a watertight seal to prevent leaks
Ensuring a watertight seal is essential in preventing leaks and water damage in your shower area. Once you have applied the sealant or silicone along the edges of the glass panels, make sure to carefully inspect the entire perimeter to ensure that no gaps or inconsistencies are present. These can be potential entry points for water, leading to leaks and unnecessary moisture buildup. If you notice any areas that require additional sealant, apply an extra layer for added protection. Taking the time to ensure a proper watertight seal will give you peace of mind and extend the longevity of your frameless shower doors.
Cleaning and maintaining the shower doors for long-lasting results
To maintain the effectiveness of the sealant and to keep your frameless shower doors in pristine condition, it’s important to establish a regular cleaning and maintenance routine. This will not only ensure long-lasting results but also contribute to the overall aesthetics of your bathroom. When cleaning the glass panels, avoid using abrasive materials or harsh chemicals that may damage the surface. Instead, opt for mild soap or glass cleaner and a soft cloth, gently wiping away any grime or soap residue. Regularly inspect the sealant for any signs of wear or deterioration, and if necessary, reapply to maintain its effectiveness.
In conclusion
Sealing and waterproofing your frameless shower doors is a critical step in ensuring a leak-free and enjoyable showering experience. By following these guidelines for applying sealant, ensuring a watertight seal, and adopting a regular cleaning and maintenance routine, you can enjoy the benefits of a well-protected and aesthetically pleasing shower area for years to come.
Tips And Tricks For A Professional Finish
Leveling and Aligning the Shower Doors for a Seamless Look
To achieve a professional finish when installing frameless shower doors, it is essential to pay close attention to leveling and aligning the doors. A perfectly level and aligned installation not only enhances the visual appeal but also ensures functionality and durability. Here are some tips and tricks to help you achieve a seamless look:
- Start by carefully measuring the dimensions of the shower enclosure and the frameless shower doors to ensure a precise fit.
- Use a spirit level to check if the shower walls and the base are perfectly plumb and level. If not, adjustments might be necessary before proceeding with the installation.
- During the installation, use shims and adjustable brackets to level and align the doors. This will help eliminate any gaps or misalignments that could compromise the integrity of the installation.
- Regularly check the level and alignment throughout the process, making any necessary adjustments as you go.
- Take your time and double-check your work to ensure an impeccable finish.
Using Clear or Translucent Sealants for an Unobstructed View
One of the significant advantages of frameless shower doors is the unobstructed view they offer. To maintain this aesthetic appeal and create a seamless visual experience, it is crucial to use clear or translucent sealants. Here are some tips for selecting and applying the right sealant:
- Choose a sealant that is specifically designed for glass-to-glass or glass-to-tile applications, ensuring it is clear or translucent in color.
- Thoroughly clean the edges of the shower doors and the surrounding surfaces before applying the sealant. This will ensure proper adhesion and a neat finish.
- Apply a thin and even bead of sealant along the edges, carefully following the manufacturer’s instructions.
- Use a damp sponge or cloth to remove any excess sealant, creating a clean and tidy appearance.
- Allow the sealant to cure according to the manufacturer’s guidelines before using the shower. This will ensure maximum effectiveness and longevity.
Adding Finishing Touches with Decorative Hardware Options
To truly elevate the look of your frameless shower doors, consider adding some decorative hardware options. These small details can make a big difference in the overall aesthetic and functionality of your shower enclosure. Here are some suggestions:
- Choose hardware finishes that complement the surrounding bathroom fixtures and decor.
- Consider decorative handles, towel bars, knobs, or hinges that add a touch of style and elegance to the shower doors.
- Ensure that the hardware is properly installed, using the manufacturer’s instructions to guarantee a secure fit.
- Regularly clean and maintain the hardware to preserve its appearance and functionality over time.
By following these tips and tricks, you can achieve a professional finish when installing frameless shower doors. Remember to prioritize leveling and alignment, use clear or translucent sealants, and add finishing touches with decorative hardware options for a stunning and functional shower enclosure.
Common Issues And Troubleshooting
Installing frameless shower doors can add a touch of elegance to any bathroom. However, even with proper installation, you may encounter a few common issues that require troubleshooting. In this section, we will discuss how to deal with misalignment or uneven gaps, fixing leaks or water seepage around the edges, and adjusting door hinges for smooth operation.
Dealing with misalignment or uneven gaps
While installing frameless shower doors, you may occasionally encounter misalignments or uneven gaps, which can affect the overall appearance and functionality of the doors. To address this issue, follow these steps:
- Check if the wall is plumb and level. Use a spirit level to ensure the walls are straight. If not, you may need to adjust the mounting brackets or shims.
- If you notice uneven gaps between the door and the wall, you can adjust the hinges. Loosen the screws on the hinge, reposition the door, and tighten the screws back.
- If the gaps are still uneven, you can add clear silicone caulk along the edges to fill the gaps and create a more uniform appearance.
Fixing leaks or water seepage around the edges
Water leaks or seepage around the edges of frameless shower doors can be concerning. To fix this issue, follow these troubleshooting steps:
- Inspect the rubber sweeps on the bottom of the door. Over time, these sweeps can wear out and lose their effectiveness. If you notice any damage or wear, replace them with new ones.
- Check if the glass panels are properly sealed against the walls. Ensure that the silicone caulk used during installation is intact and does not have any gaps or cracks. If necessary, remove the old caulk and reapply a new bead of silicone sealant.
- Inspect the vertical seals on the sides of the door for any signs of wear or damage. Replace them if needed.
- If the leaks persist, check if the shower curb is properly sloped towards the drain. If not, you may need to adjust the slope to ensure proper water drainage.
Adjusting door hinges for smooth operation
Properly adjusted door hinges are crucial for the smooth operation of frameless shower doors. If you notice any issues with the door’s swinging or closing, try the following troubleshooting steps:
- Check if the hinges are securely tightened. Sometimes, loose screws can affect the door’s movement. Use a screwdriver to tighten any loose screws.
- If the door is not swinging freely, you can lubricate the hinges with a silicone-based lubricant. Apply a small amount of lubricant to the hinges and open and close the door several times to distribute it evenly.
- If the door is closing too quickly or not closing fully, you can adjust the tension on the hinges. Use an Allen wrench to tighten or loosen the tension screws on the hinges until the desired operation is achieved.
By following these troubleshooting steps, you can overcome common issues encountered during the installation of frameless shower doors. Remember that if you are unsure or the issues persist, it is always recommended to consult a professional for assistance.
Safety Precautions And Considerations
When it comes to installing frameless shower doors, it’s important to prioritize safety precautions and considerations. Handling heavy glass panels, using tools properly, and ensuring a slip-resistant shower area are all key aspects that need attention. By taking these precautions, you can ensure a smooth and accident-free installation process. Let’s delve into each aspect in more detail.
Handling and maneuvering the heavy glass panels safely
When it comes to frameless shower doors, the glass panels can be quite heavy and require careful handling. To safely maneuver these panels, it’s important to follow these guidelines:
- Always wear protective gloves and goggles to avoid injury.
- Have a clear path free of obstacles before moving the panels to minimize the risk of tripping or dropping them.
- Enlist the help of another person to assist in lifting and positioning the panels. This not only reduces the risk of accidents but also makes the installation process smoother and more efficient.
- When lifting the glass panels, be sure to lift from the bottom rather than the top. This helps minimize the strain on your back and ensures a more stable grip.
Proper use of tools and equipment to avoid accidents
In addition to handling the glass panels safely, it’s crucial to use the right tools and equipment correctly. This helps prevent accidents and ensures a successful installation. Here are some tips:
- Before starting the installation process, familiarize yourself with the tools required. These may include a level, silicone caulk gun, measuring tape, drill, screwdriver, and rubber mallet.
- Ensure all tools and equipment are in good working condition and free from defects. Damaged or faulty tools can lead to accidents or subpar results.
- Follow the manufacturer’s instructions for each tool and use them as intended. Improper use can not only result in accidents but also damage the glass panels and compromise the overall installation.
- Store your tools in a secure place away from children and pets to prevent any unintentional harm.
Ensuring the shower area is safe and slip-resistant
Lastly, when installing frameless shower doors, it’s important to focus on the safety and slip-resistance of the shower area. Here are some considerations:
- Before installation, thoroughly clean the shower area to remove any dirt, grime, or soap residue that may make the floor slippery.
- Install slip-resistant strips or mats on the shower floor to provide traction and minimize the risk of slips and falls.
- Ensure proper ventilation in the shower area to prevent the buildup of moisture, which can make the floor slippery even with slip-resistant measures in place.
- Regularly inspect and maintain the shower area, including the door hinges and seals, to identify and address any potential safety hazards promptly.
By adhering to these safety precautions and considerations, you can not only install frameless shower doors successfully but also ensure the safety and well-being of those using the shower. Prioritizing safety throughout the installation process is essential for a long-lasting and hazard-free shower experience.
Finalizing The Installation
Conducting a thorough inspection for any imperfections
Before considering the installation process complete, it is essential to conduct a thorough inspection to ensure that your frameless shower doors are flawless. Inspecting the glass panels, hinges, and handles will help you identify any imperfections or defects that might have occurred during the installation process.
Start by carefully examining the glass panels for any visible scratches, chips, or cracks. Run your fingers along the edges of the glass to ensure they are smooth and free from any sharp edges. Check the alignment of the doors to ensure they are level and properly aligned with the shower opening.
Inspect the hinges and handles for any loose screws or misalignments. Double-check that the doors open and close smoothly without any friction or resistance. Any imperfections or adjustments that need to be made should be addressed promptly to ensure the longevity and functionality of your frameless shower doors.
Cleaning up the work area and removing any debris
With the installation complete and the inspection done, it’s time to clean up the work area and remove any debris left behind. A tidy work area not only adds to the overall appeal but also eliminates any potential hazards.
Start by removing any protective coverings or adhesive residues from the glass panels. Wipe them down using a non-abrasive glass cleaner and a lint-free cloth, making sure to remove any fingerprints or smudges. Pay close attention to the edges and corners, ensuring they are free from any leftover debris.
Next, clear any tools, equipment, or packaging materials from the work area. Dispose of any waste materials in an appropriate manner, ensuring they are safely disposed of or recycled. A clean and clutter-free environment will not only showcase your newly installed frameless shower doors but also provide a safe and welcoming space for you to enjoy.
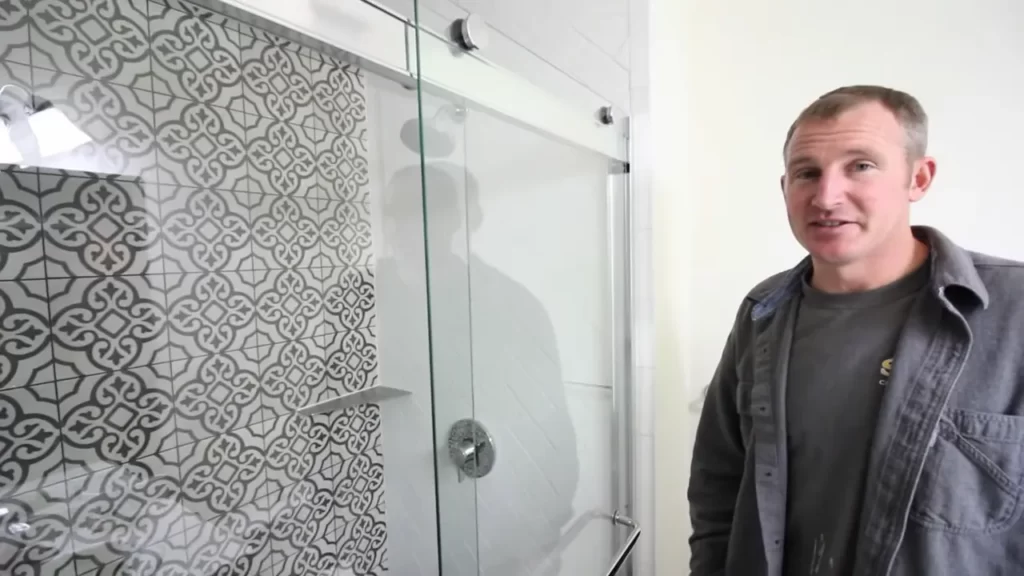
Enjoying your newly transformed bathroom with frameless shower doors
Now that your frameless shower doors are installed and the final touches are complete, it’s time to enjoy your newly transformed bathroom. Embrace the sleek and modern aesthetics of frameless shower doors as they add a touch of elegance to your space.
Step into your shower enclosure and experience the spaciousness created by the frameless design. As the natural light enters your bathroom through the transparent glass, you will be amazed by the enhanced brightness and visual appeal.
Remember to maintain your frameless shower doors by regularly wiping down the glass with a non-abrasive cleaner and soft cloth. Avoid using harsh chemicals or abrasive materials that may damage the glass or hardware.
With proper care and maintenance, your frameless shower doors will continue to shine and provide you with a luxurious showering experience for years to come.
Frequently Asked Questions
Can I Install A Frameless Shower Door Myself?
Yes, you can install a frameless shower door yourself. Just follow the installation instructions carefully and ensure you have the necessary tools and expertise. It’s important to measure accurately and take safety precautions during installation.
Is It Hard To Install A Frameless Shower Door?
Installing a frameless shower door is not difficult. It requires some careful measurements and attention to detail.
How Do You Secure A Frameless Shower Door?
To secure a frameless shower door, follow these tips: 1. Install heavy-duty hinges and a durable handle for stability. 2. Use high-quality tempered glass that is resistant to breakage. 3. Ensure proper alignment and secure fitting during installation. 4. Apply waterproof sealant around the edges to prevent leaks.
5. Regularly clean and maintain the door to prevent damage and ensure longevity.
Does A Frameless Shower Door Need A Stud?
No, a frameless shower door does not typically require a stud for installation. These doors are designed to be secured directly to the wall using special brackets or hinges, eliminating the need for a stud. Proper installation techniques should be followed to ensure stability and durability.
Conclusion
To wrap up, installing frameless shower doors can be a straightforward process that adds a touch of elegance to your bathroom. With the right tools and careful preparation, you can achieve a sleek and seamless look. Remember to measure accurately, follow the manufacturer’s instructions, and take your time to ensure a proper fit.
By following these steps, you’ll enjoy the benefits of a frameless shower door for years to come.